


.webp)
High-Capacity Water Dispenser Improves Drinking Water Access on School Campuses
Discover Mejec high-capacity drinking fountain des...
More
An excellent mud kitchen water dispenser adds a new level of fun to outdoor play. You can easily build a working faucet for your child's setup. This project uses a simple drink dispenser spigot and a water container. You can finish this fun upgrade in less than 30 minutes.
Build a mud kitchen water dispenser easily. You need a drink dispenser spigot and a water container. This project takes less than 30 minutes.
Gather materials like a water container, spigot, and sealant. Use tools such as a power drill and drill bits. Always wear safety glasses and gloves.
Follow four steps to assemble the dispenser. Mark and prepare the container. Drill the hole carefully. Install the spigot. Test for leaks before use.
You need just a few items to build your mud kitchen water dispenser. You can find most of these materials at a local hardware store or online. Proper preparation makes the assembly process quick and easy.
Water Container: A large plastic jug, bucket with a lid, or beverage dispenser works perfectly.
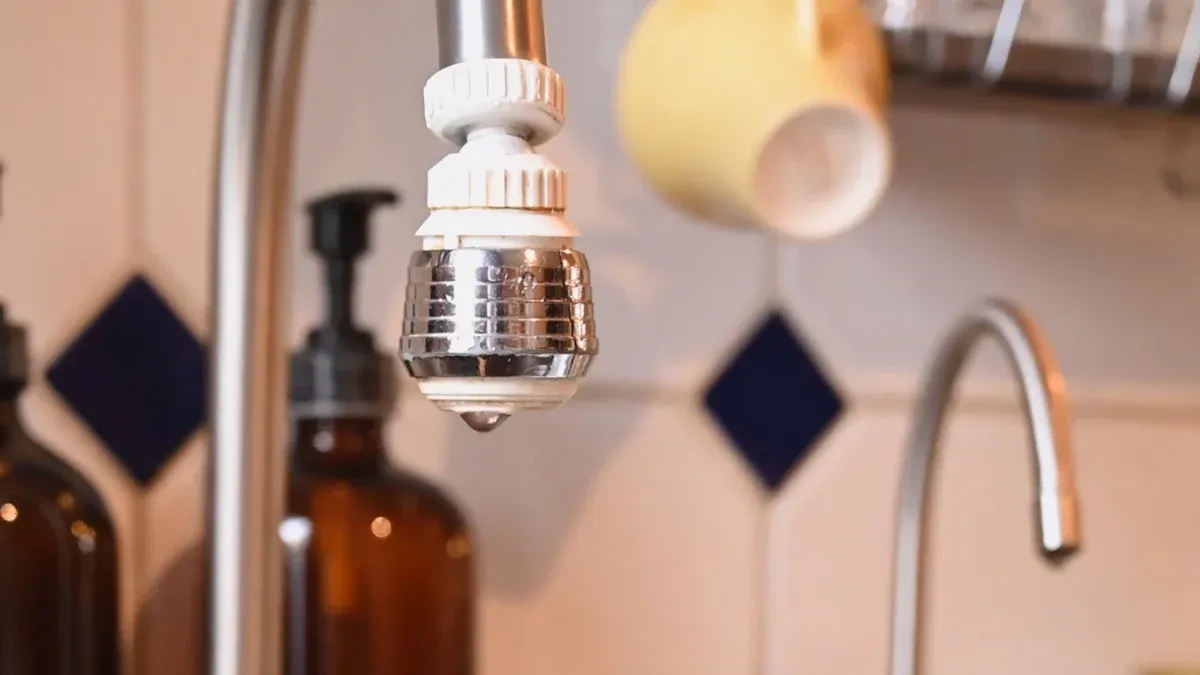
Drink Dispenser Spigot: You can choose between stainless steel and plastic. Each material has its own benefits.
| Material | Durability Aspects |
|---|---|
| Stainless Steel | Highly resistant to rust and damage. It is an excellent choice for outdoor use and has a long lifespan. |
| Plastic (PVC/ABS) | An inexpensive and lightweight option. It will not rust and is very easy to install. |
Note: Check your spigot's specifications. A common spigot has a 16mm thread diameter. You will need to drill a hole between 16mm and 20mm for a secure fit.
Waterproof Sealant: This prevents leaks around the spigot. Good options include:
3M™ Marine Grade Silicone Sealant
Loctite Clear Silicone Waterproof Sealant
Loctite PL Marine Fast Cure Adhesive Sealant
Power Drill: You will use this to create the hole for the spigot.
Drill Bit: The bit size must match your spigot's requirements. For drilling into plastic, consider using one of these types for a clean hole:
Spur-point Drill Bits
High-Speed Steel (HSS) Twist Drill Bits
Step Drills
Safety Equipment: Your safety is important.
Always wear personal protective equipment (PPE). You should have safety glasses to protect your eyes and work gloves to keep your hands safe.
Now you will assemble the parts. This process is straightforward and quick. Follow these steps carefully to build a leak-free mud kitchen water dispenser.
Proper preparation ensures a clean hole and a secure fit for your spigot. First, decide where you want to place the spigot on your container. Choose a spot low enough to dispense most of the water but high enough to fit a cup or bucket underneath. Mark the center of this spot with a marker.
Next, you should prepare the surface for drilling. A stable container prevents mistakes.
Clamp the container firmly to your work surface. This stops it from moving while you drill.
Place a piece of scrap wood inside the container, directly behind your mark. This supports the plastic and prevents it from cracking.
Apply painter's tape over your mark. The tape gives the drill bit a better grip and helps prevent chipping.
Make a small indent on your mark with a nail or an awl. This guide point will keep your drill bit from slipping.
You are now ready to drill the hole for the spigot. Attach the correct size drill bit to your power drill. Remember to wear your safety glasses and gloves.
Place the tip of the drill bit on the indentation you made. Begin drilling slowly and apply steady, gentle pressure. Let the drill do the work.
Drilling Tip 💡 Use a slow drill speed when making holes in plastic. High speeds can generate heat, which may melt or crack the container. You should reduce the drill speed even more just as the bit is about to exit the other side.
After drilling the hole, you will need to smooth its edges. Rough edges can damage the spigot's gaskets and cause leaks. You can use a simple deburring tool, a utility knife, or a piece of fine-grit sandpaper to carefully shave away any raised plastic burrs. A smooth edge is key for a watertight seal.
With a clean hole, you can now install the spigot. Most spigots come with two gaskets and a locking nut.
Take the spigot and place one gasket on its threaded end.
Push the threaded end through the hole from the outside of the container.
From inside the container, place the second gasket over the threads.
Screw on the locking nut and hand-tighten it firmly. Do not overtighten, as this can crack the container or damage the gasket.
For extra protection against leaks, you can apply a thin bead of waterproof silicone sealant around the spigot on the outside of the container before you fully tighten the nut.
Before you attach the dispenser to your mud kitchen, you must test it for leaks. Fill the container with water and check around the spigot for any drips.
If you find a leak, here are some simple troubleshooting steps:
Empty the container.
Try tightening the locking nut another quarter-turn.
If it still leaks, disassemble the spigot. Check that the gaskets are flat and the hole's edges are smooth.
Reassemble the spigot, making sure the gaskets are seated correctly. You can add waterproof sealant during reassembly if you did not before.
Once your mud kitchen water dispenser is leak-free, you can mount it. You can simply place it on a sturdy shelf or crate next to the mud kitchen. For a more permanent setup, you can use rigid metal brackets or flexible ratchet straps to secure the container to the structure. This ensures your new mud kitchen water dispenser is safe and stable for playtime.
Your new mud kitchen water dispenser is ready for hours of fun! Fill the container and let your child’s imagination run wild making mud pies and muffins. Proper care ensures the dispenser is always ready for the next adventure.
Long-Term Care Tips ☀️❄️
Cleaning: Use a non-toxic, plant-based cleaner for safe play.
Storage: Drain the container completely before winter to prevent freezing and damage.
You can use a sharp utility knife. Carefully rotate the blade to carve a clean hole. This method requires more time and caution for your safety.
You should clean the dispenser weekly. This practice prevents mold and algae growth. A simple mixture of soap and water works well for regular cleaning.
Yes, most food-safe containers work. You can use a plastic bucket or a metal can. Just make sure the surface is flat for a tight seal.
Safety Reminder ⚠️ Always have an adult supervise children during playtime with the water dispenser. This ensures a safe and fun experience for everyone.

We provide you with comprehensive foreign trade solutions to help enterprises achieve global development
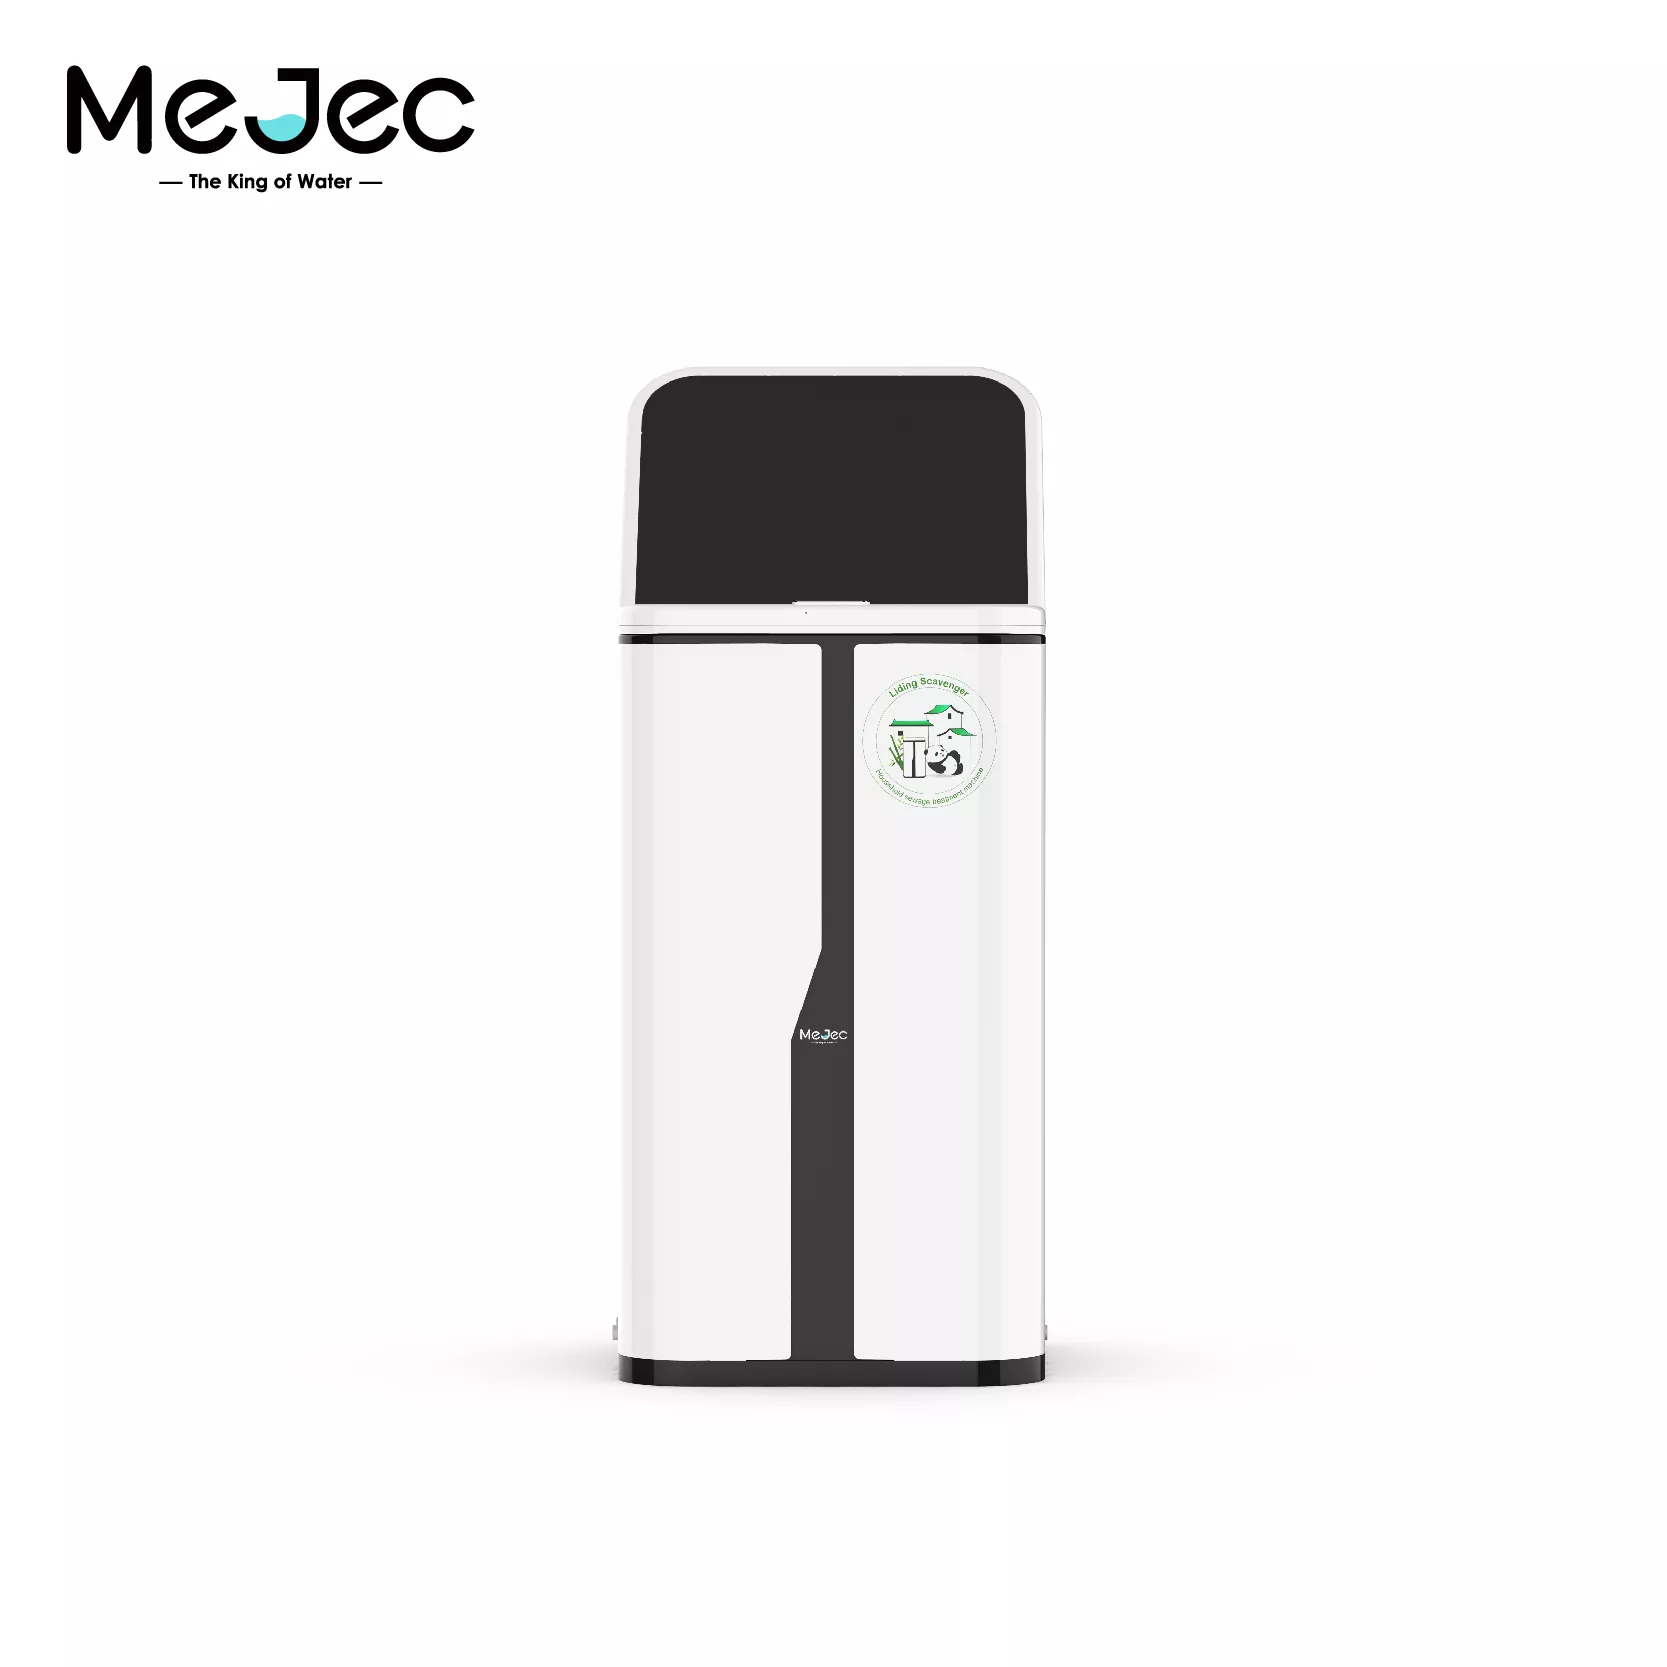
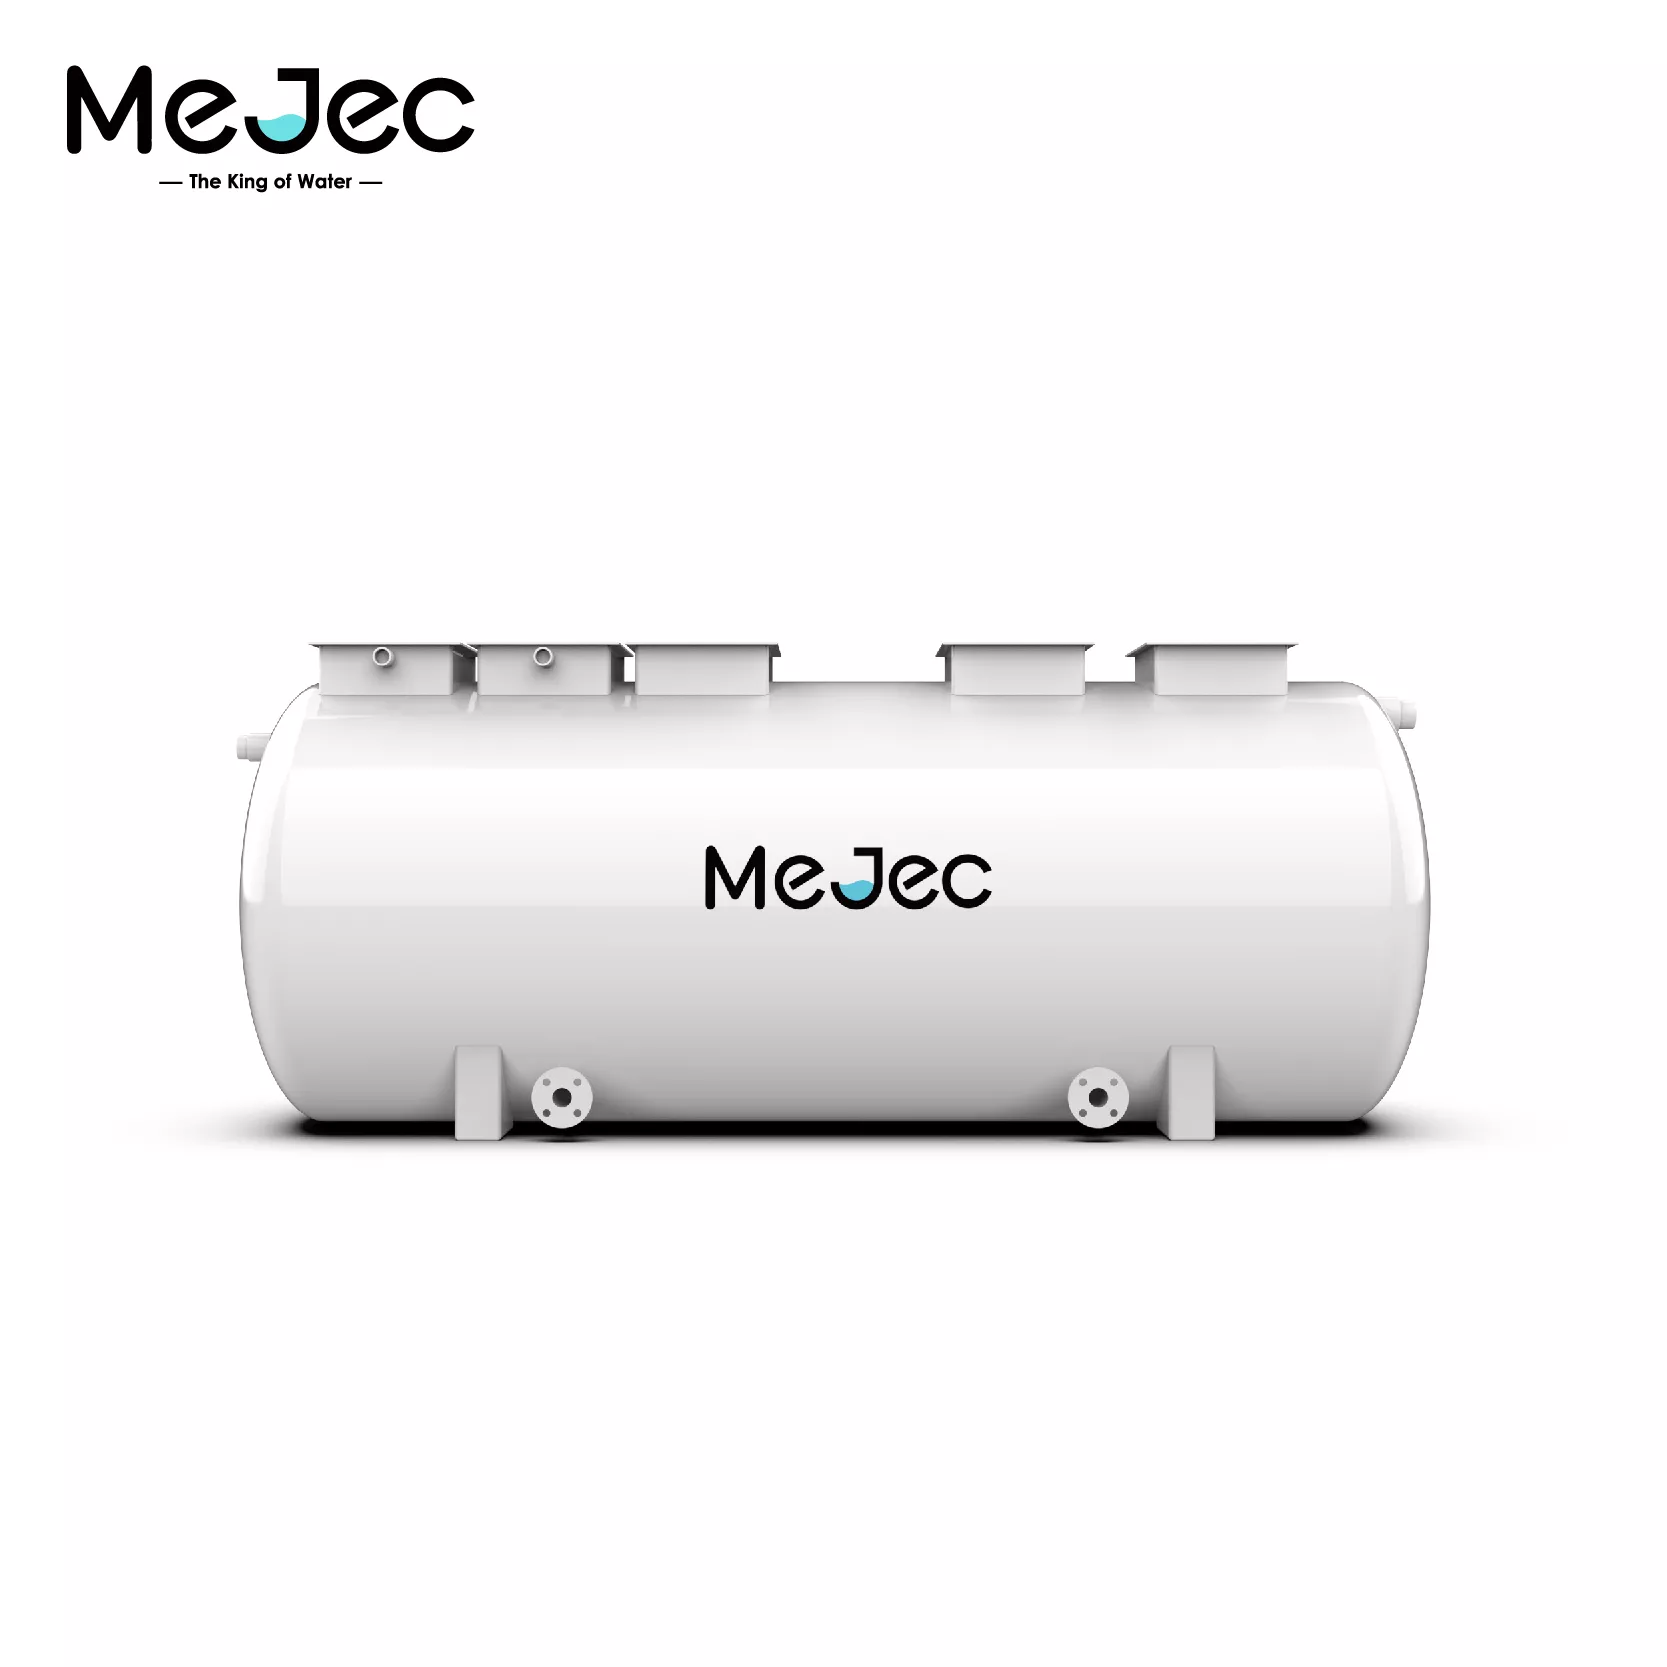
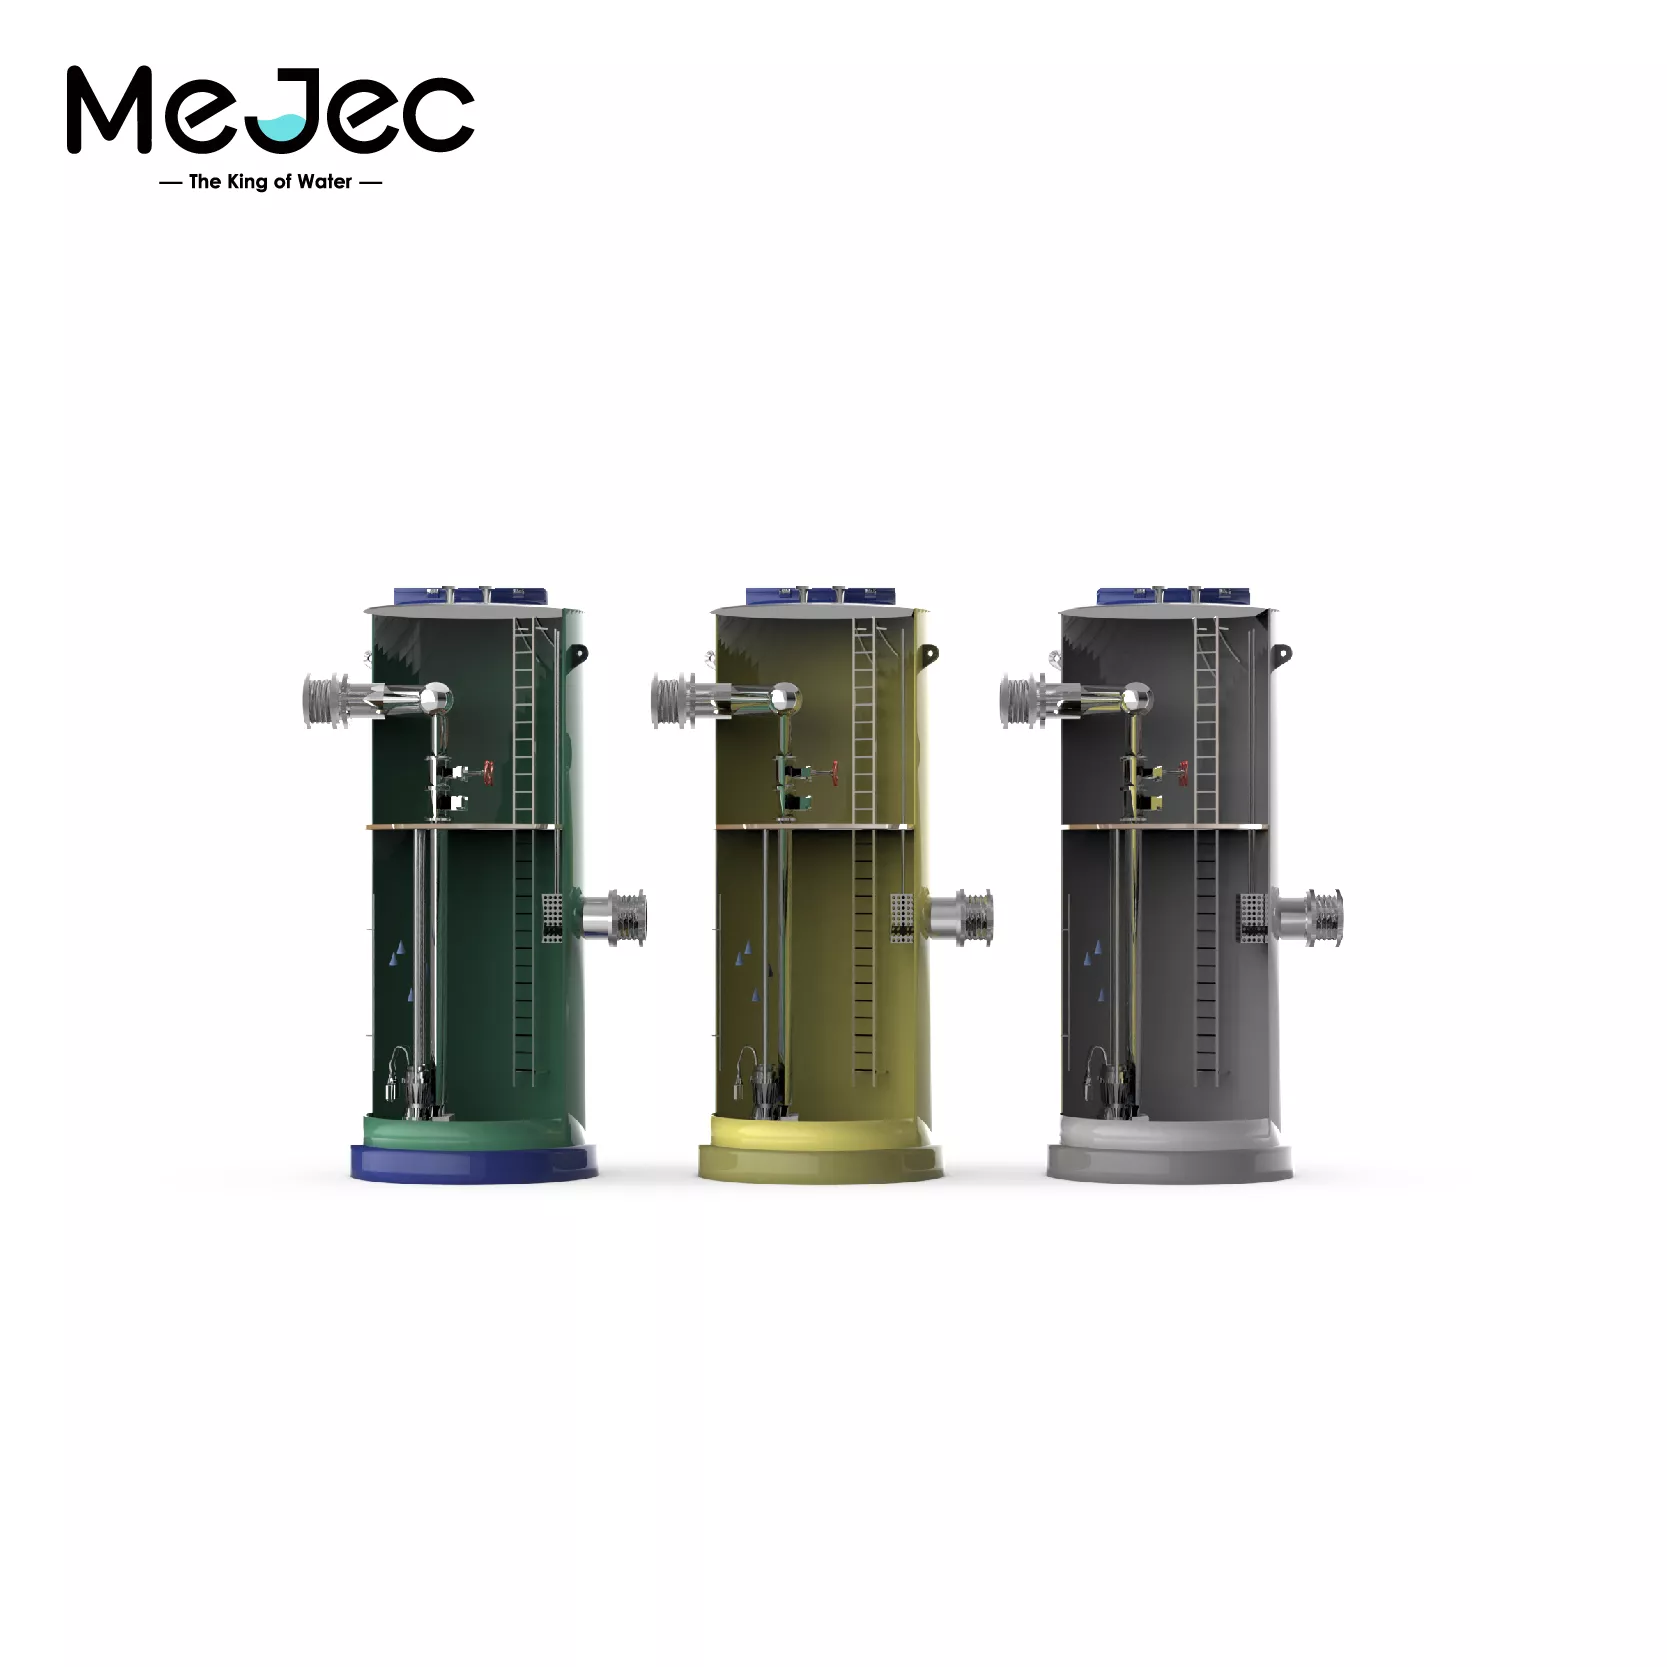
Mejec Scavenger Household Sewage Treatment Plant (...
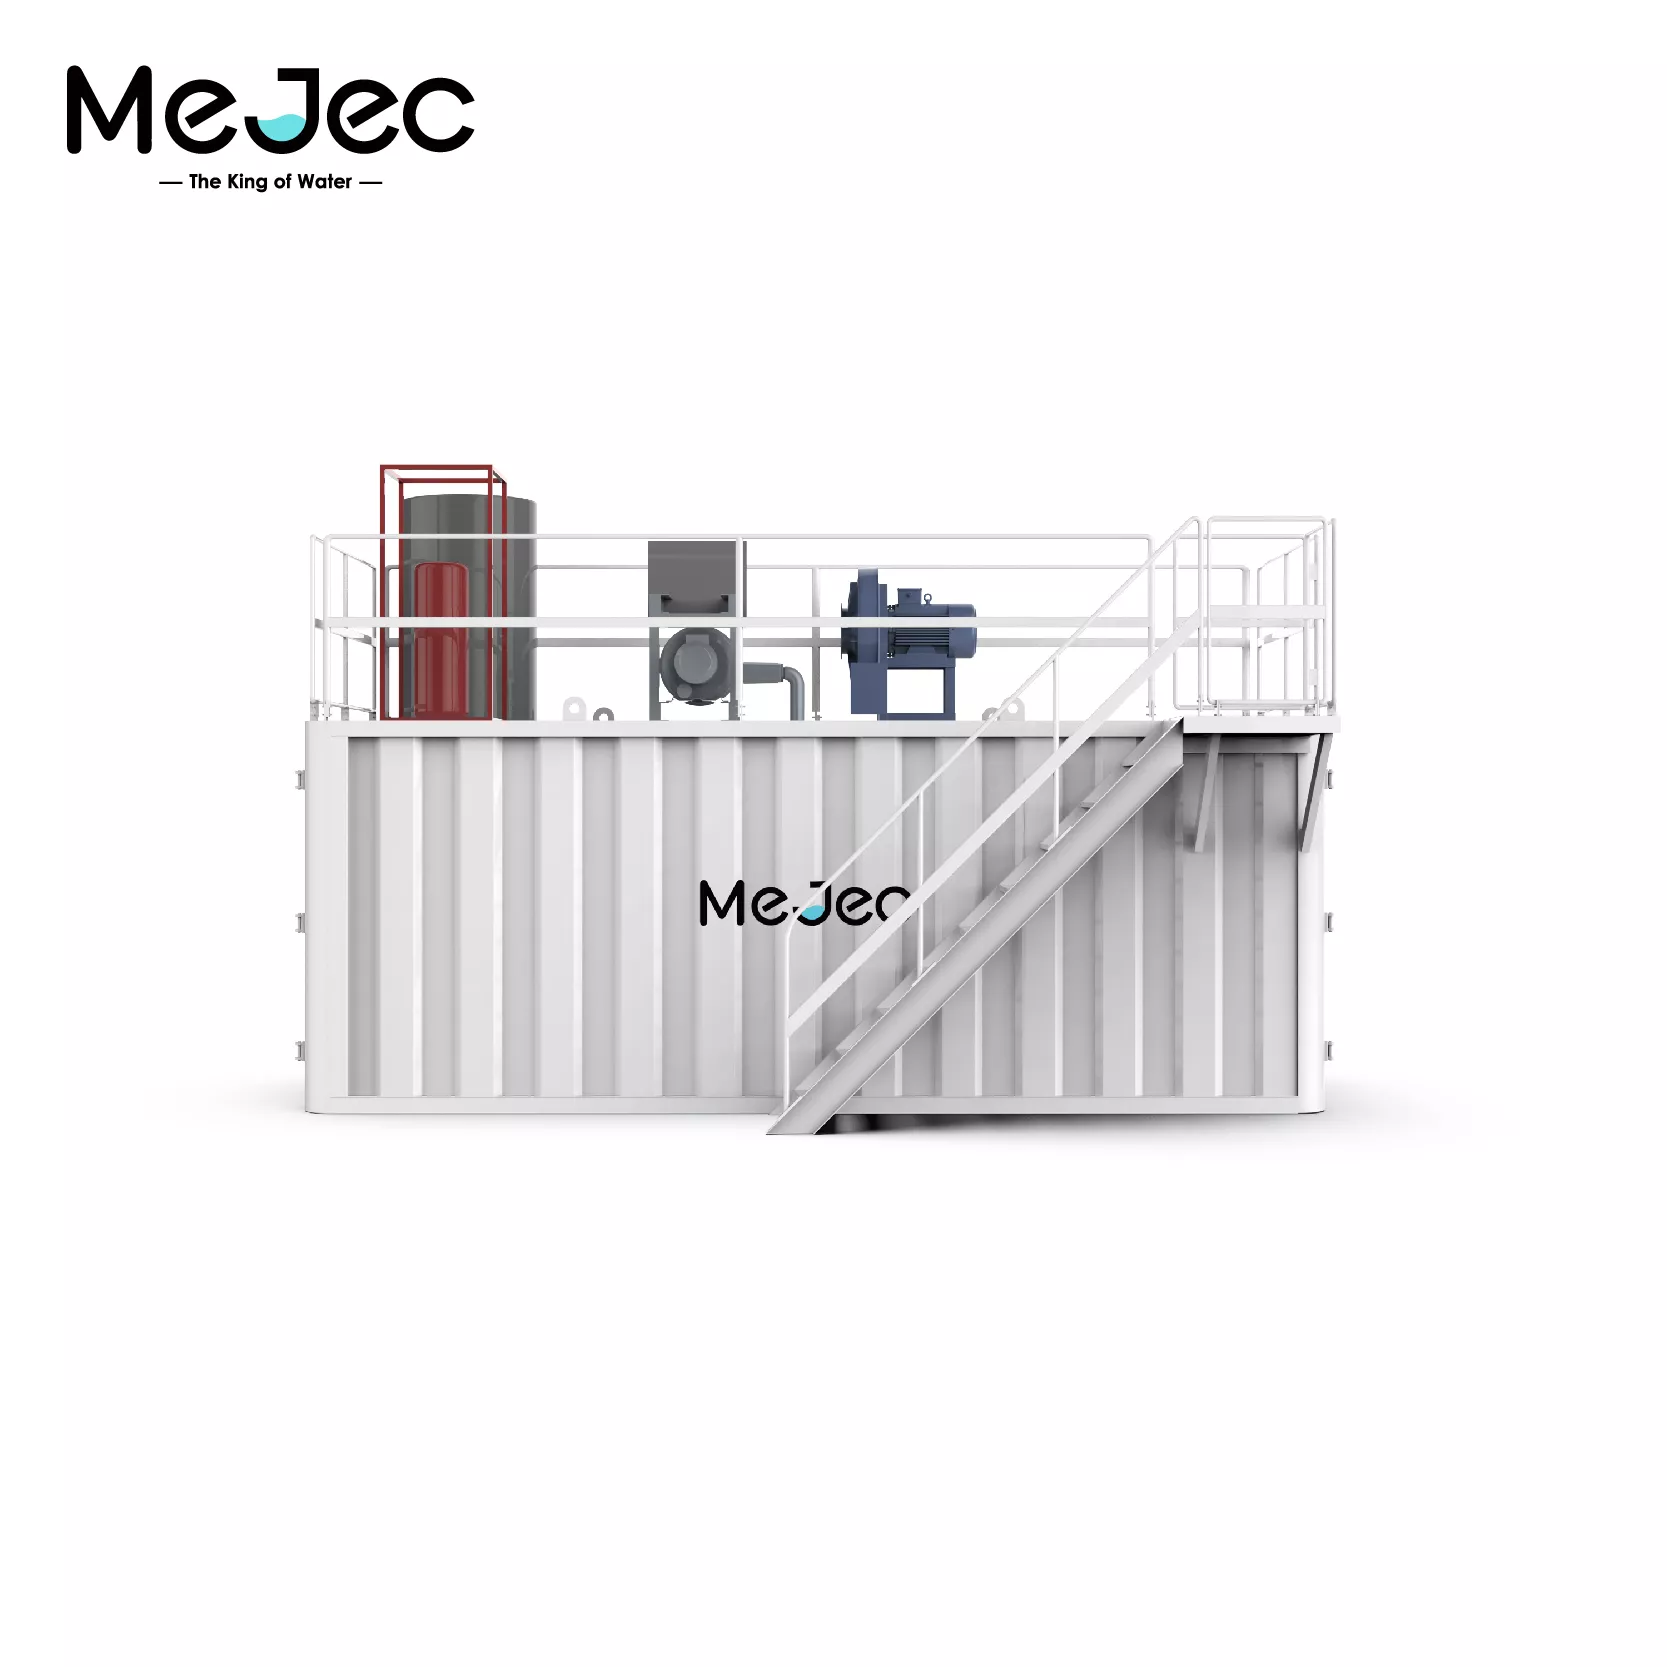
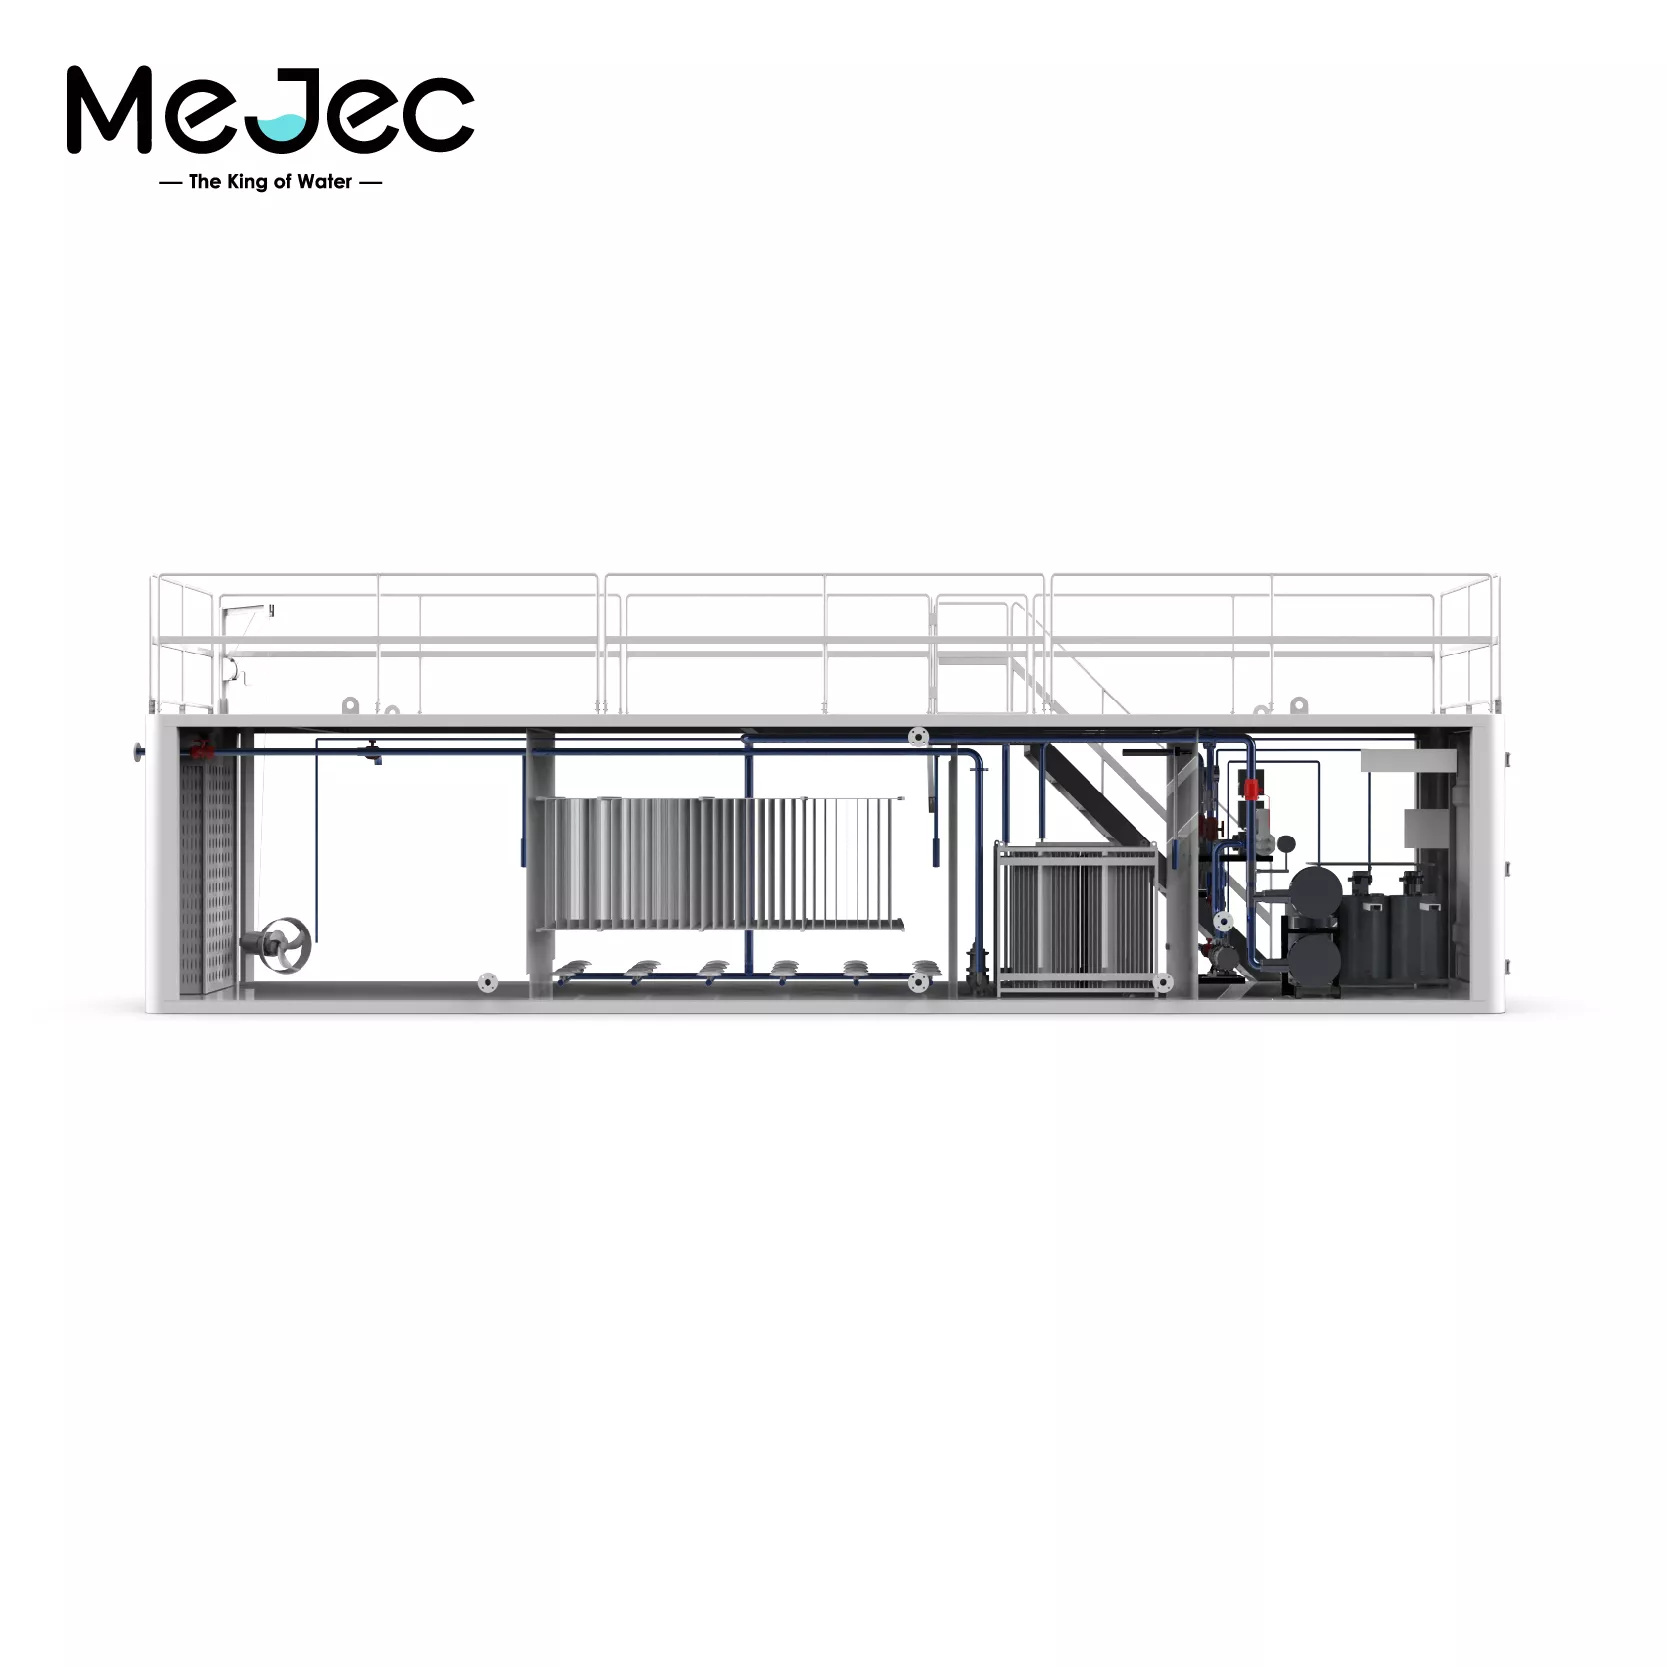
Mejec Containerized MABR Equipment is an innovativ...
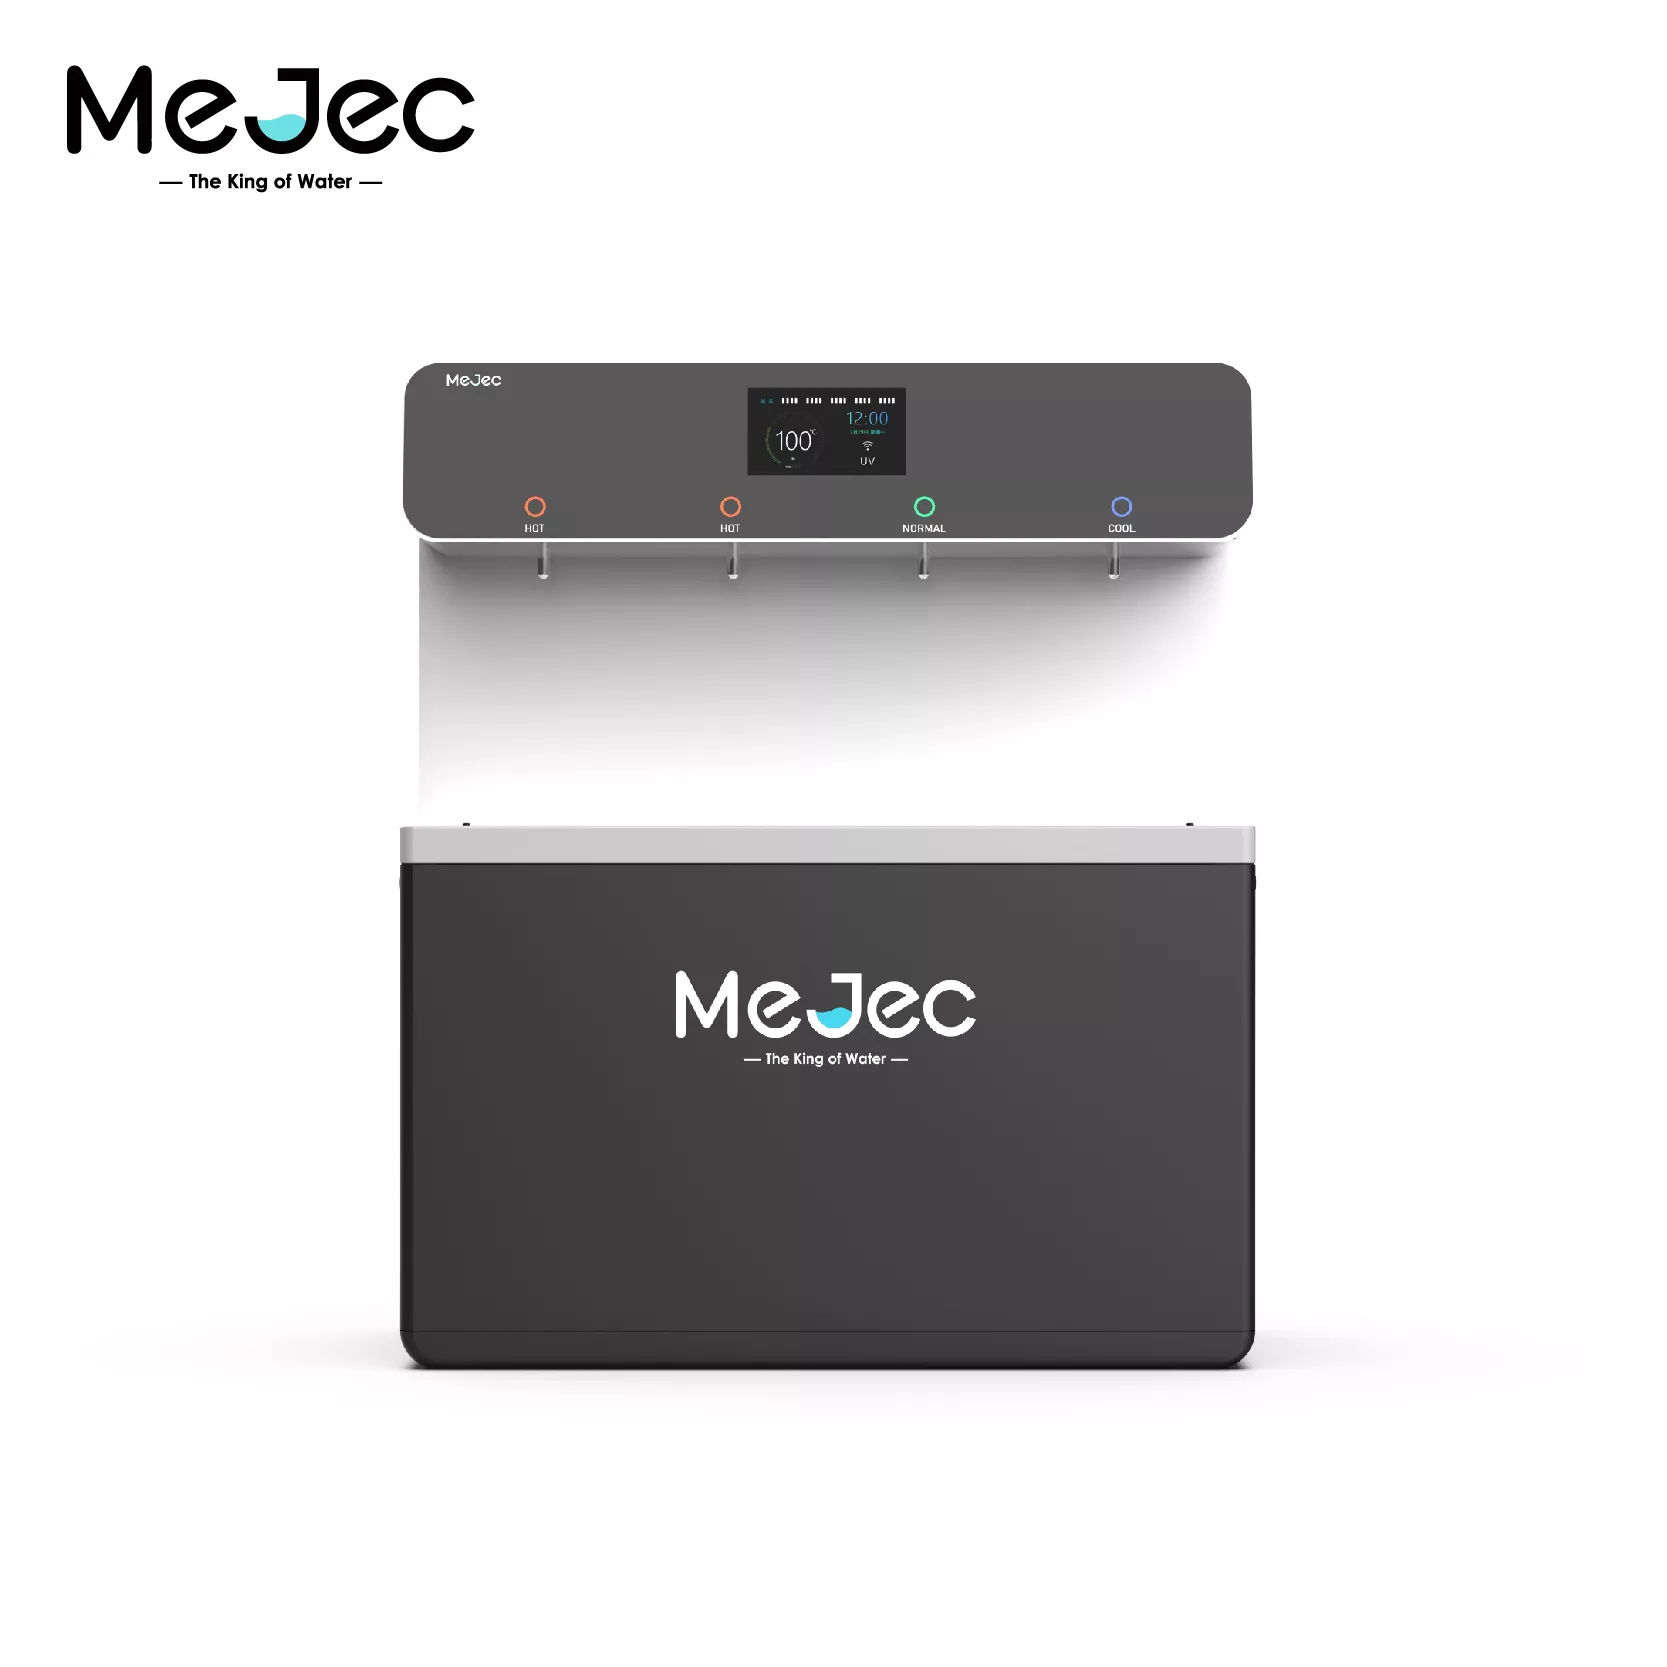
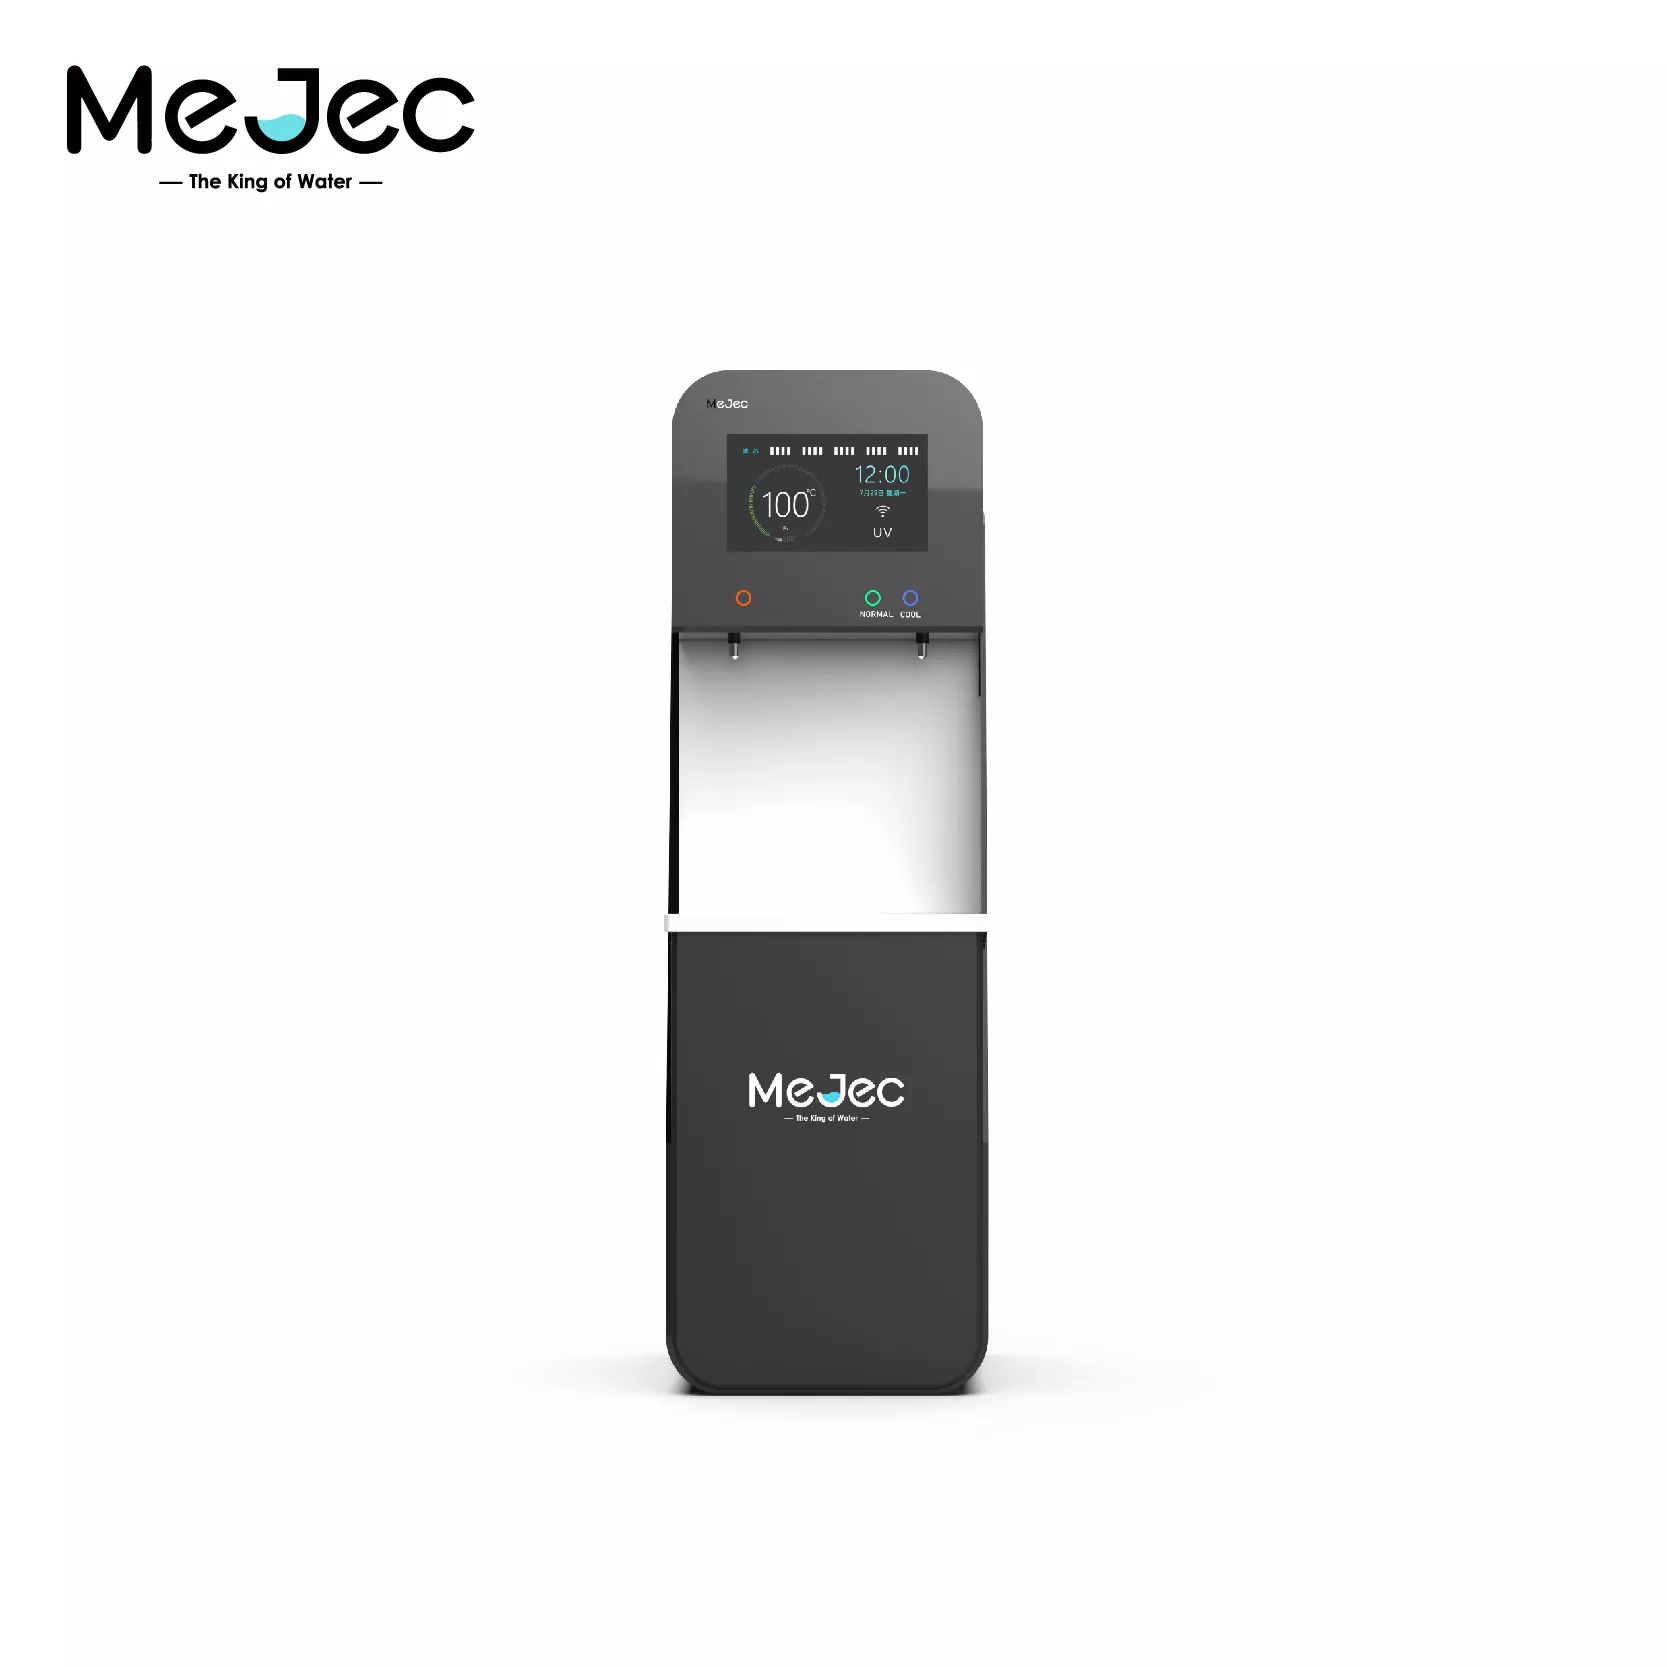
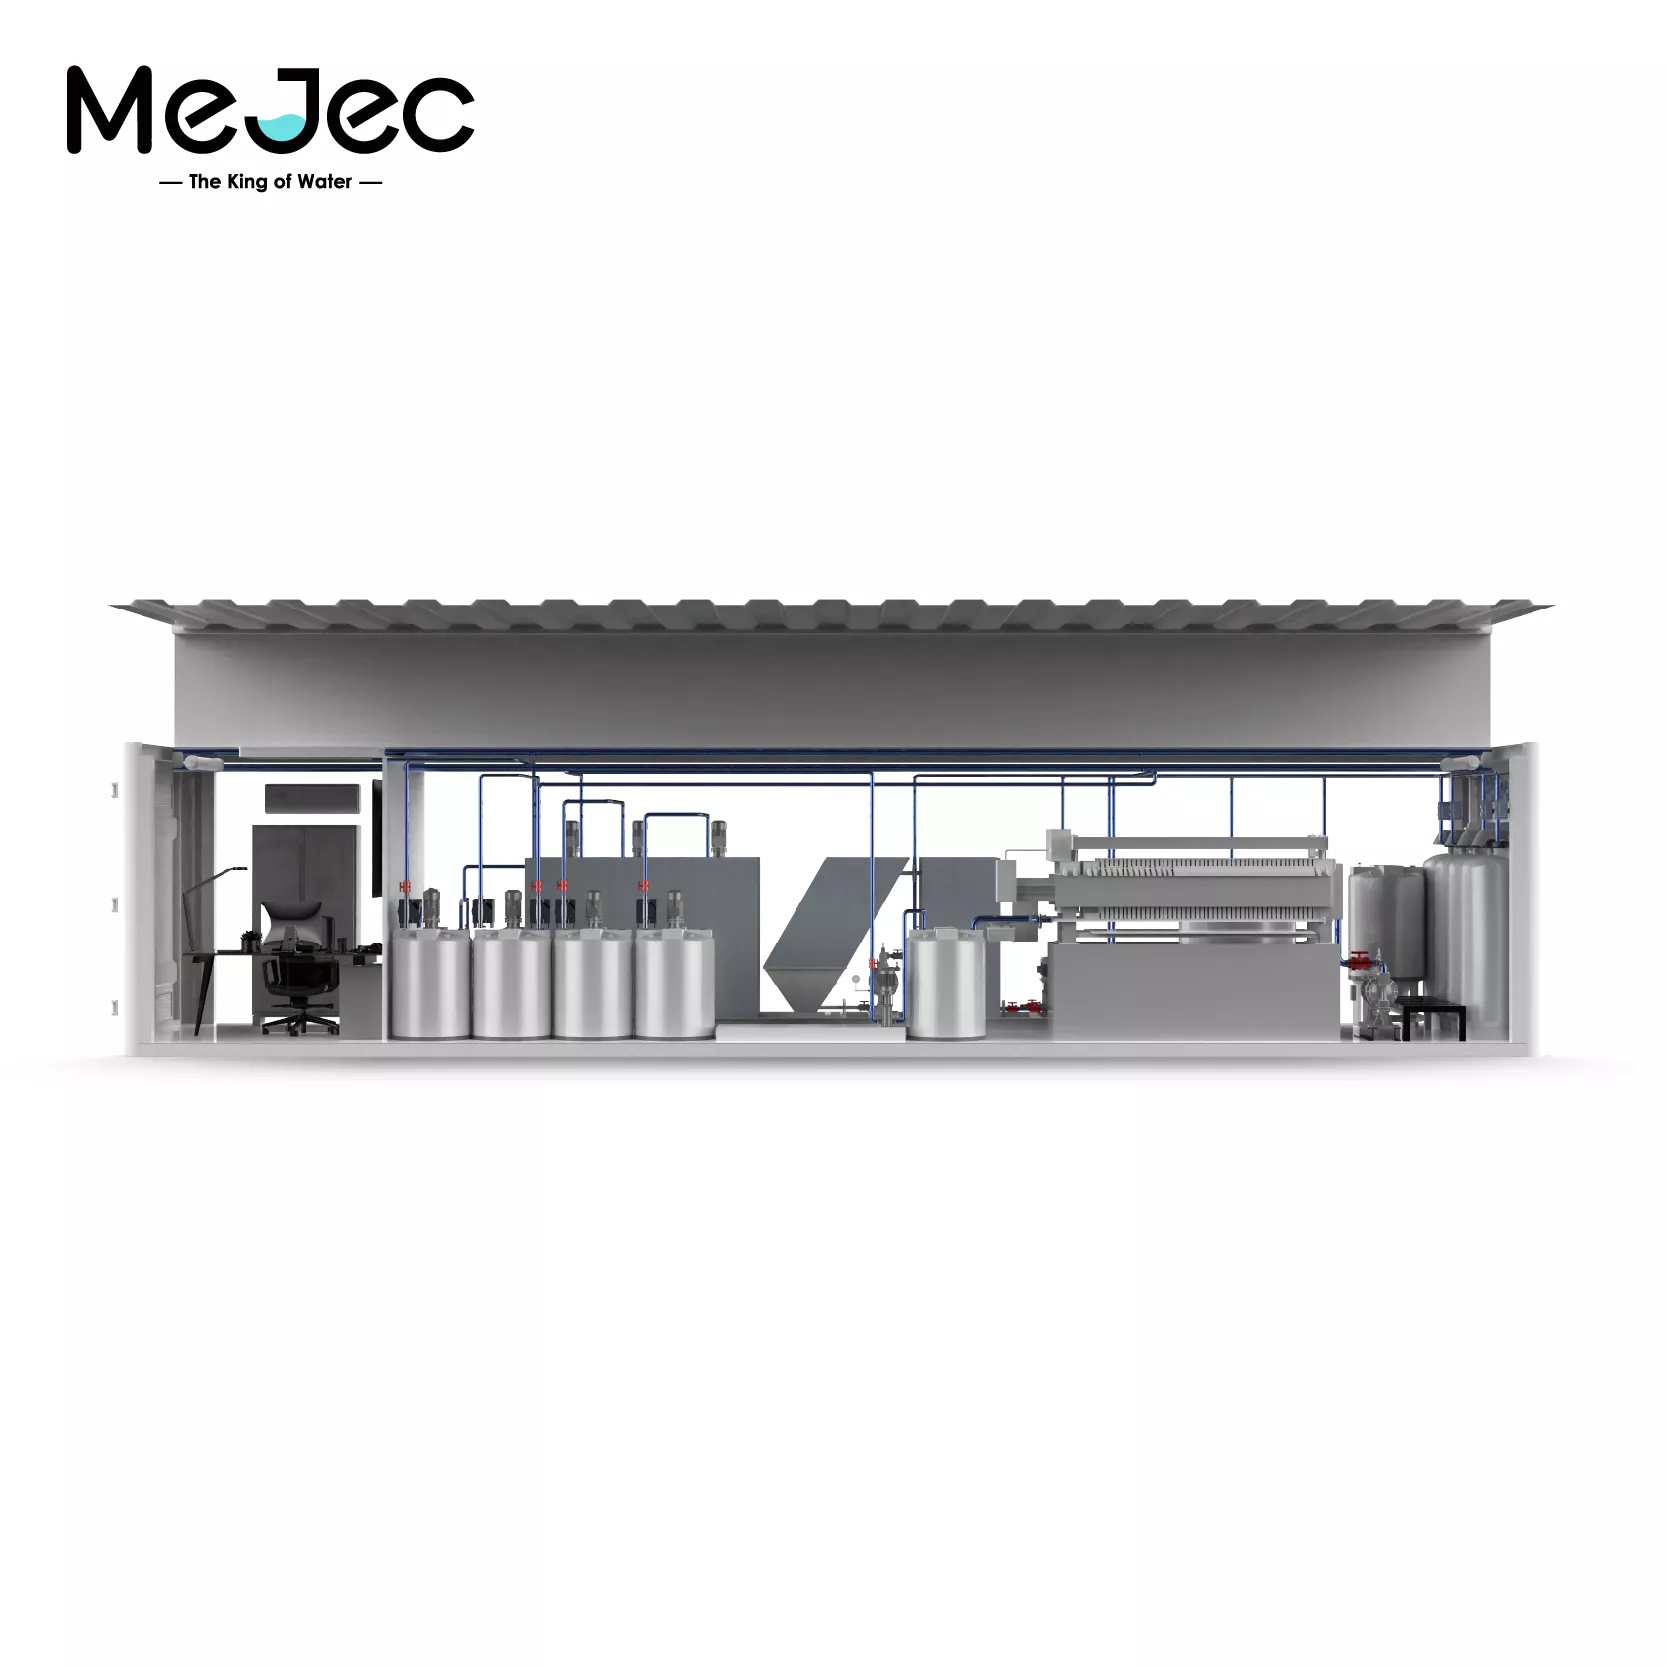
Designed for high-traffic public areas, the Mejec ...

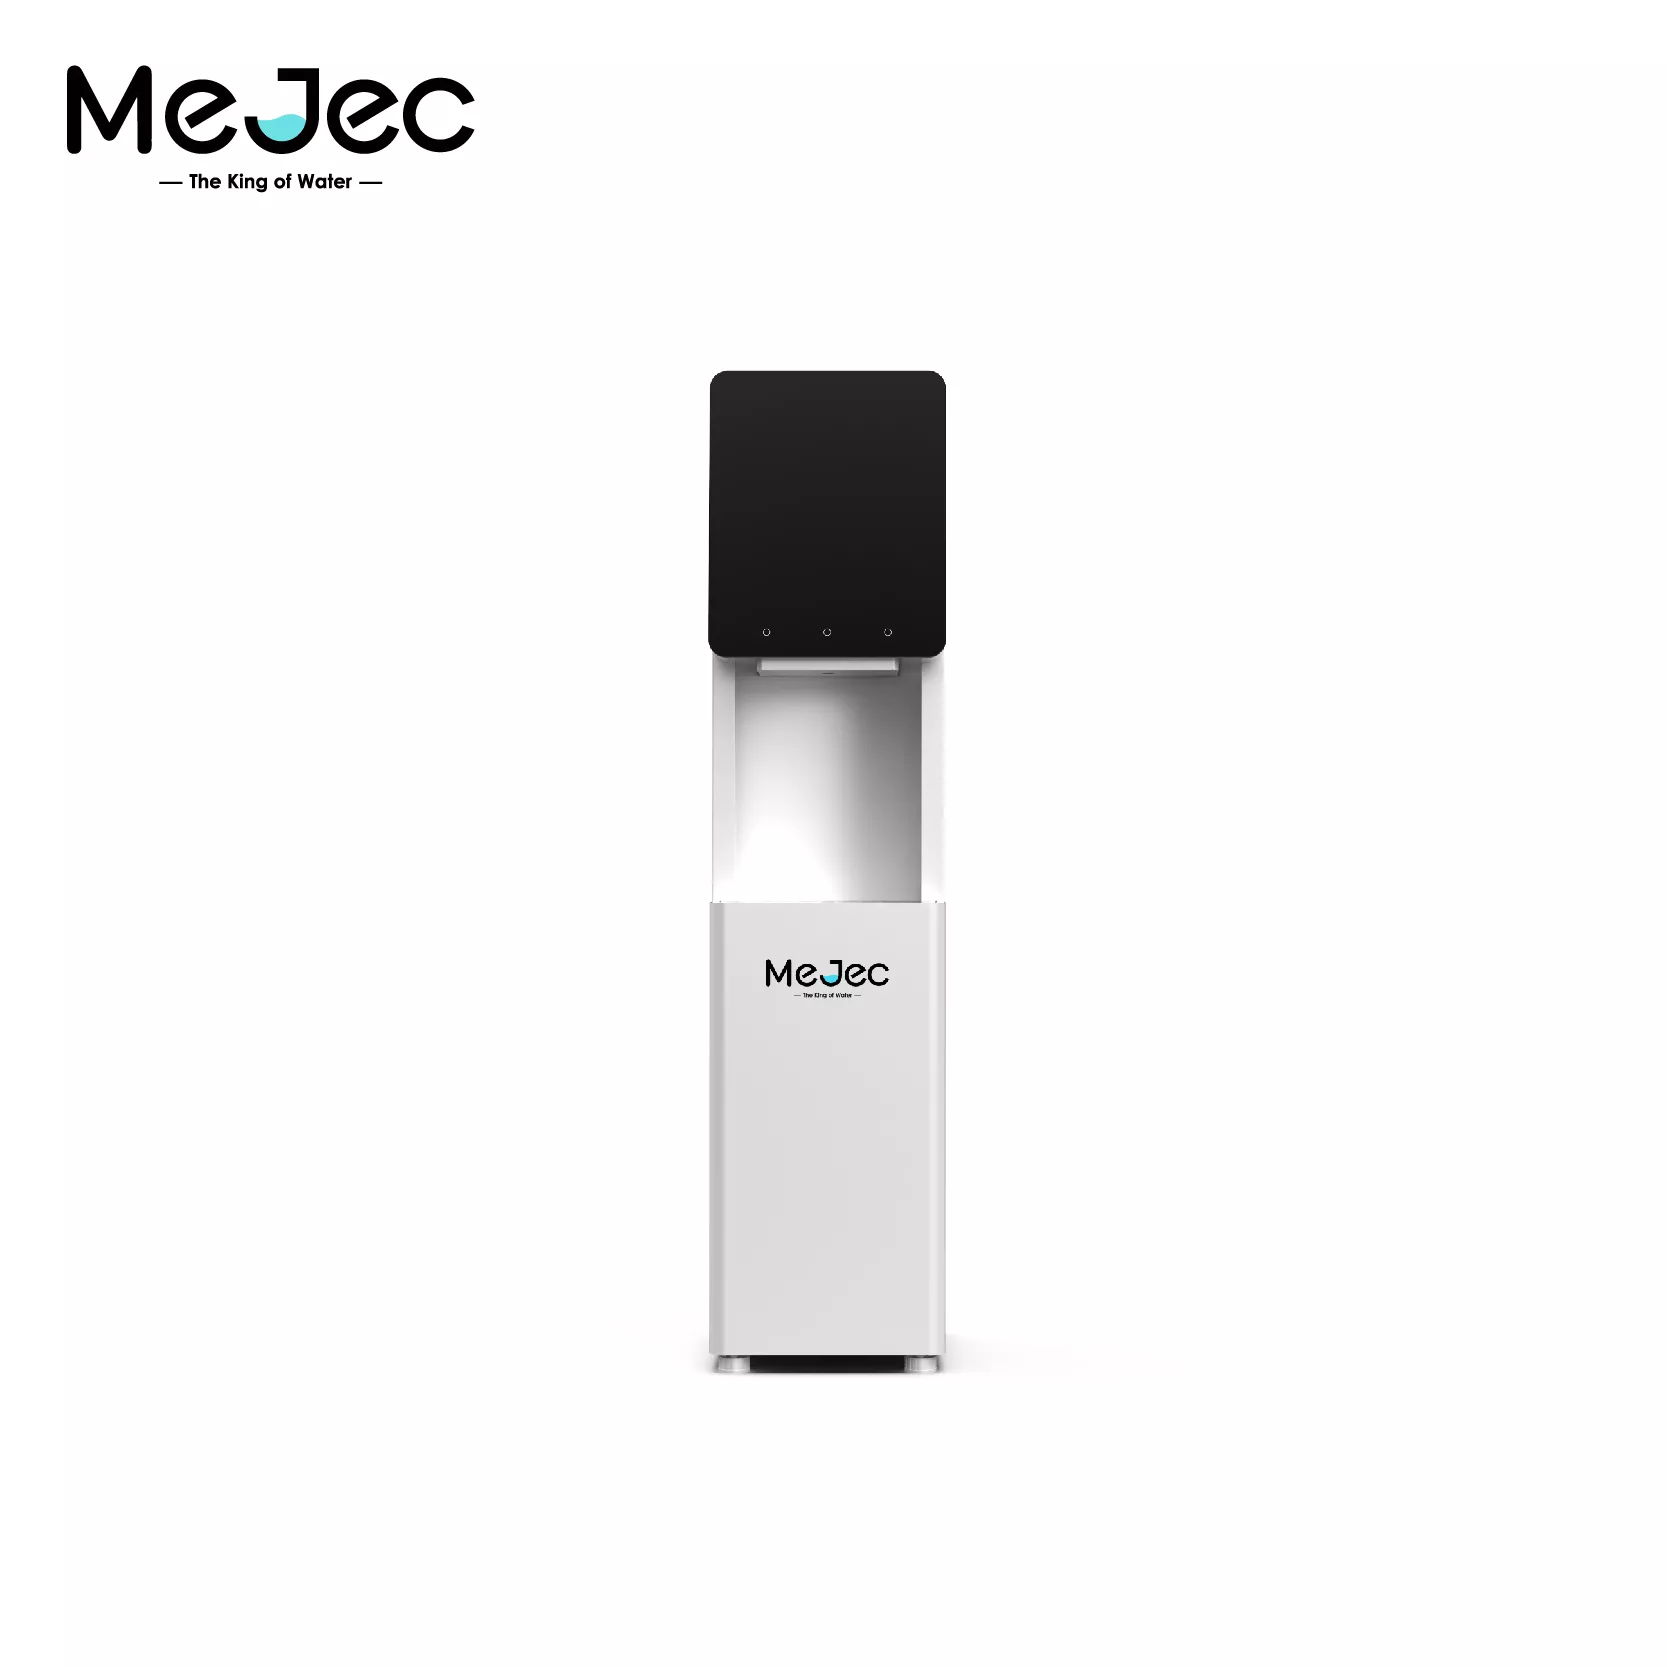
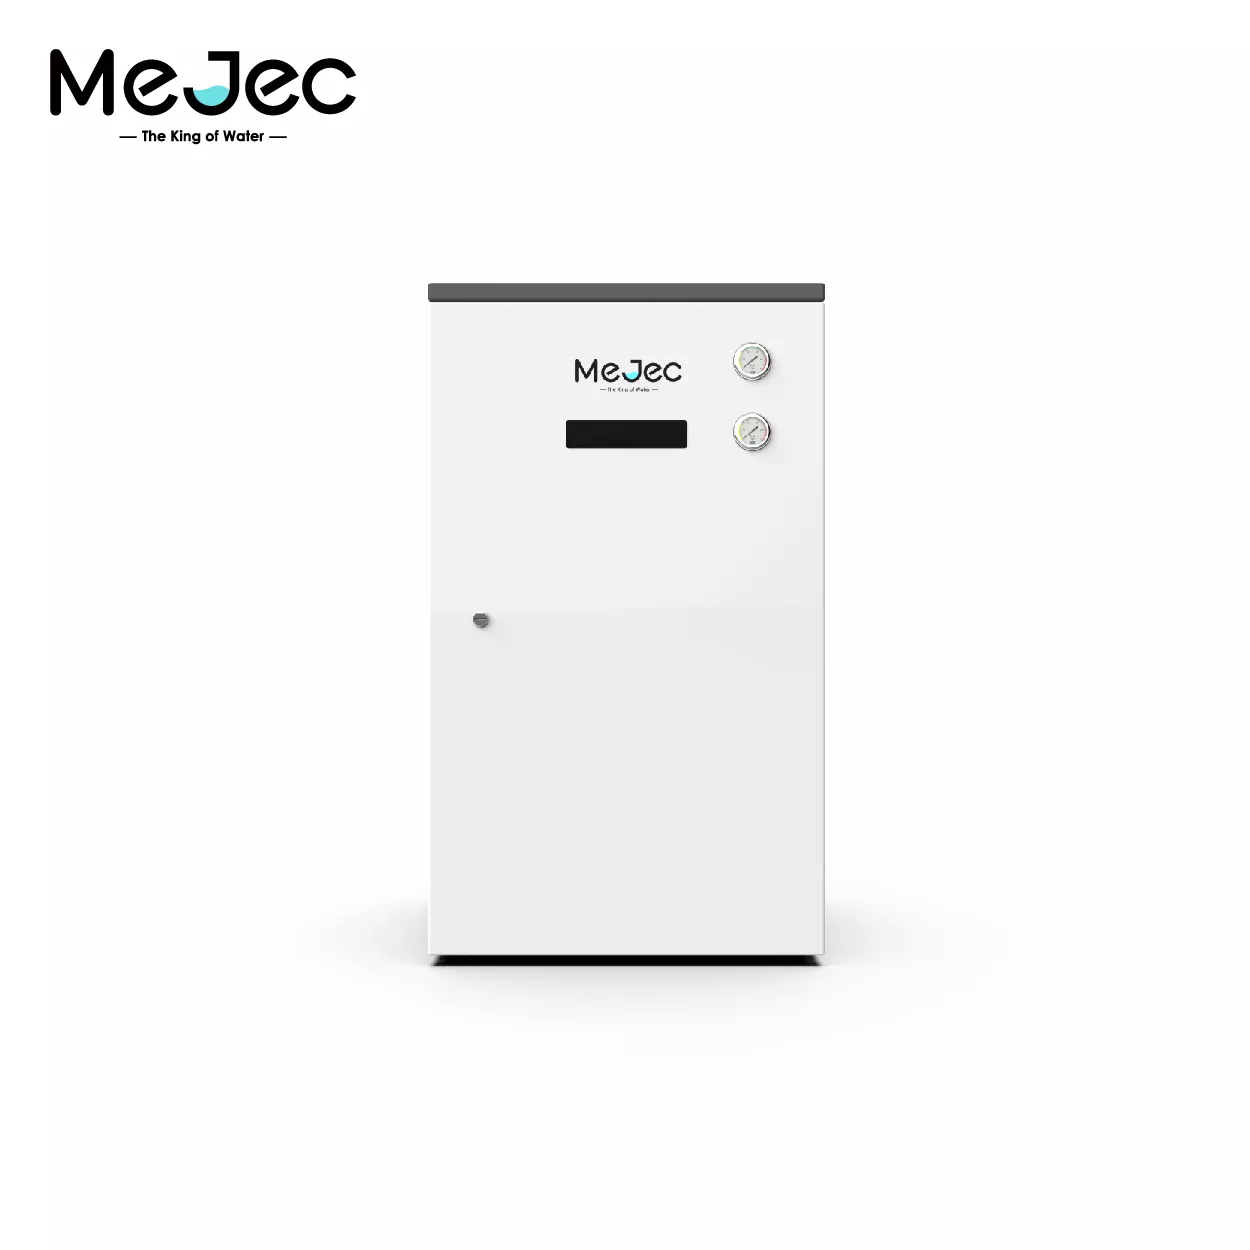
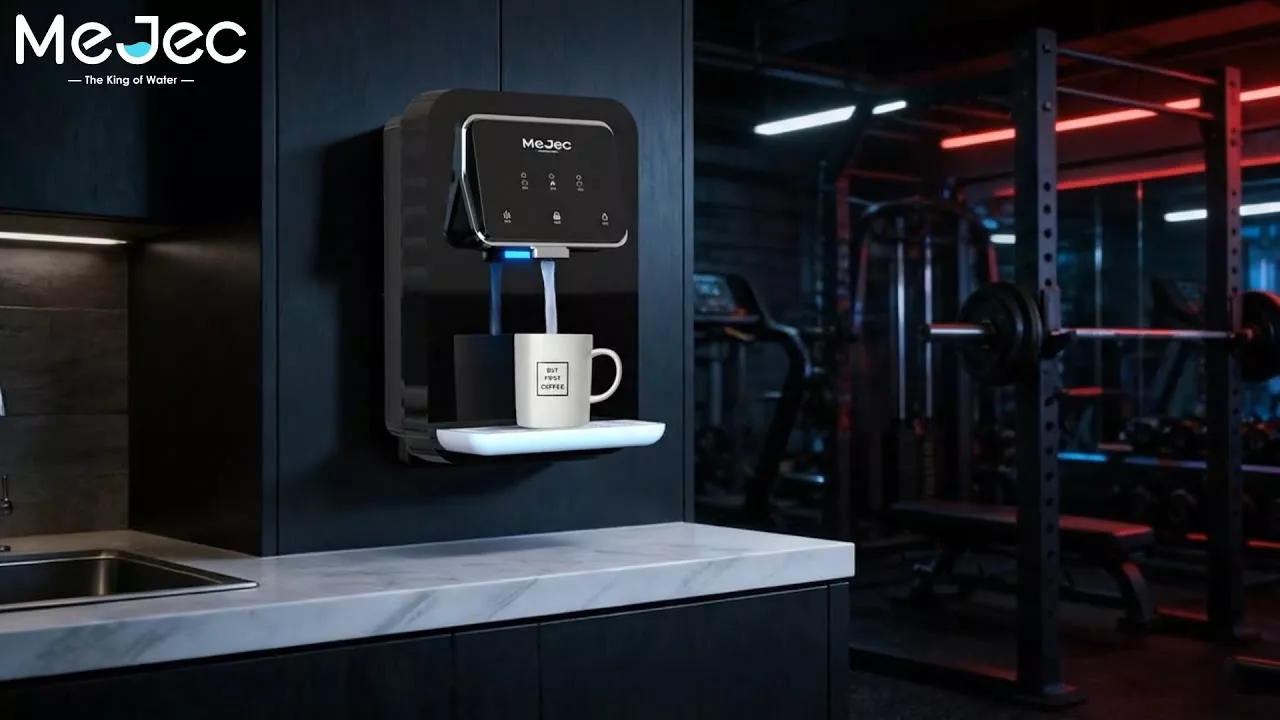
Experience instant, pure water anywhere with the M...
Select the most popular foreign trade service products to meet your diverse needs
Select the most popular foreign trade service products to meet your diverse needs


User Comments
Service Experience Sharing from Real Customers
Michael Rodriguez
Registered NurseThis nightstand water dispenser is a game-changer for my night shifts. No more getting up thirsty or fumbling in the dark. The gentle night light and quiet operation are perfect. It's the best purchase for my health and convenience this year.
Sarah Chen
Software EngineerAs someone who works long hours and often wakes up thirsty, this product is brilliant. The compact design fits perfectly on my nightstand, and the one-touch dispensing is so easy in the dark. It has significantly improved my sleep quality by keeping me hydrated without disruption.
David Miller
ArchitectExcellent design and very functional. The nightstand dispenser is sleek, holds enough water, and the automatic shut-off gives me peace of mind. The only minor drawback is the refill frequency, but for its intended purpose, it's nearly perfect. Highly recommended for light sleepers.
Emily Watson
High School TeacherThis has been a lifesaver during allergy season and when I have a sore throat. Having warm or room-temperature water within arm's reach at night without turning on a bright light is incredibly soothing. It's well-made, easy to clean, and my whole family wants one now.