


How to choose the best commercial water dispensers for restaurants
Find the best commercial water dispenser for your ...
More
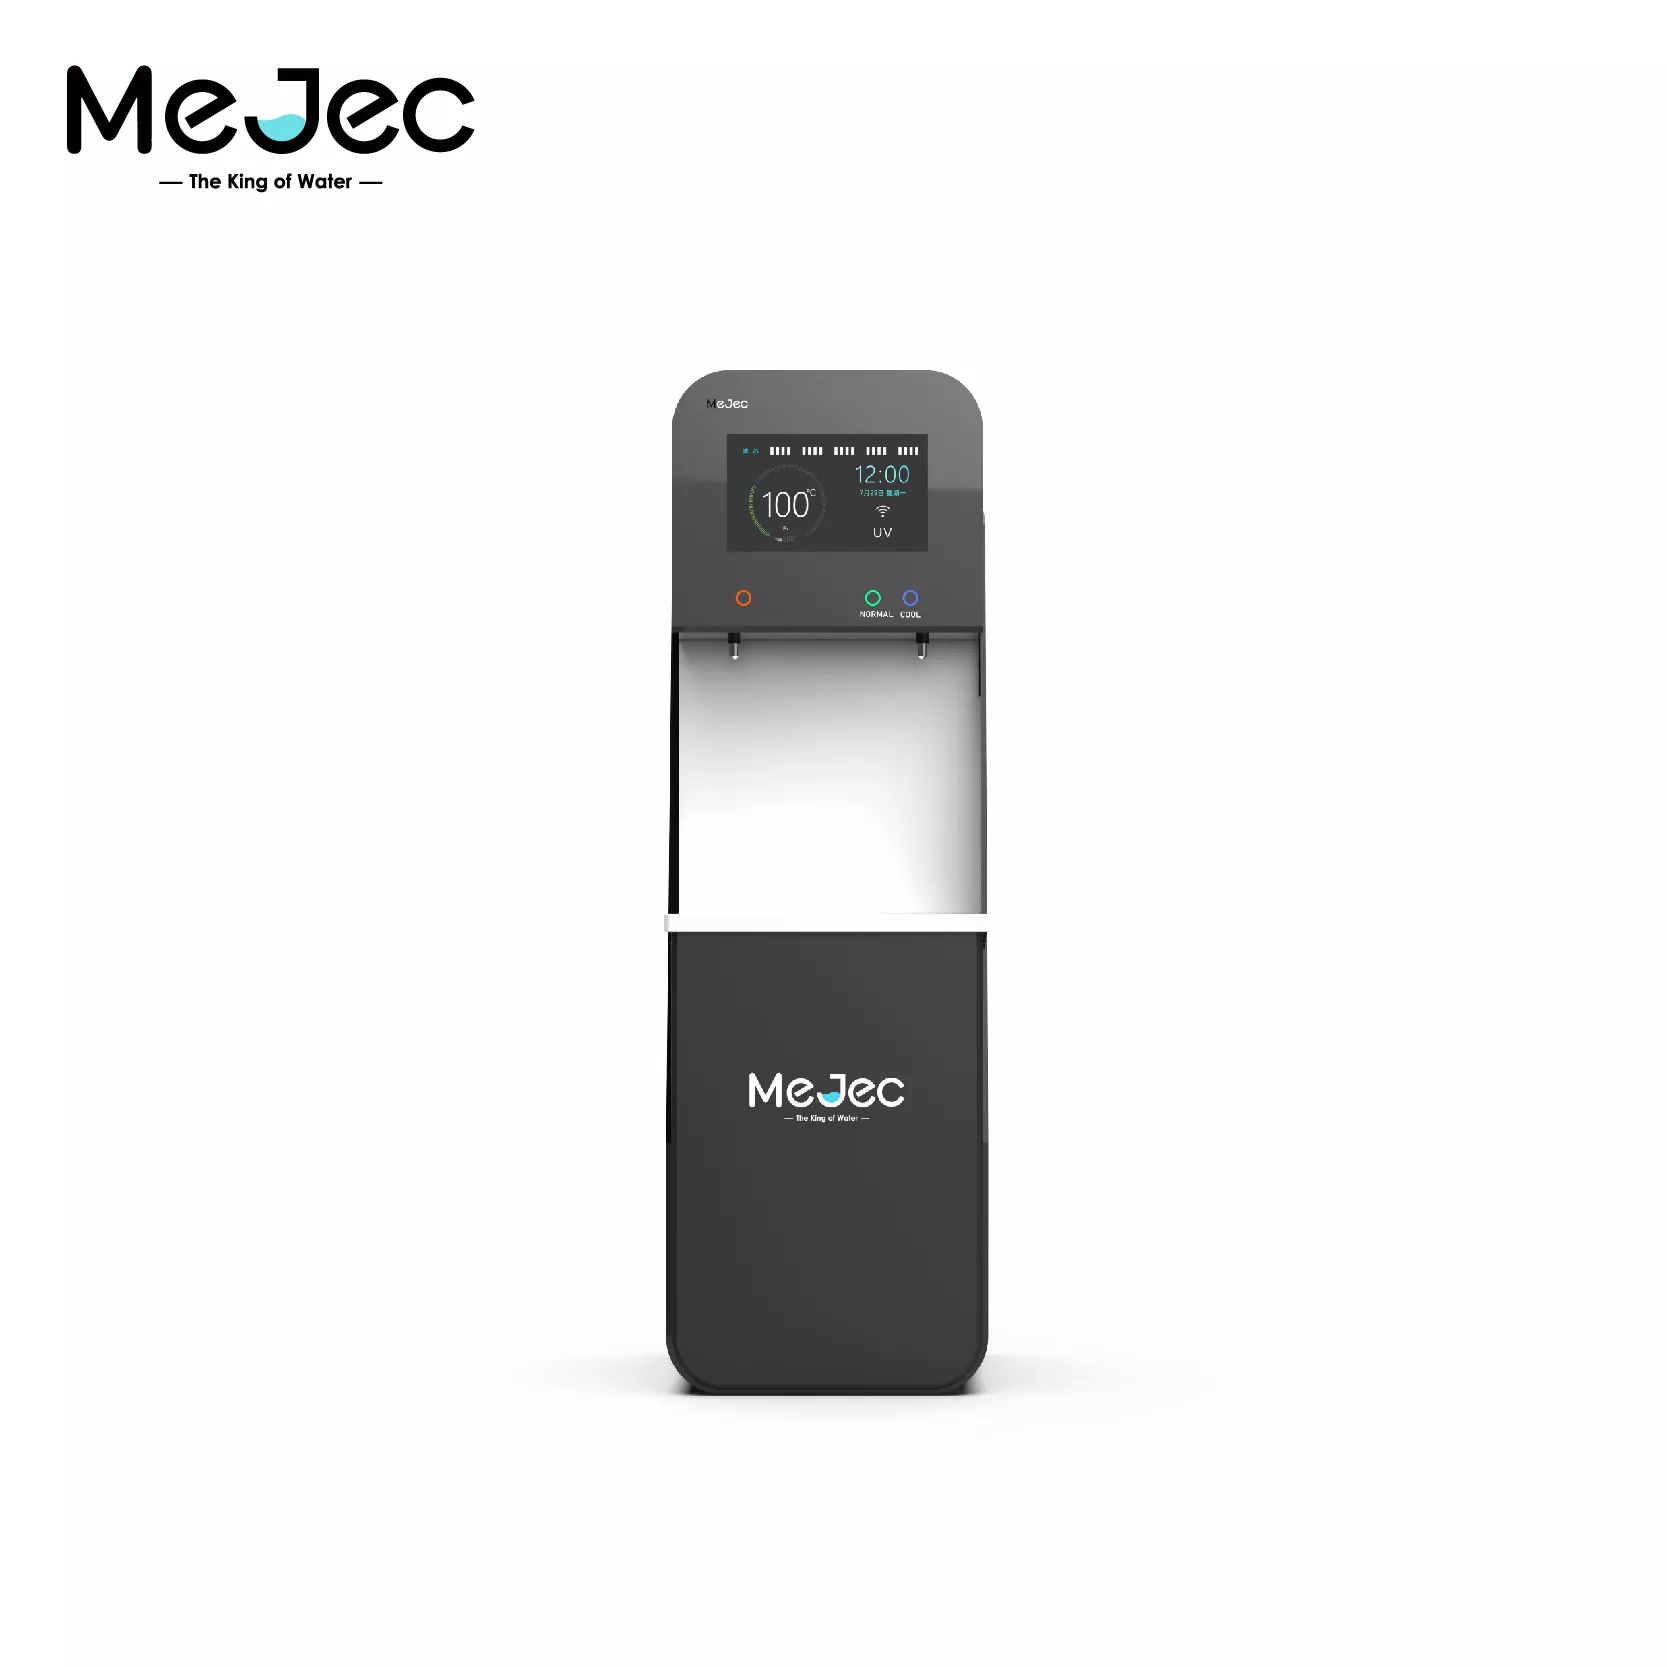
You can install your stand alone water dispenser with a few basic tools. You will need an adjustable wrench and a screwdriver for this project. The key task involves connecting the unit's tubing to your cold water line.
Note: A feed water adapter creates a secure, leak-free connection for your setup.
Prepare your space and gather tools before you start. This includes choosing a good spot and turning off the cold water supply.
Install the feed water adapter and connect the tubing carefully. Make sure all connections are tight to prevent leaks.
Flush the system and install filters before using the dispenser. This makes sure your water is clean and tastes good.
Proper preparation makes your installation project smooth and successful. Taking a few moments to get organized now will prevent headaches later.
First, you should collect all necessary items. Your dispenser kit includes the tubing and a feed water adapter. You will also need a screwdriver and an adjustable wrench. Some plumbing setups may require extra tools.
Copper Pipes: You will need a copper tubing cutter if you have to cut a copper riser tube.
Specialized Fittings: Some brands, like SharkBite, use deburring tools to ensure a perfect seal.
Tool-Free Options: Many modern kits use John Guest quick-connect fittings. These connect and disconnect without any special tools.
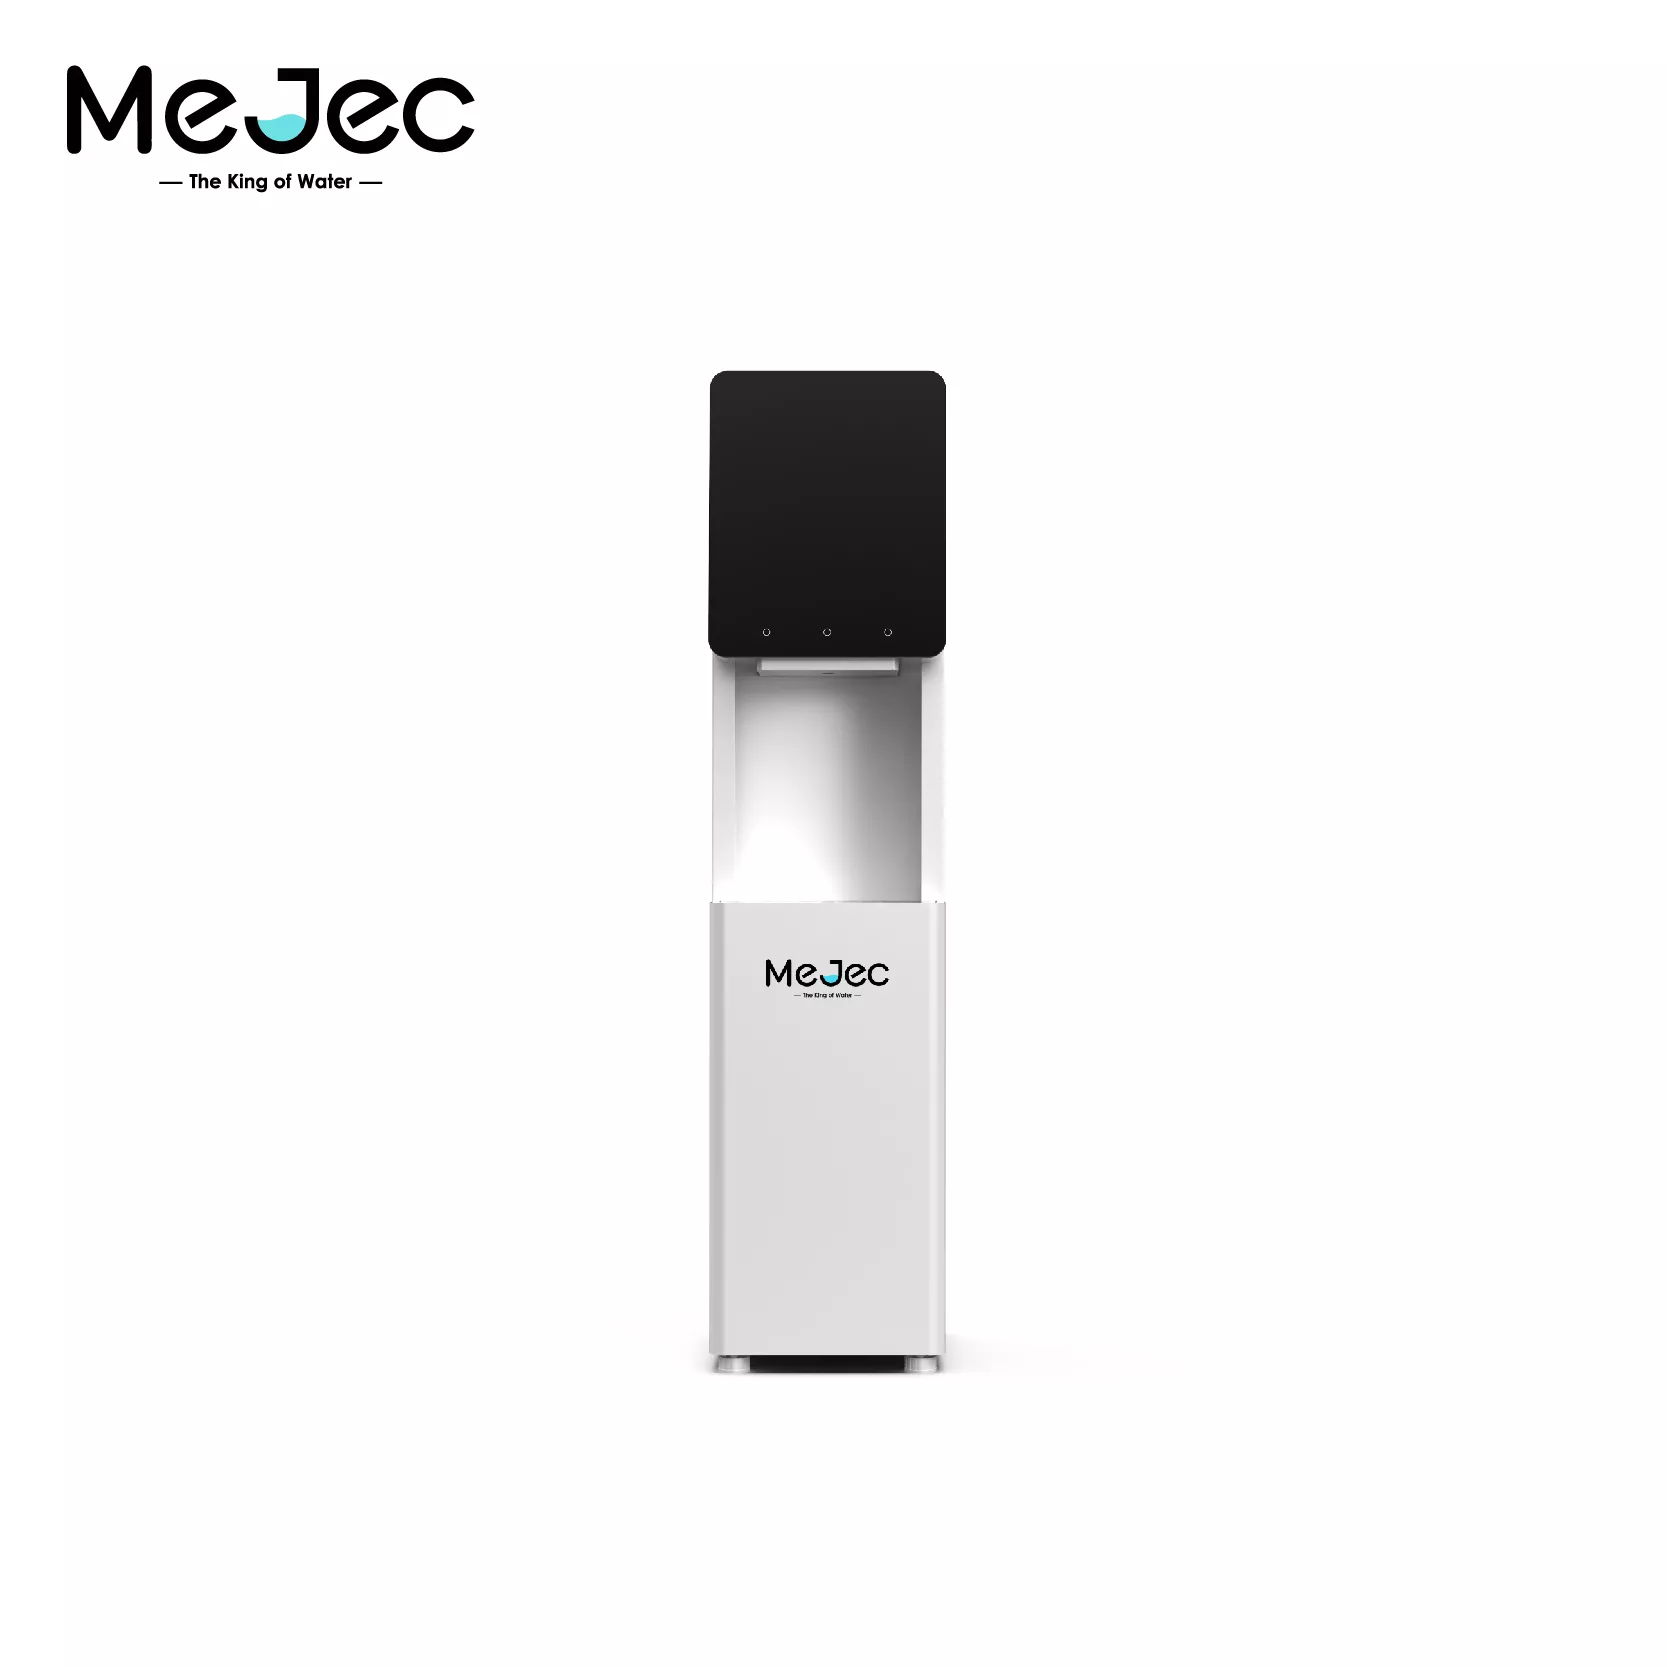
Selecting the right location is crucial for safety and performance. Your stand alone water dispenser needs a specific environment to work well.
Location Checklist 📝
Ventilation: Place the unit in a cool, well-ventilated spot away from direct sunlight. This helps the machine dissipate heat and extends its lifespan.
Flooring: The floor must be flat and strong enough to support the dispenser's full weight without tilting.
Power: Position the unit so its power cord can reach an outlet. Keep the outlet at least 6 feet away from any water source for safety.
Before you connect any tubing, you must turn off the water. You can find the cold water supply valve under your sink. In homes with slab foundations, this is a very common location for the shut-off valve.
Locate the small valve on the cold water line leading to your faucet.
Turn the handle clockwise until it stops. Use gentle but firm pressure.
Confirm the water is off. Go to the faucet and turn on the cold water. The flow should slow to a trickle and then stop completely. Now you are ready to work without causing a flood!
You are now ready for the main installation. This part of the project connects your dispenser to the water supply. Follow each step carefully for a secure and functional setup.
The feed water adapter connects the dispenser's tubing to your home's cold water line. Most kits provide a push-fitting adapter, which is easy to install.
For Push-Fitting Adapters (like SharkBite):
Mark the pipe where you want to install the adapter. Cut the pipe squarely at this mark.
Deburr the inside and outside of the pipe. A smooth edge prevents damage to the fitting's O-ring.
Use a depth gauge tool to mark the correct insertion depth on the pipe.
Push the adapter onto one side of the pipe until it hits the depth mark. Then, connect the other side. A full connection is vital to prevent leaks.
A Word of Caution ⚠️
You might see clamp-style saddle valves at the hardware store. These use a needle to puncture the pipe. Avoid them. The rubber seal can fail over time, creating a serious leak risk. It is better to use a more secure fitting.
Tips for a Leak-Proof Seal:
Use thread seal tape on any threaded connections.
Wrap the tape clockwise around the male threads two to four times.
Overlap each layer by half the tape's width.
Do not use thread seal tape on compression or flare fittings, as it can interfere with the seal.
Next, you will connect the water line to your stand alone water dispenser. Most modern units use quick-connect fittings. These create a tight seal without tools.
Cut the Tube: Measure the distance from the feed water adapter to the dispenser's inlet port. Cut the tubing to length with a square, clean cut. Avoid any sharp edges or score marks.
Insert the Tube: Push the tube firmly into the quick-connect fitting on the back of the dispenser. You will feel it grip.
Push to the Stop: Continue pushing until the tube is fully seated against the internal tube stop. This ensures the O-ring creates a perfect seal.
Check the Connection: Gently pull on the tubing. It should feel secure and not move.
Repeat this process to connect the other end of the tubing to the feed water adapter you just installed.
This is a critical moment. You will now test your connections for any leaks.
Slowly turn the cold water supply valve counter-clockwise to restore water flow.
Listen for any hissing sounds and carefully inspect every connection point.
Check the feed water adapter and the connection at the back of the dispenser.
Use a dry paper towel to wipe each connection. Any moisture will show up immediately.
If you find a leak, turn the water off immediately and revisit your connections. Ensure all fittings are tight and the tubing is fully inserted.
Troubleshooting: No Water Flow?
If water does not dispense, you might have an airlock or a blockage.
Bleed the Air: Press and hold the cold water dispense lever. It may take a few moments for air to clear and water to flow.
Check Filters: A clogged or improperly installed filter can stop water flow. Ensure it is seated correctly.
Inspect Lines: Make sure the tubing is not kinked or frozen.
Before you drink the water, you must flush and sanitize the system. This removes any dust from manufacturing and ensures your water is clean.
Place a large bucket under the cold water spigot.
Dispense at least two gallons of water through the system. This flushes the internal lines and reservoir.
If your model has a hot water tank, dispense water from the hot spigot too (it will be room temperature).
Follow the manufacturer's instructions to install the water filters. Most filters twist or click into place inside the stand alone water dispenser.
After installing the filters, flush another gallon of water through the system to activate them and remove any carbon fines.
Pro Tip: For initial sanitization, you can run a solution of one gallon of water mixed with one tablespoon of white vinegar through the system. Let it sit for 15 minutes before flushing thoroughly with fresh water until no vinegar taste remains.
Your stand alone water dispenser is now ready for use. The final step is to power it on.
Plug the power cord into a grounded wall outlet.
Locate the hot and cold water switches on the back of the unit. Turn them to the "On" position.
You will hear the compressor or cooling fan start. The heating element will also begin to warm the water in the hot tank.
It takes time for the water to reach the target temperatures.
Cold Water: Expect the cold water to be fully chilled in about 1 to 3 hours. The room's temperature can affect this timing.
Hot Water: The hot water tank typically heats up faster, usually within 15-20 minutes.
Once the initial cycle is complete, your dispenser will provide continuous hot and cold water on demand.
You have successfully installed your water dispenser! By preparing your space and connecting the water line, you now have continuous, filtered water. This choice helps reduce plastic bottle waste, benefiting the environment. Your DIY project saved you time and money. Remember to follow the manufacturer's maintenance schedule for long-lasting performance.
You should replace the filters every six months for best performance. Always check your user manual for the manufacturer's specific guidelines to maintain water quality.
A plastic taste is common with new units. You can fix this by flushing more water through the system. The taste should disappear after a few gallons.
Yes, you can dispense room-temperature water without electricity. However, the hot and cold functions will not work until you plug the unit in and turn them on.

We provide you with comprehensive foreign trade solutions to help enterprises achieve global development
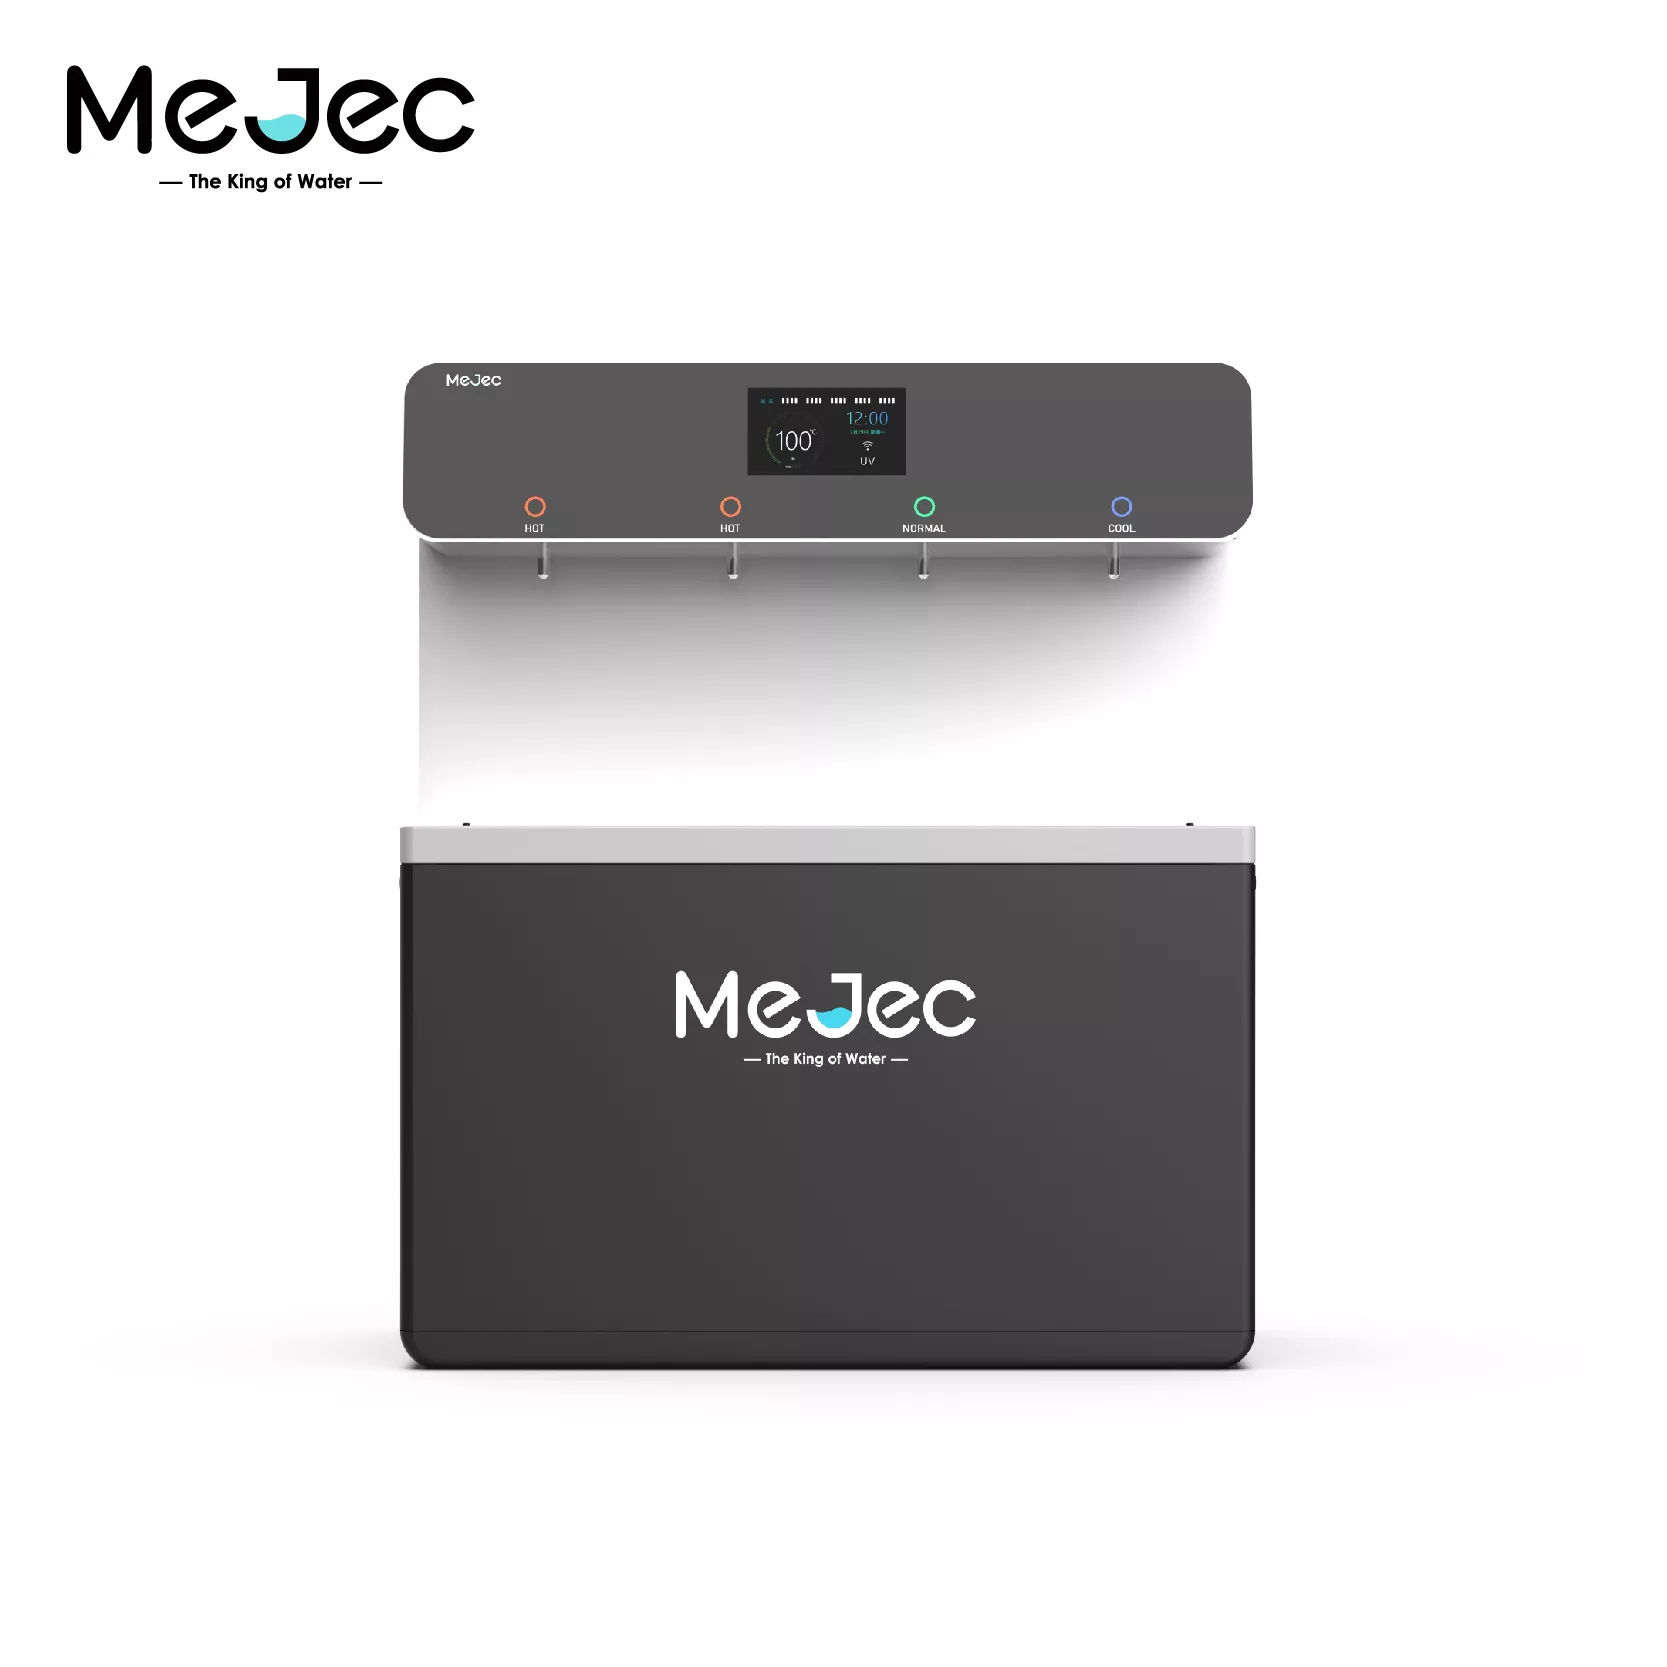
Designed for high-traffic public areas, the Mejec ...
.webp)
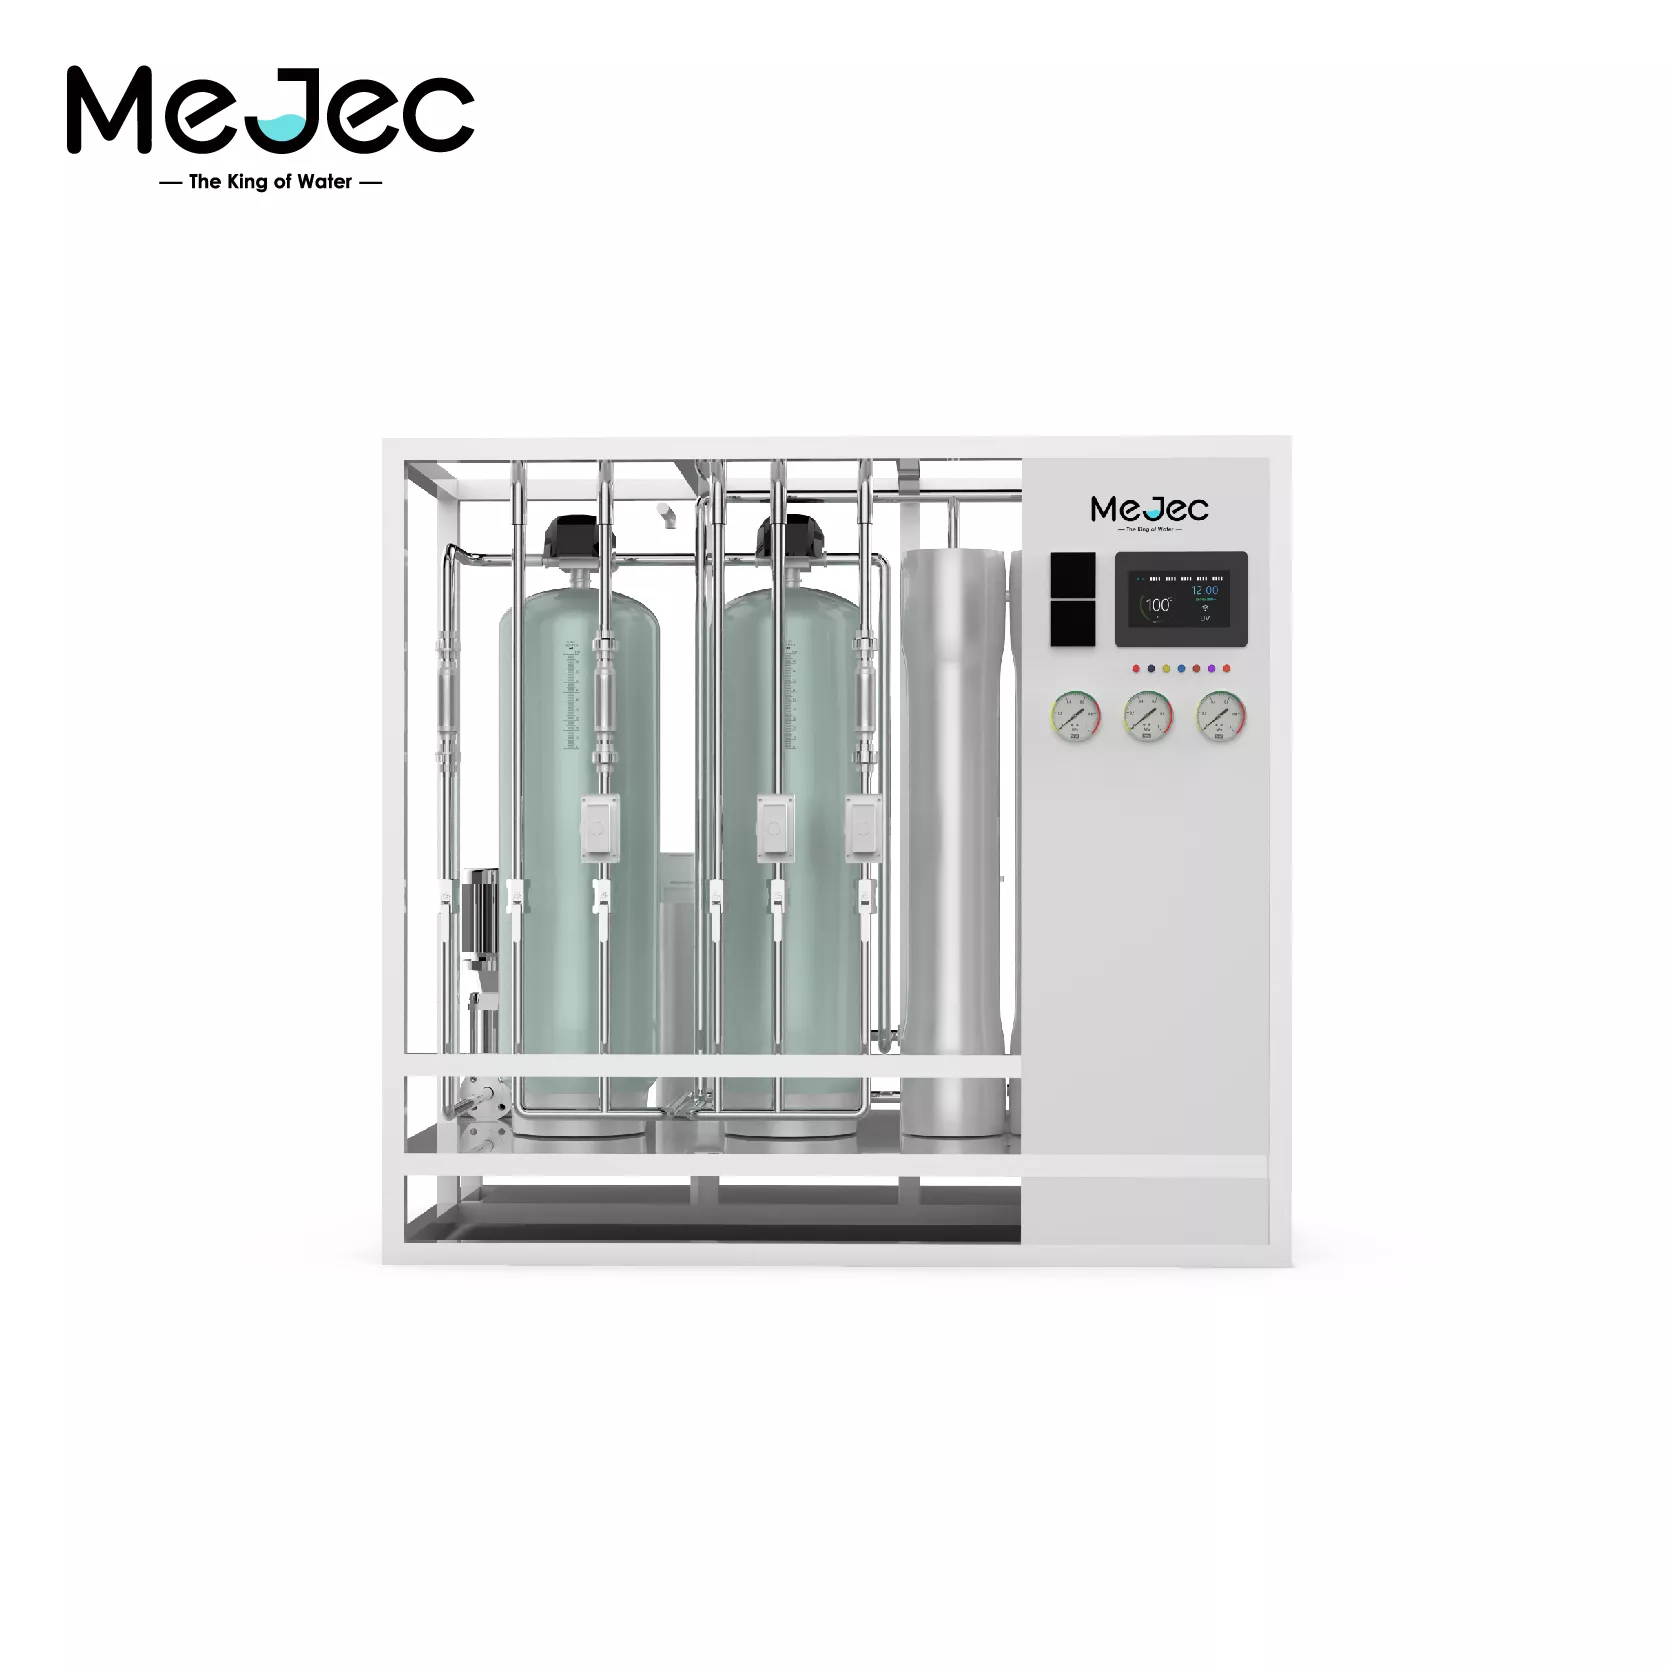
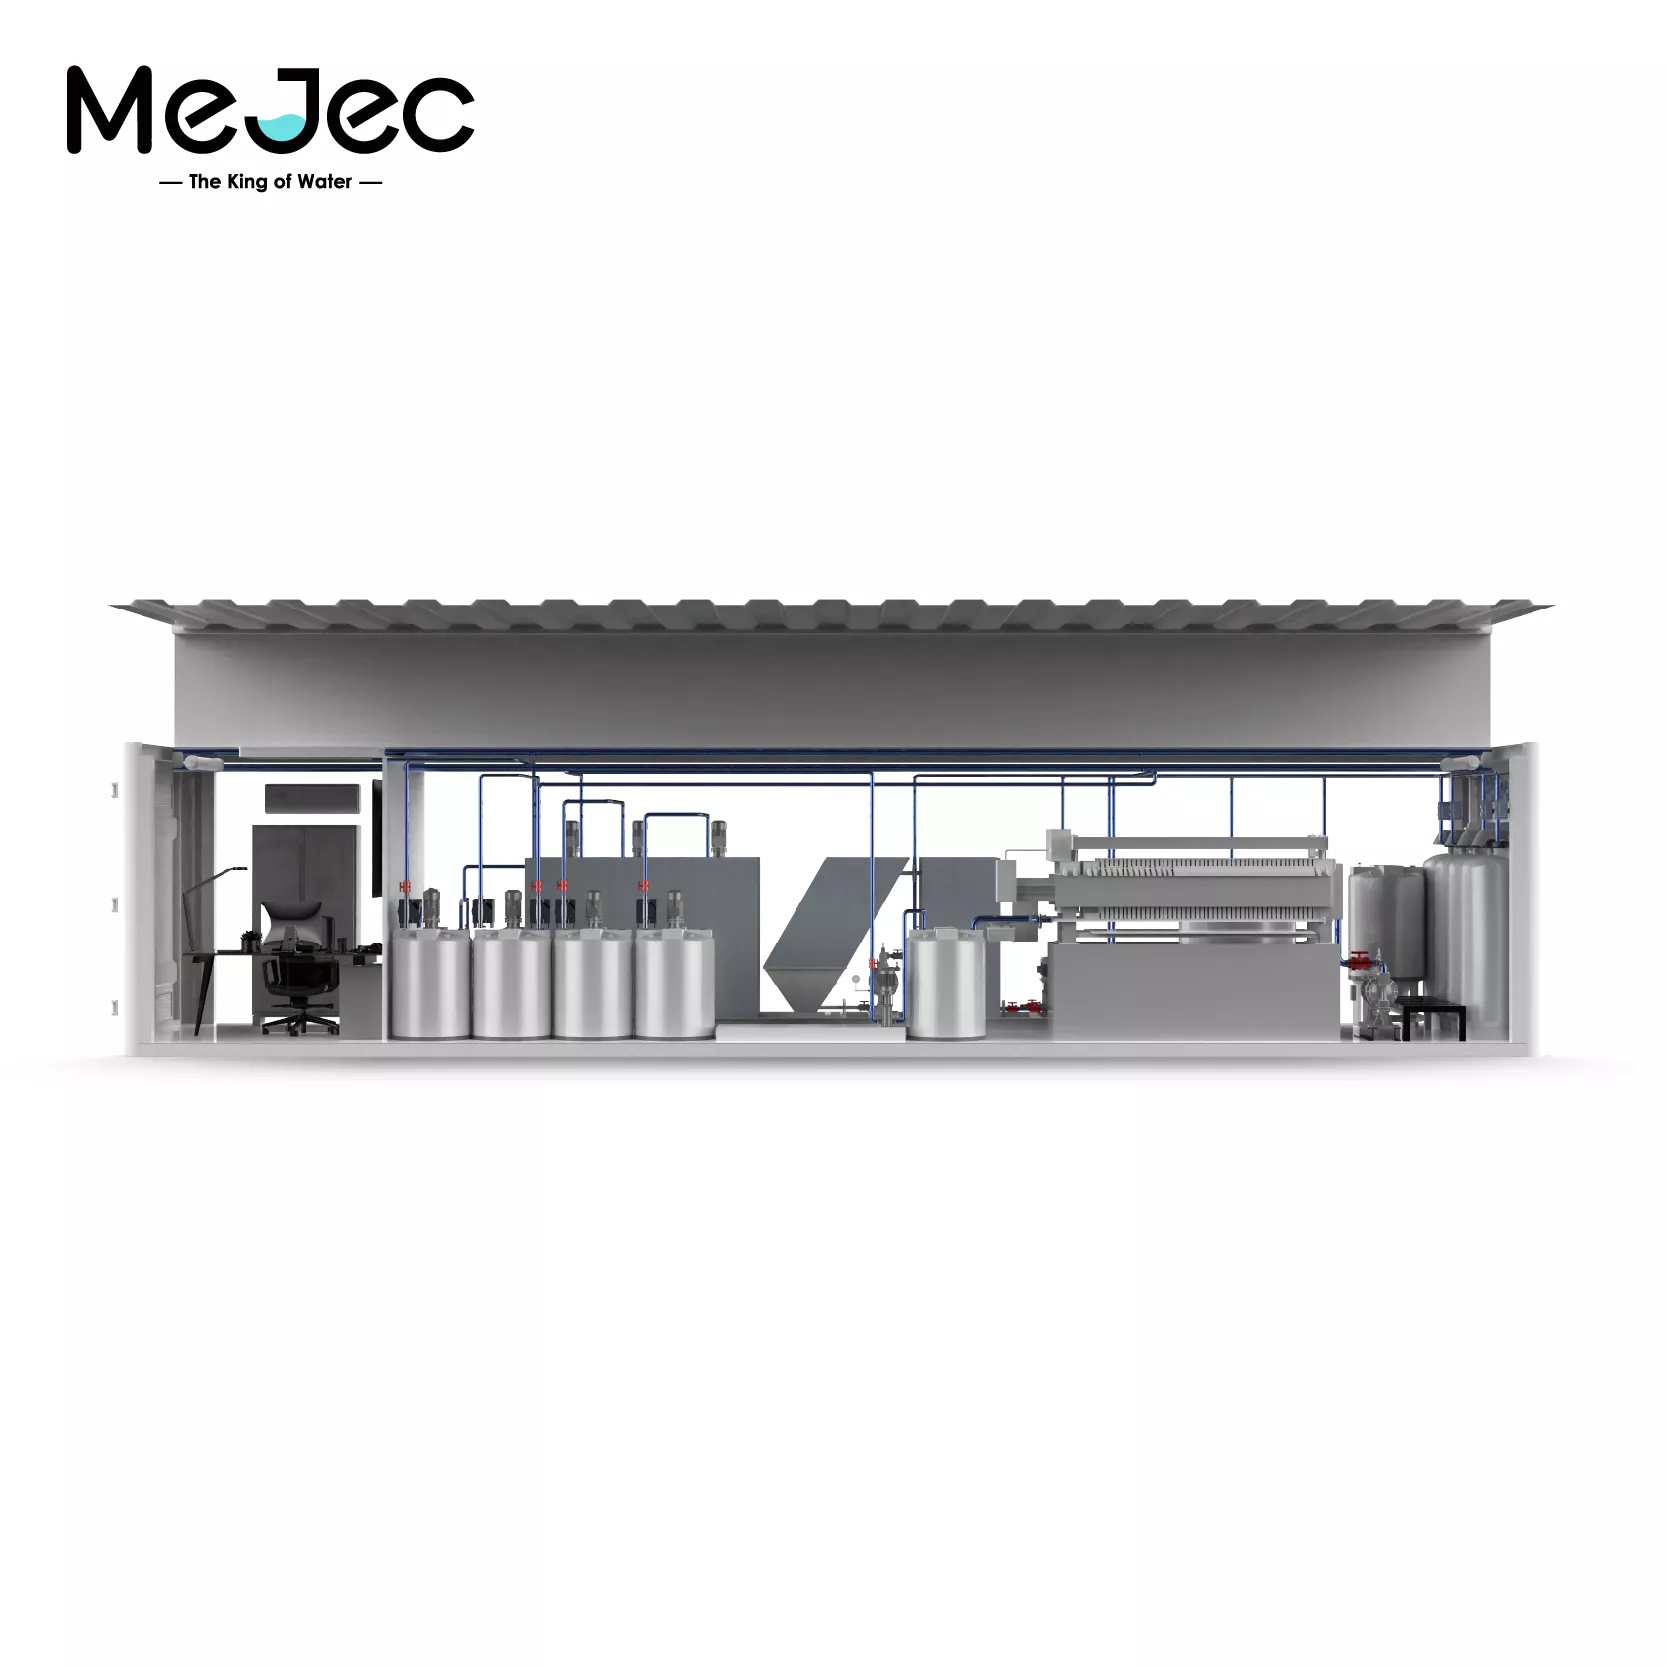
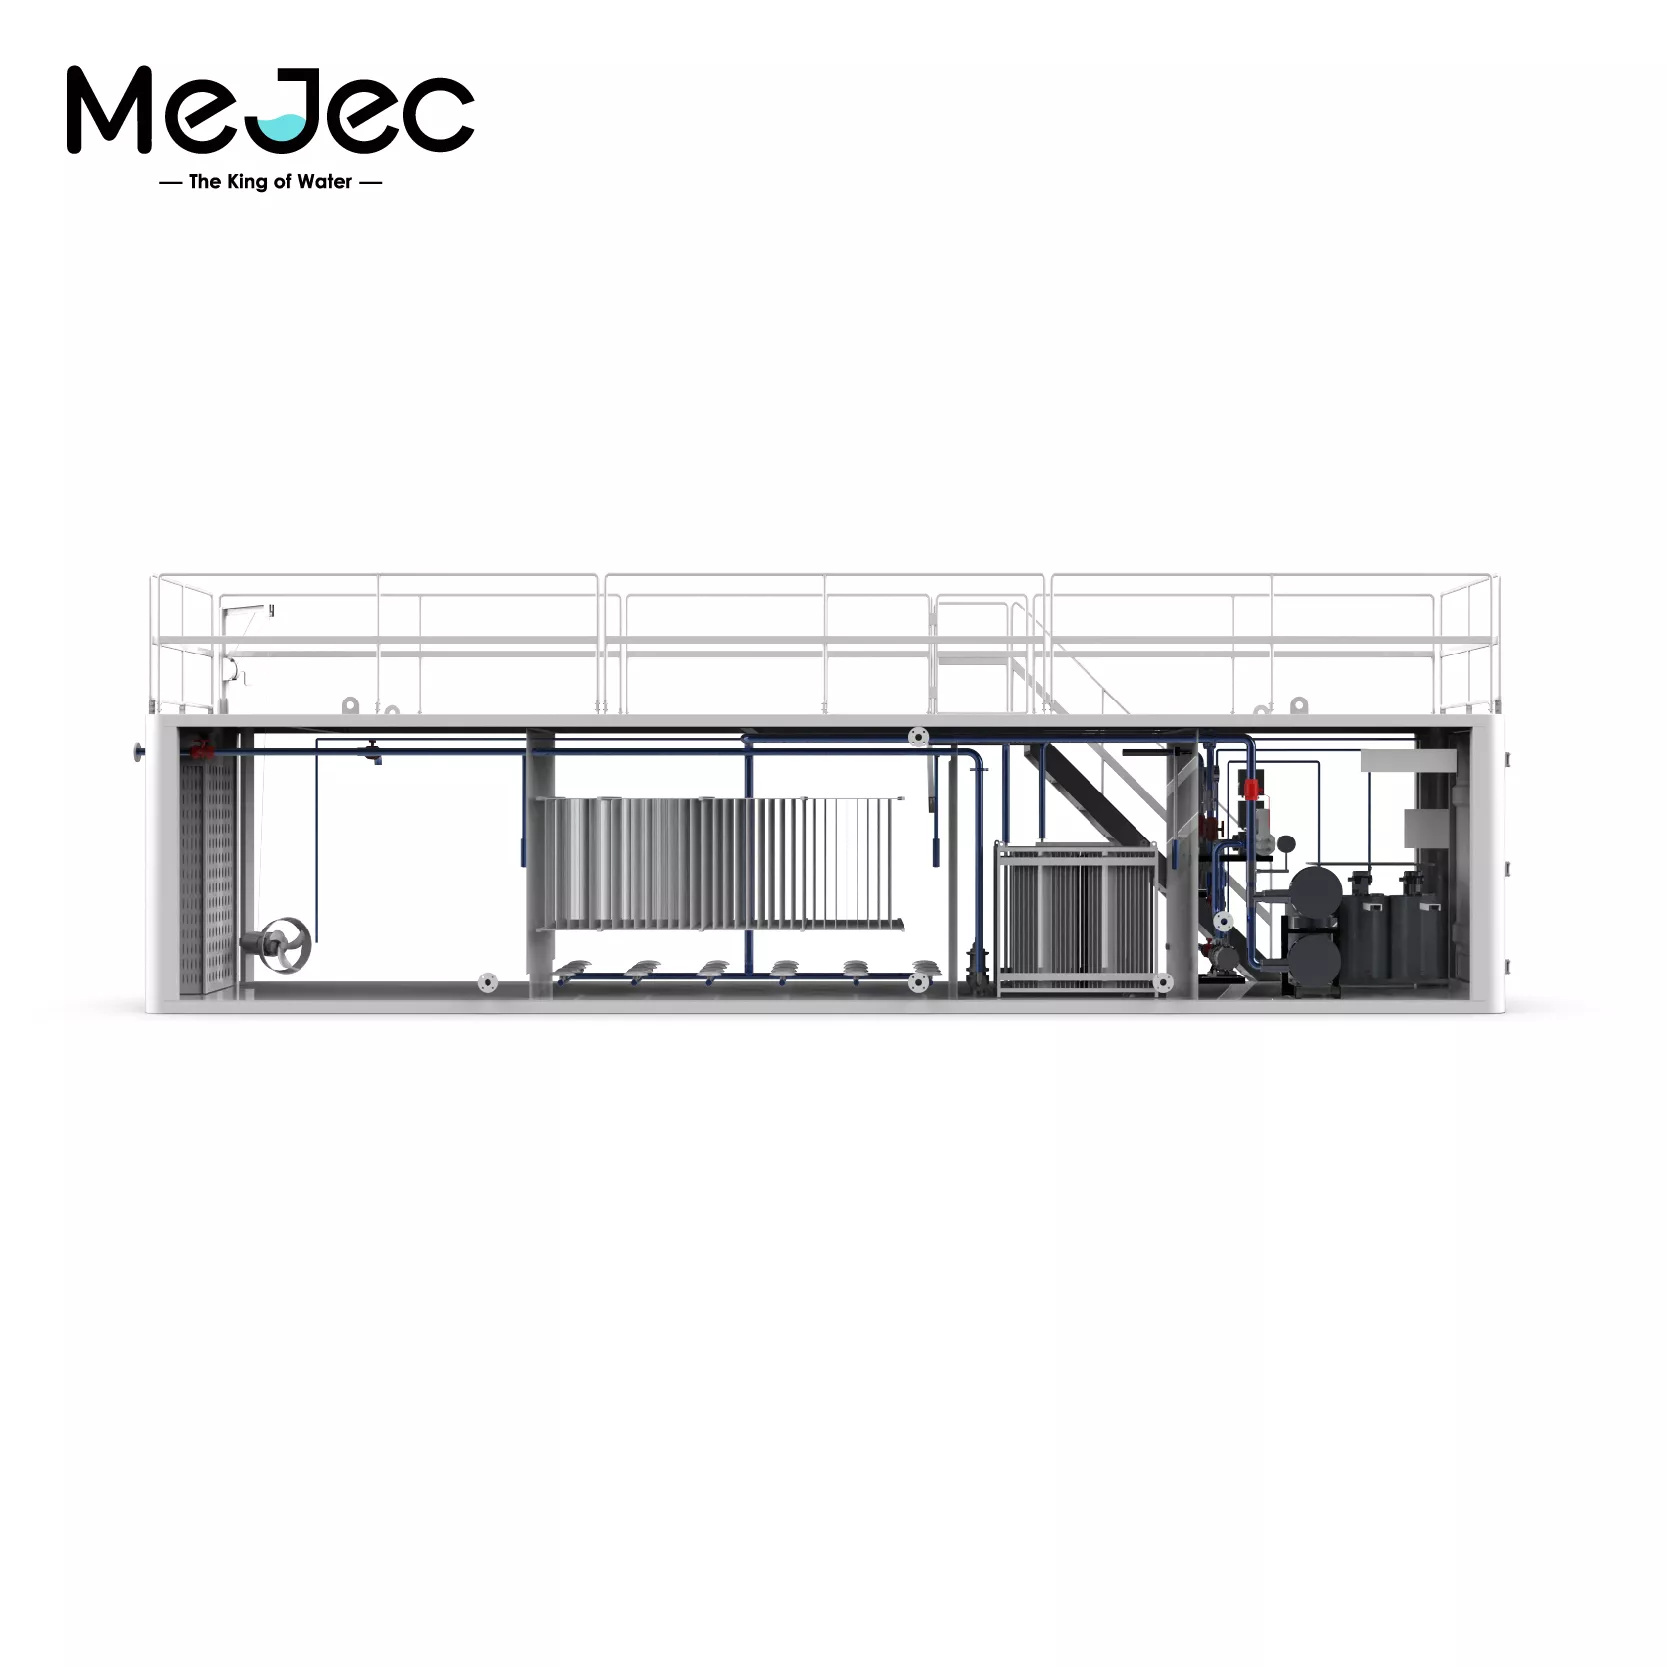
Mejec containerized seawater desalination system i...
Mejec containerized sewage treatment system incorp...
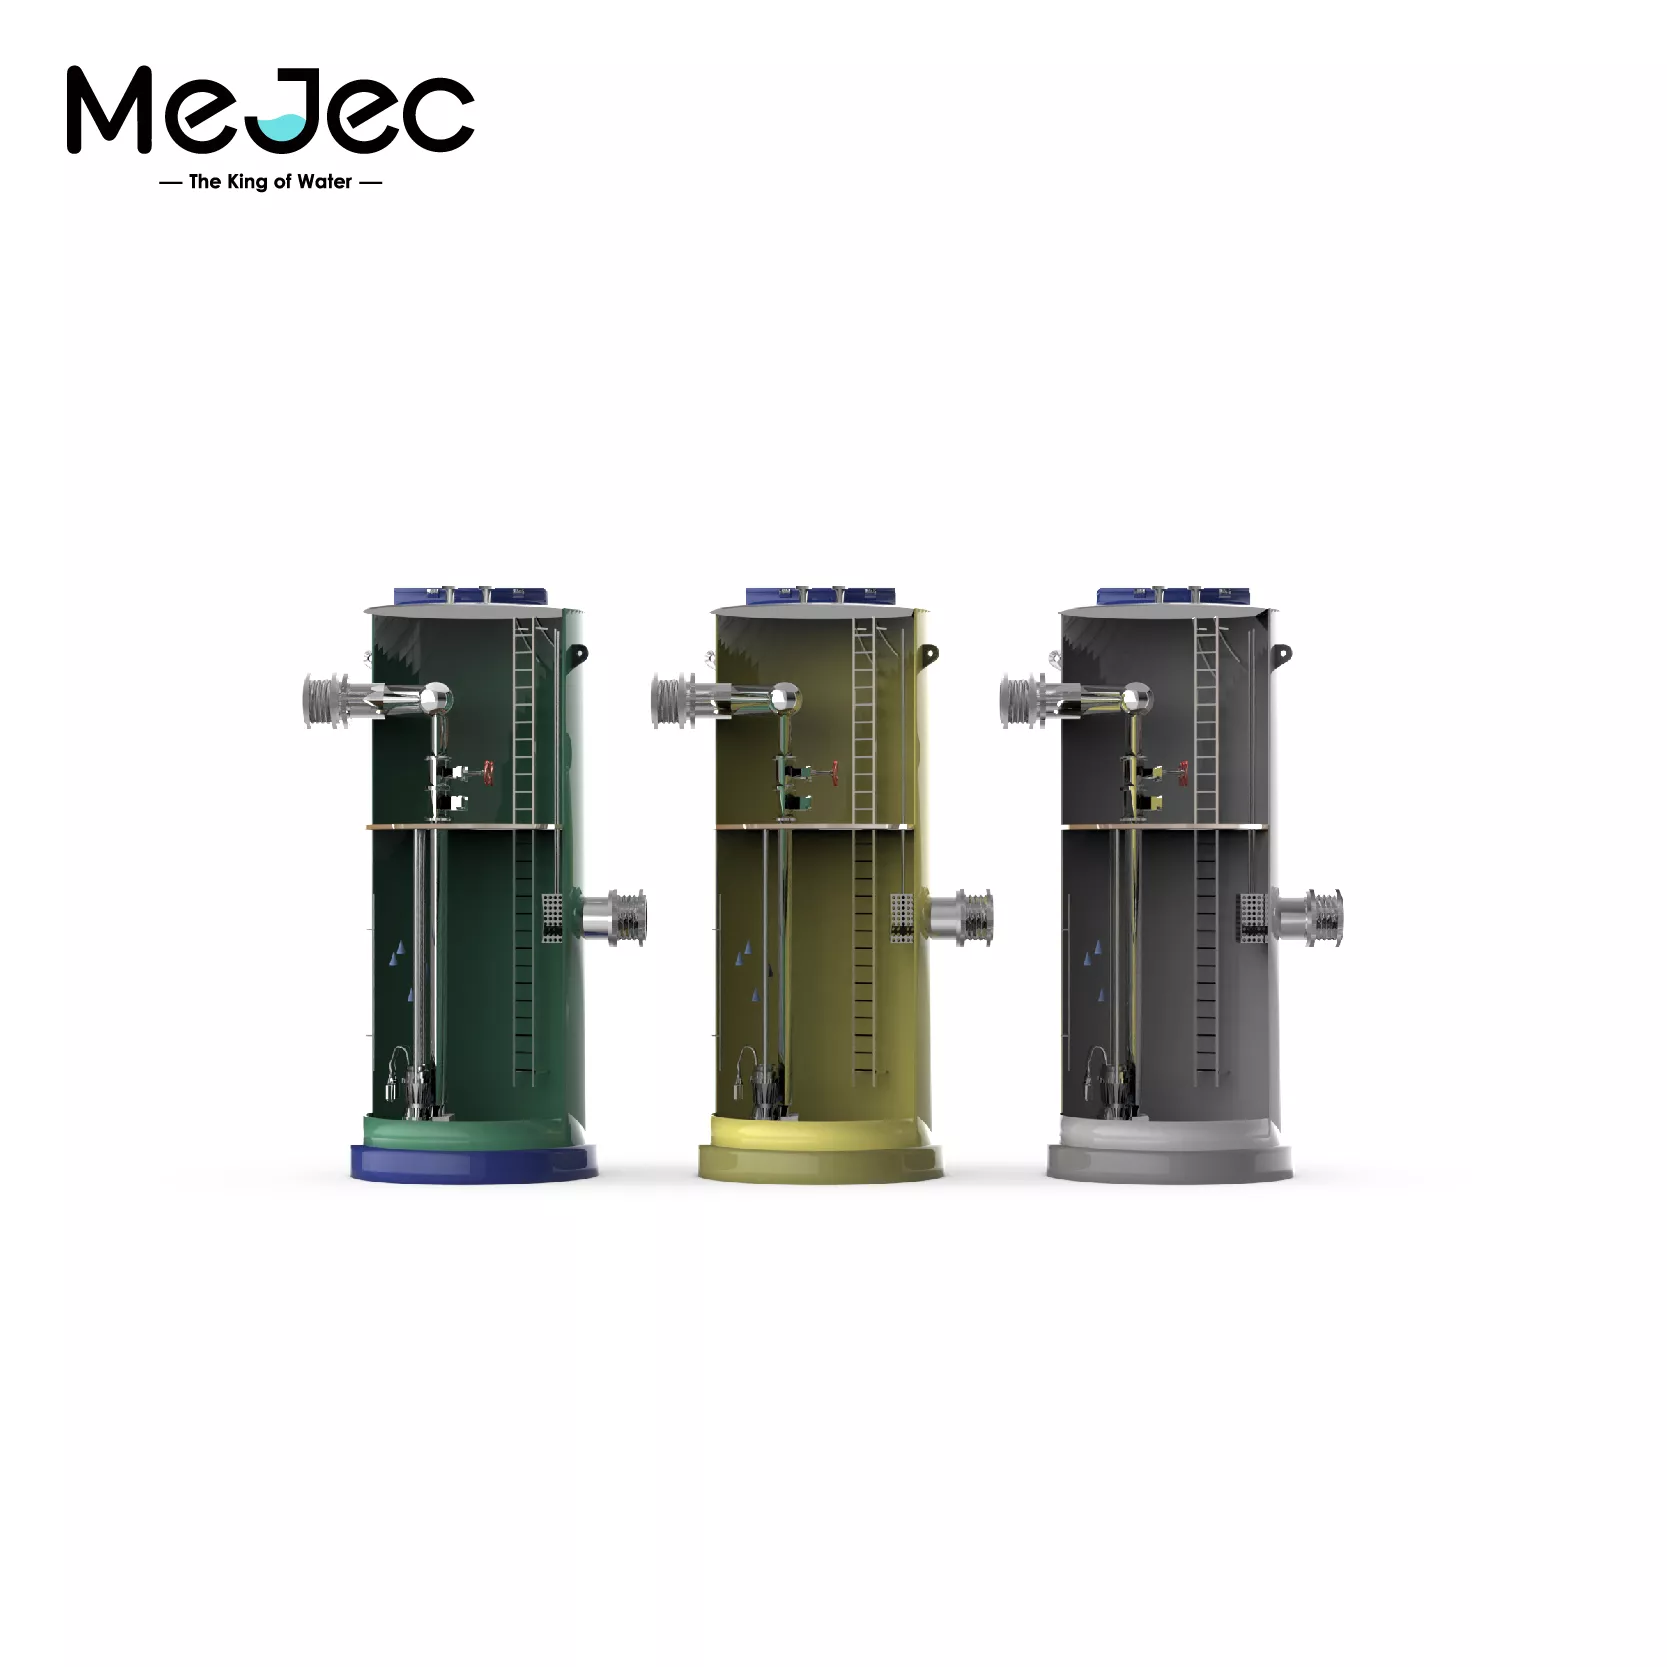
LD-BZ, The series of integrated prefabricated pump...
Select the most popular foreign trade service products to meet your diverse needs
Select the most popular foreign trade service products to meet your diverse needs


User Comments
Service Experience Sharing from Real Customers
James Wilson
Office ManagerThis stand alone water dispenser has been a game-changer for our small office. No more bulky water cooler rentals! It's compact, easy to set up, and provides instant hot and cold water. The energy-saving mode is a great feature.
Sarah Chen
Freelance Graphic DesignerPerfect for my home studio! As someone who works from home, having a dedicated, stand alone unit means I don't have to keep refilling a pitcher. The water tastes clean and the design is sleek. One star off because the initial cooling took a while.
David Rodriguez
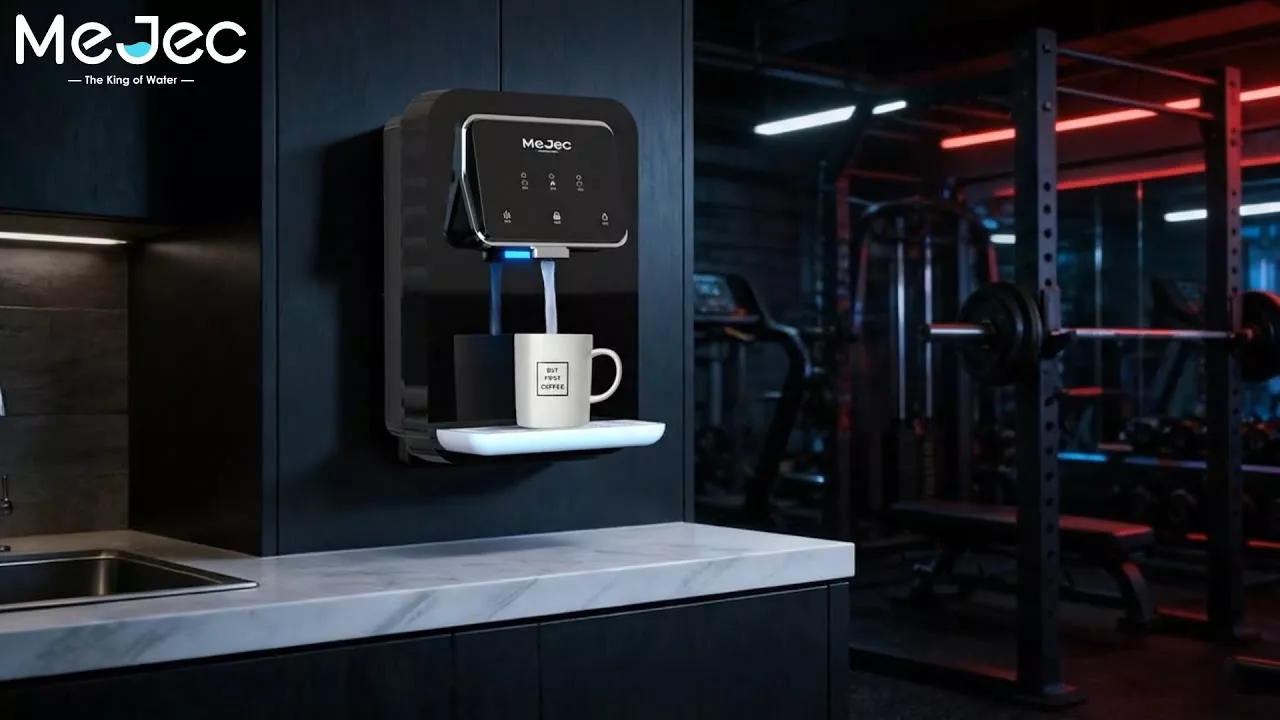
Fitness InstructorI installed this in my private gym. It's fantastic! My clients and I stay hydrated with easy access to cold water. The stand alone design means I can place it anywhere without needing a water line. Very sturdy and low maintenance.
Emily Parker
Kindergarten TeacherWe got this for our classroom, and it's wonderful. The children can safely use the touch-sensitive buttons for cold water. As a stand alone unit, it eliminated the trip to the staff room. Promotes healthy hydration habits all day!