


How to choose the best commercial water dispensers for restaurants
Find the best commercial water dispenser for your ...
More

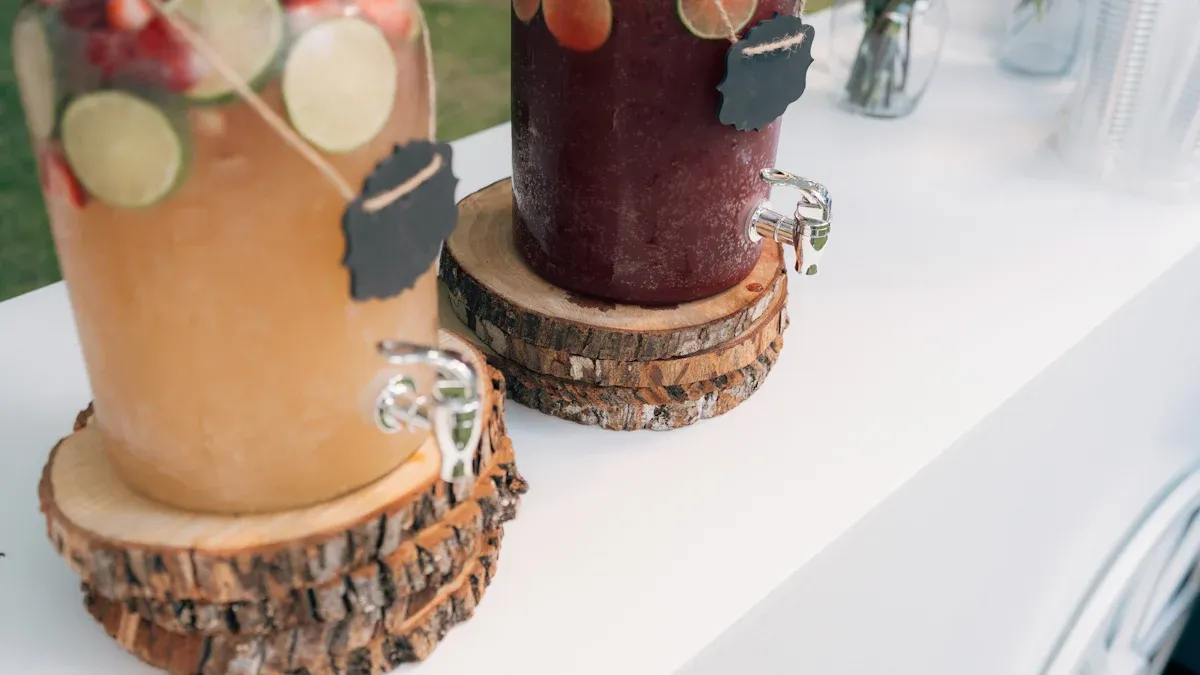
You can transform a simple wooden crate into a perfect stand for glass water dispenser setups. This project gives you a sturdy and stylish result with very little effort. It is an incredibly easy way to upgrade your space.
Ready to build? Grab your materials, and let's get started! 🛠️
You can easily build a sturdy stand for your glass water dispenser. Use common items like wooden crates, plant pots, or cinder blocks.
Each DIY stand project offers a unique style. You can choose from rustic, modern, or farmhouse looks to match your home.
Customize your stand with paint, stain, or hardware. Always add a sealant to protect it from water spills and make it last longer.
This first project is a classic for a reason. You can find wooden crates at most craft or home goods stores. They offer a charming, rustic look that is perfect for a farmhouse or cottage-style kitchen. This simple stand for glass water dispenser setups is both functional and beautiful.
One Wooden Crate: Look for a crate that is sturdy. A size around 8x8 inches works well for a standard 3-gallon dispenser. Costs can range from about $11 for a basic crate to over $40 for a more decorative one.
Sandpaper (medium grit, around 120-grit)
Wood Stain or Paint: Choose a color that matches your decor.
Paintbrush or Rag
Clear Sealant (polyurethane or a food-safe wax)
Safety Goggles
You will find this project incredibly straightforward. People often ask about the strength of these crates. A well-made wooden crate can easily hold fifty pounds, so your full water dispenser will be safe and secure.
Prep Your Crate: Start by sanding the entire crate. You want to smooth out any rough spots or splinters. Wipe away all the dust with a clean cloth when you finish.
Apply Your Finish: Now, you can paint or stain your crate. Apply a thin, even coat with your brush or rag. Let it dry completely. You might want to add a second coat for a richer color.
Seal the Wood: Once the paint or stain is dry, apply a clear sealant. This step is important. It protects the wood from any water drips or spills.
Let It Cure: Allow the sealant to dry fully according to the product's directions.
Set It Up: Place your finished crate in its new home, put your glass water dispenser on top, and enjoy!
Safety First! 👷 Always protect your eyes by wearing safety goggles, especially when sanding. If you use any power tools, secure your crate with clamps so it doesn't slip. Keep your fingers away from switches to prevent accidents.
Do you have a large, sturdy plant pot sitting empty? You can give it a new purpose as a stylish stand for your water dispenser. This project is incredibly simple and adds a touch of modern or bohemian flair to your space. It’s a fantastic way to upcycle something you already own. 🪴
One Large Ceramic or Terracotta Plant Pot: Choose a pot that is wide and strong enough to support your dispenser. You should flip it upside down to use the base as the stand.
Felt Furniture Pads: These will protect your floor from scratches.
Spray Paint (optional): Pick a color that complements your room.
Clear Waterproof Sealant (optional, but recommended): This protects the pot's finish.
This upcycling project is one of the easiest ways to create a stand. You'll be done in no time! The key is finding a pot with a flat, stable bottom.
Clean Your Pot: First, you need to wash the plant pot thoroughly with soap and water. Make sure you remove all dirt and debris. Let it dry completely.
Paint (Optional): If you want to change the color, now is the time. Take your pot outside or to a well-ventilated area. Apply a light, even coat of spray paint. Let it dry, then add a second coat if needed.
Seal Your Work: Once the paint is dry, you can spray on a clear sealant. This step helps protect your new stand from water spills and makes it easier to clean.
Add Floor Protection: Stick the felt furniture pads onto the rim of the pot. This rim will now be the base of your stand.
Position Your Stand: Flip the pot upside down and place it where you want it. Set your glass water dispenser on top. You now have a unique, upcycled stand!
Quick Tip!Measure the base of your water dispenser before you choose a pot. You want to ensure the pot's bottom is wide enough for the dispenser to sit securely without any overhang.
If you want an industrial or modern look, this cinder block stand is for you. It’s incredibly strong, super affordable, and you can assemble it in minutes. This project brings a cool, minimalist vibe to any room and is perfect for heavier glass dispensers.
Two to Four Cinder Blocks: You can find these at any home improvement store.
Construction Adhesive: This will bond the blocks together securely. A basic tube costs between $7 and $12.
Spray Paint: Choose a bold color like black, white, or metallic for a sleek finish.
Felt Furniture Pads: To protect your floors.
You won't believe how sturdy this stand is. A single cinder block can withstand at least 2,000 pounds per square inch, so your full water dispenser is perfectly safe!
Plan Your Design: Decide how you want to stack your blocks. You can place two side-by-side for a low, wide stand or stack them for a taller one.
Glue the Blocks: Lay your blocks on a protected surface. Apply a generous line of construction adhesive where the blocks will touch. Press them together firmly.
Let It Dry: Wipe away any excess adhesive. Let the adhesive cure completely. Check the product label for specific drying times.
Paint Your Stand: In a well-ventilated area, spray paint your assembled stand. Apply several light coats for the best coverage. Let it dry.
Add Protection: Stick the felt pads to the bottom of your stand.
Place and Enjoy: Move your new stand into position, set your dispenser on top, and admire your modern, handmade creation! 🏙️
Stack Safely!Make sure your cinder blocks are on a perfectly level surface before you start. A stable base is key to a secure stand. If you stack blocks, ensure they are arranged in a way that prevents any wobbling.
For those who enjoy a bit of woodworking, building a plywood stand is a rewarding project. Plywood is strong, affordable, and you can customize it to any size or shape. This project requires a few more tools, but you will end up with a super sturdy stand for glass water dispenser setups that perfectly fits your space.
One sheet of 3/4-inch plywood
Wood glue
1 1/4-inch wood screws
Sandpaper (120-grit)
Paint or wood stain
Clear sealant
Tape measure and pencil
Drill and saw
You can build this stand as a simple box or add a shelf for extra storage. The design is up to you!
Measure and Cut: Decide on the height and width of your stand. A simple box design needs five pieces: a top, a bottom, and three sides to form a "U" shape. Measure and mark your cuts on the plywood, then carefully cut out your pieces.
Sand the Edges: Smooth all the cut edges with sandpaper. This gives you a clean look and prepares the wood for finishing.
Assemble the Box: Apply a thin line of wood glue to the edges where the pieces will join. Use your drill to add screws for extra strength. This will create a very durable stand for glass water dispenser use.
Paint or Stain: Apply your chosen finish. Let it dry completely before moving on.
Seal Your Work: Add a coat of clear sealant to protect the wood from water damage.
Final Placement: Once cured, move your stand into place and set your dispenser on top.
Building a Stronger Joint! 🪚 Want to make your stand incredibly strong? You can use advanced joinery instead of just screws.
Full-Width Dado: Cut a channel in one piece of wood that another piece fits into. This creates a large surface for glue and makes the joint very stable.
Splined Butt: Cut a matching groove into the edges of two pieces you want to join. Then, you insert a thin strip of hardwood (a spline) with glue to connect them.
You can capture that perfect farmhouse look with a galvanized tub stand. This project is one of the simplest on our list and requires no building at all. You just flip a tub upside down! It’s a quick and charming way to add some rustic style to your kitchen or party setup. This stand is surprisingly sturdy and looks fantastic with a glass dispenser.
One Galvanized Metal Tub: Choose a size that fits your space.
A Wooden Round (optional): This creates a flat, stable surface on top. You can find these at craft stores.
Felt Furniture Pads: These will keep your floors scratch-free.
Heavy-Duty Adhesive (optional): Use this to secure the wooden round to the tub.
This "no-build" project will be ready in just a few minutes. The key is finding a tub with a strong, flat bottom.
Clean Your Tub: First, wipe down the galvanized tub to remove any dust or residue. Make sure it is completely dry.
Protect Your Floors: Apply the felt furniture pads to the rim of the tub. This rim will become the base of your stand.
Create a Top (Optional): If the bottom of your tub is uneven, you can attach a wooden round. Apply heavy-duty adhesive to the bottom of the tub and press the wooden round firmly in place. Let it dry.
Set It Up: Flip the tub upside down in your desired location. Place your glass water dispenser on top. Your new farmhouse stand is ready to go! 🤠
A Note on Capacity! 💡 You might see tubs advertised with a "42-qt. capacity" or similar measurement. This number tells you how much liquid the tub can hold inside, not how much weight it can support as a stand. Don't worry! The strong metal construction of a galvanized tub makes it more than capable of holding a full, heavy water dispenser securely.
Now that you have built your stand, it's time for the fun part: making it your own! A few simple touches can transform your project from a basic box into a custom piece that perfectly matches your home's style. You can easily personalize your new stand for glass water dispenser setups with paint, hardware, and a protective finish.
Paint or stain is the easiest way to give your stand a new personality. You can match it to your kitchen cabinets or go for a bold, contrasting color. For a rustic look, many people choose between chalk paint and latex paint. Each has its pros and cons.
| Feature | Chalk Paint | Latex Paint |
|---|---|---|
| Prep Work | Usually requires minimal sanding or priming. | Needs good prep like sanding and priming. |
| Finish/Look | Dries to a matte finish, perfect for a vintage look. | Dries to a smooth finish with many sheen options. |
| Durability | Needs a topcoat (like wax) to be durable. | Very durable and easy to clean on its own. |
Staining Tip! 🎨 Want to stain your wood stand? Always stir the stain can gently, never shake it. Shaking creates bubbles that can ruin your finish. Test the stain on a hidden spot first to make sure you love the color.
Adding hardware is like putting jewelry on your furniture. It adds a final touch of style. For a farmhouse look, you can add metallic cup pulls or matte black handles. These small details make a big impact. You can attach hardware with screws, but for a clean look on some materials, a strong adhesive works well. For bonding metal to wood, you can use a super glue like Loctite or a flexible adhesive to handle temperature changes.
Your stand for glass water dispenser will likely get a few drips and splashes. You need to protect it from water damage.
Use a Sealant: After painting or staining, apply a few coats of a clear sealant like polyurethane. This creates a waterproof barrier.
Choose the Right Paint: If you are painting your stand, pick a durable, moisture-resistant finish. A semi-gloss or satin finish is great because you can easily wipe it clean.
Protecting your stand ensures it will look great for years to come.
You now have five creative ideas for your project. Building your own stand for glass water dispenser helps reduce waste and is a fun way to create something new. Pick the project that best fits your style and get started.
Enjoy serving drinks from your new, handcrafted setup! 🎉
You should think about your glass size. You need enough room to fit your cup under the spigot. A height of 8 to 12 inches usually works well for most setups.
You can test it first! Place something heavy, like a stack of books, on the stand. If it feels solid and does not wobble, you are good to go.
You can simply wipe your stand with a damp cloth. Avoid harsh chemical cleaners. They can damage the paint or sealant you worked so hard to apply.
Pro Tip! 🧼 For sticky spots, use a little mild soap and water. Always dry the stand completely afterward to protect the finish.

We provide you with comprehensive foreign trade solutions to help enterprises achieve global development

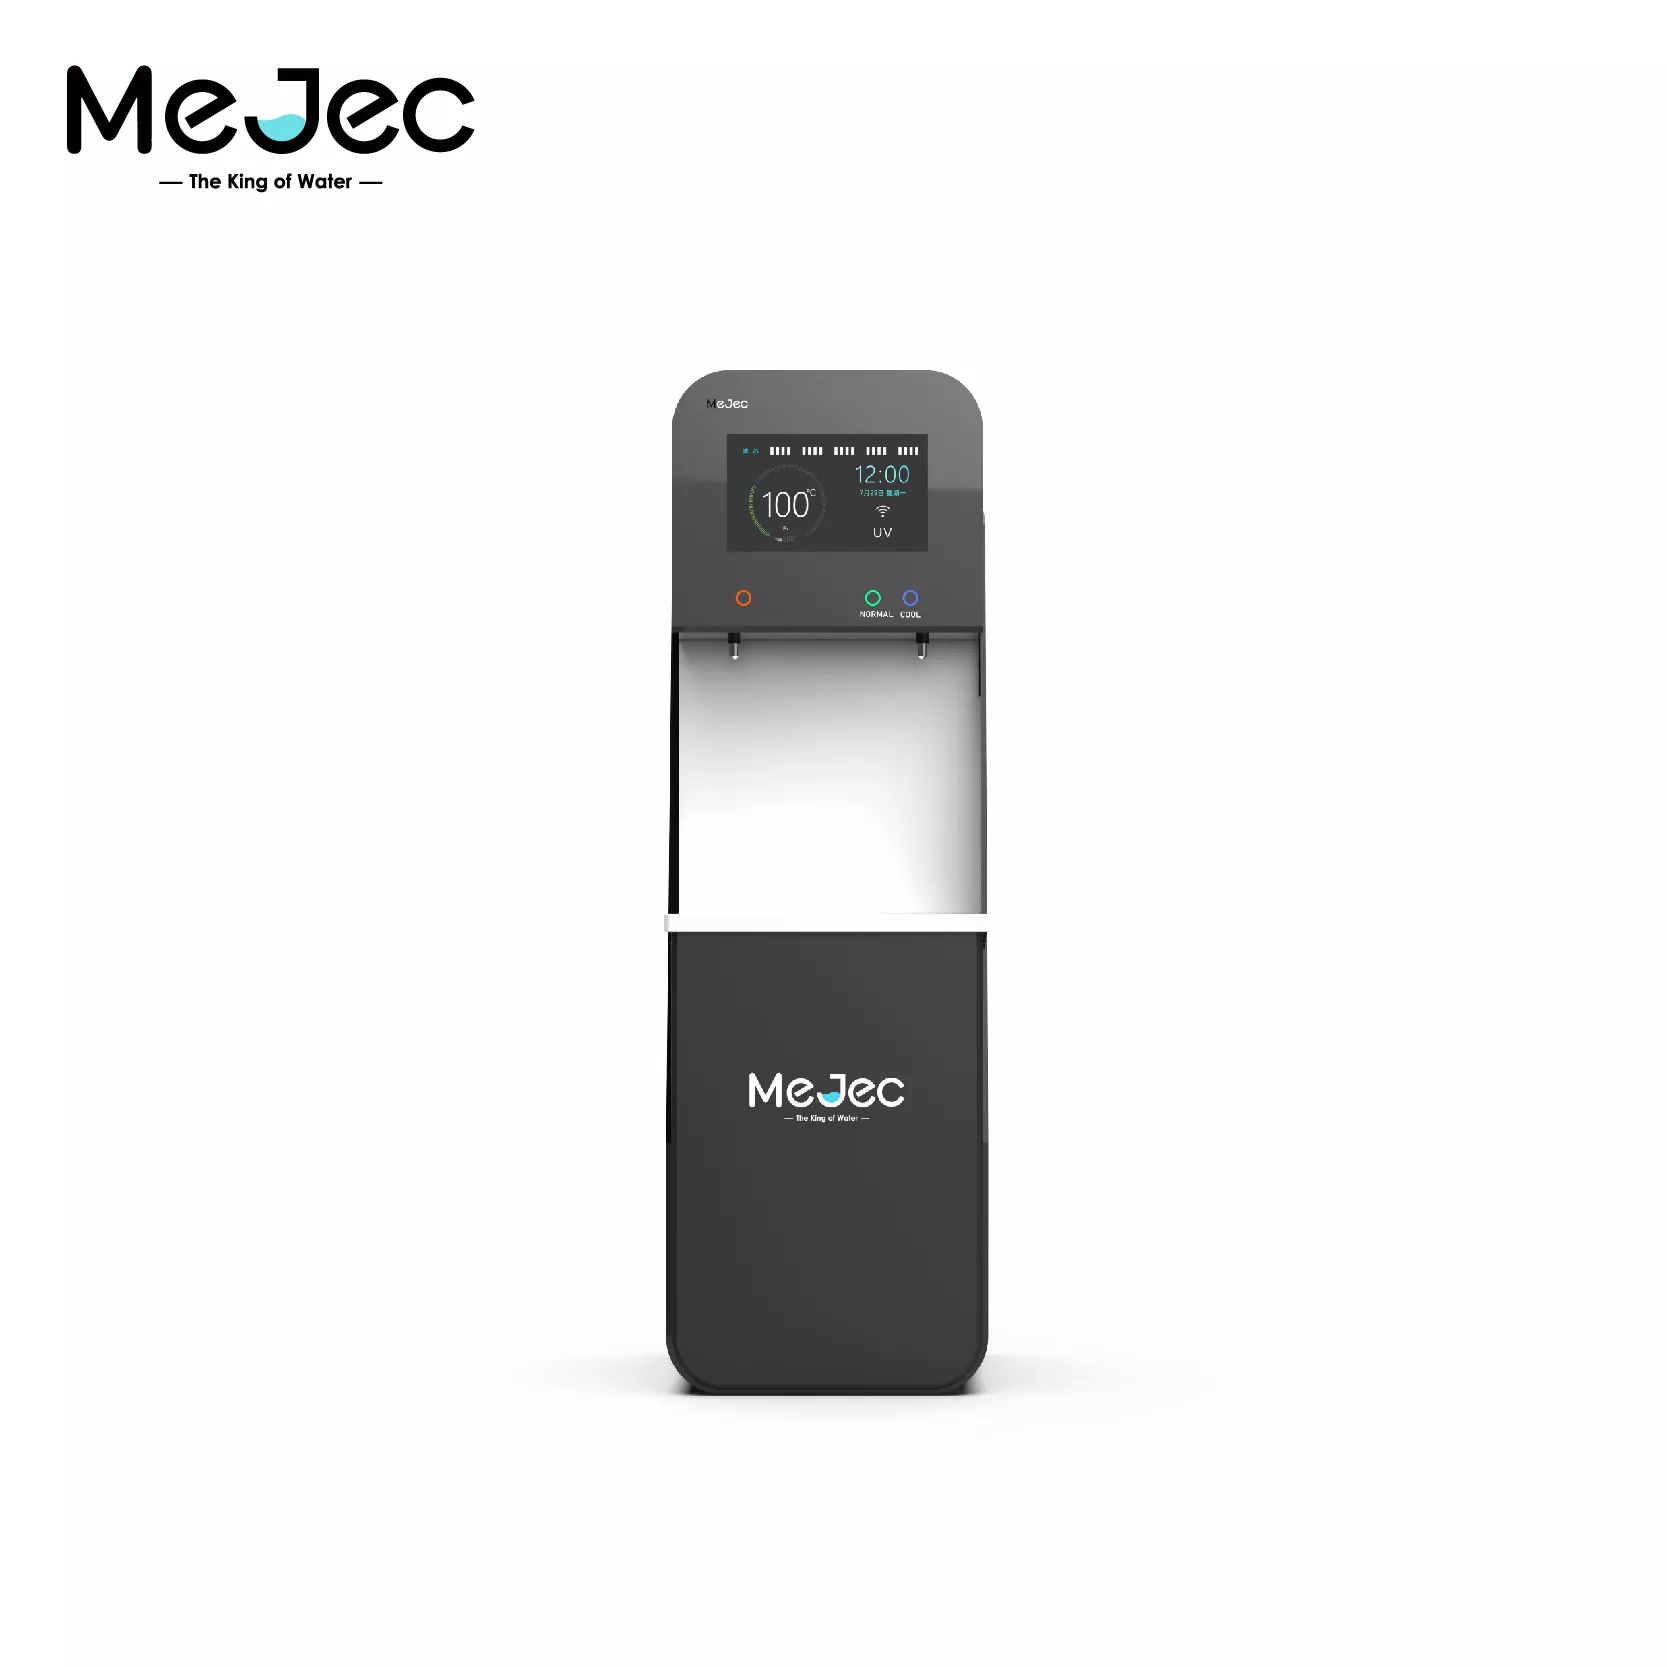
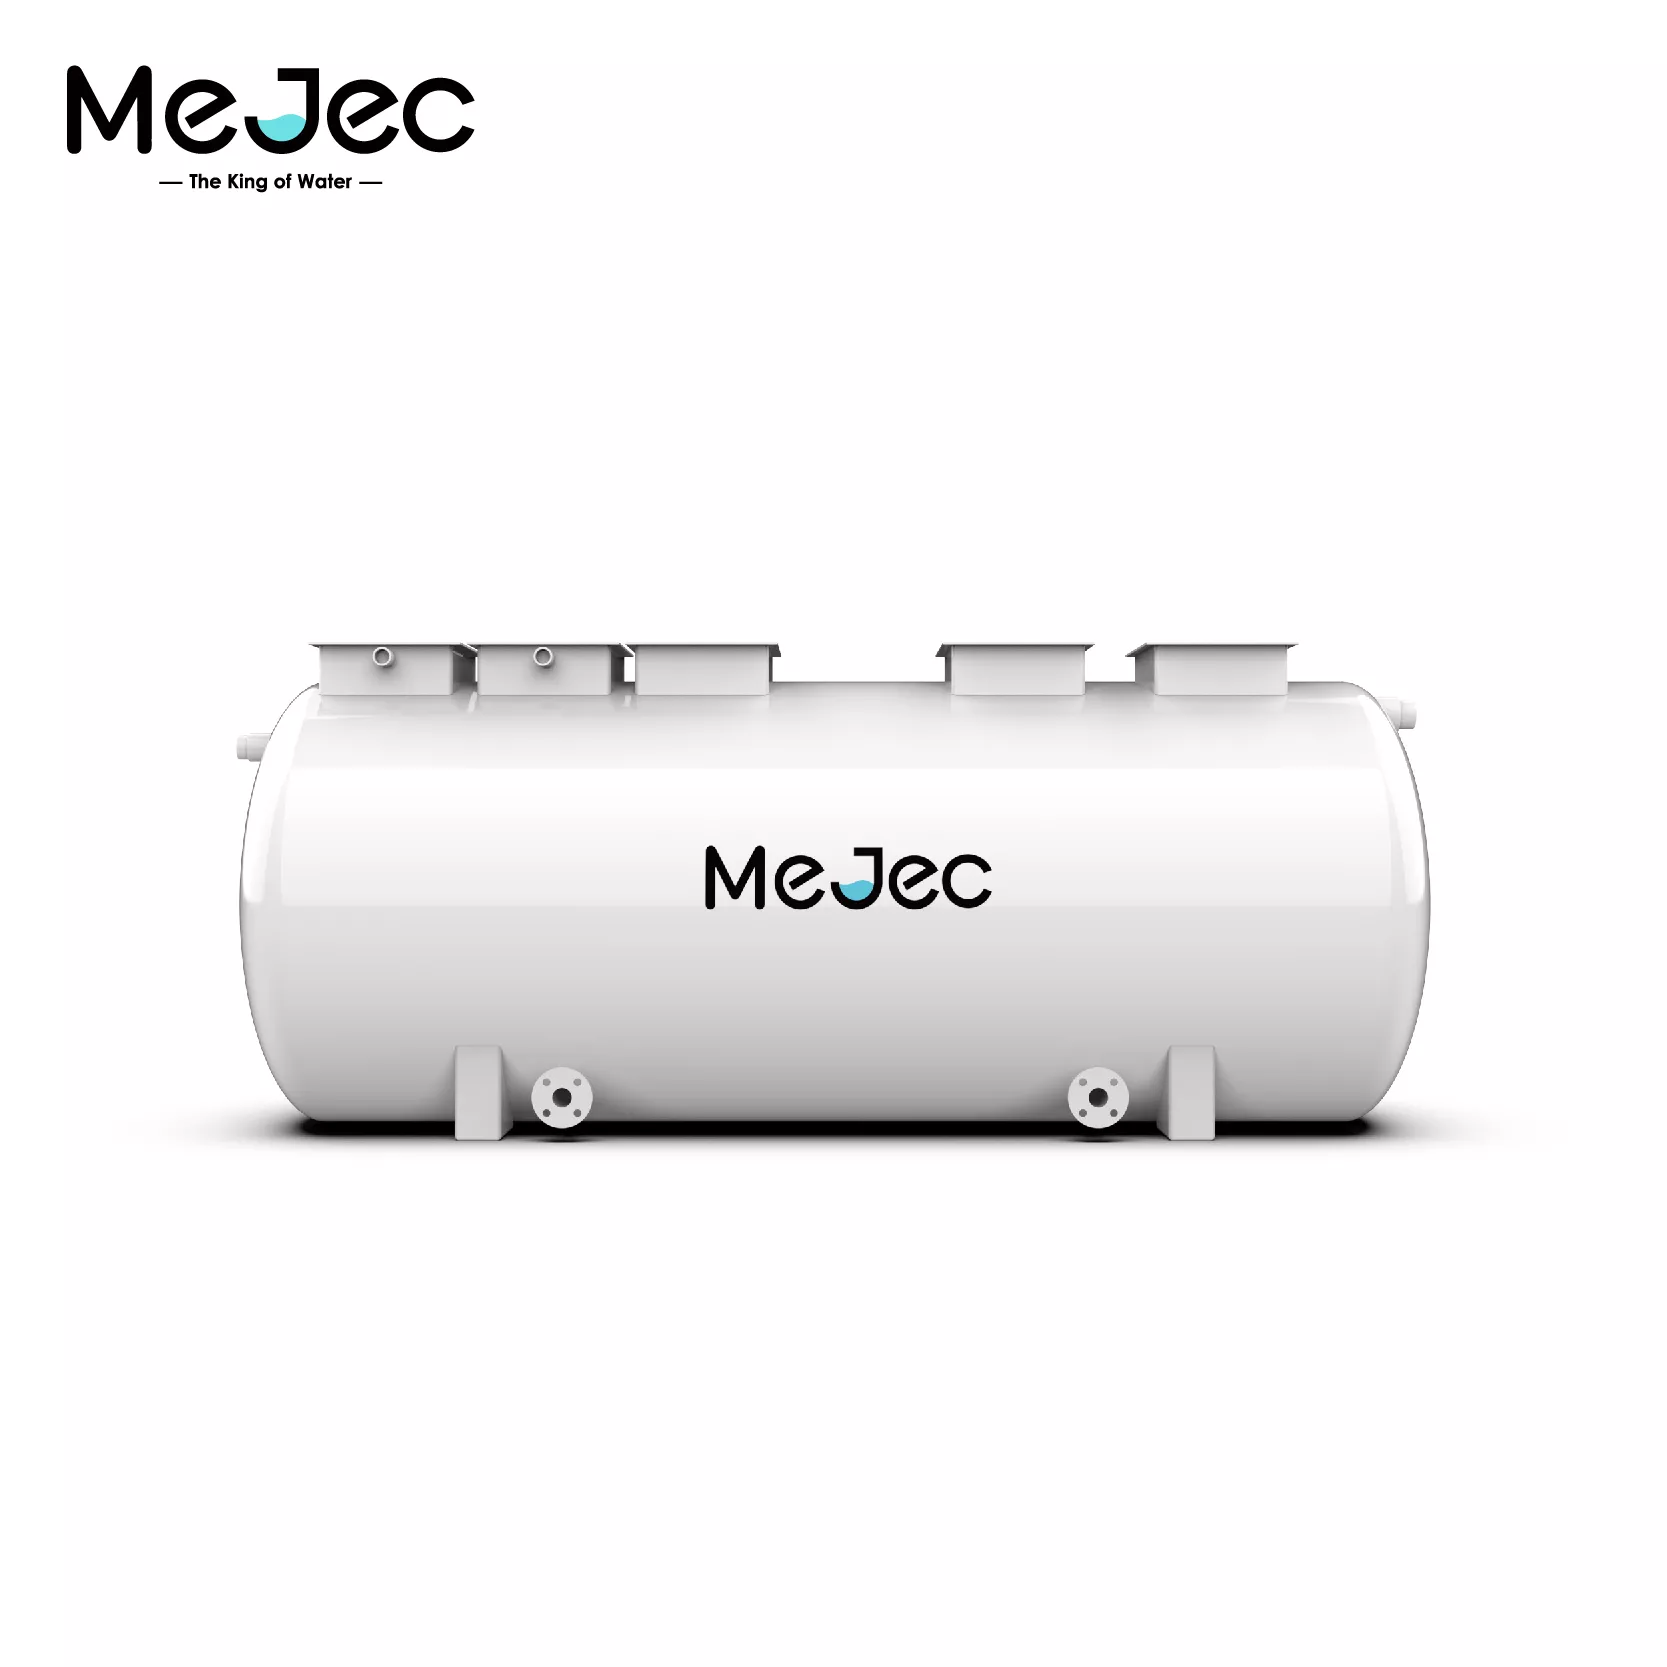
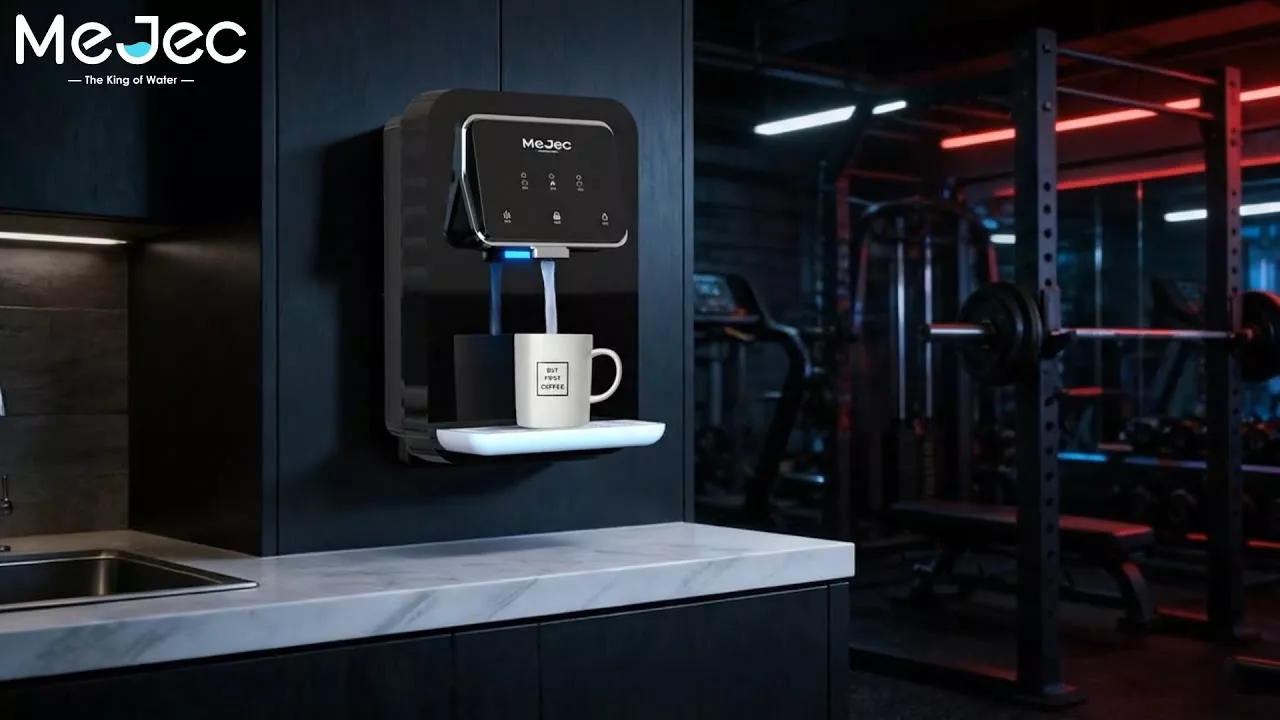
Designed for high-traffic public areas, the Mejec ...

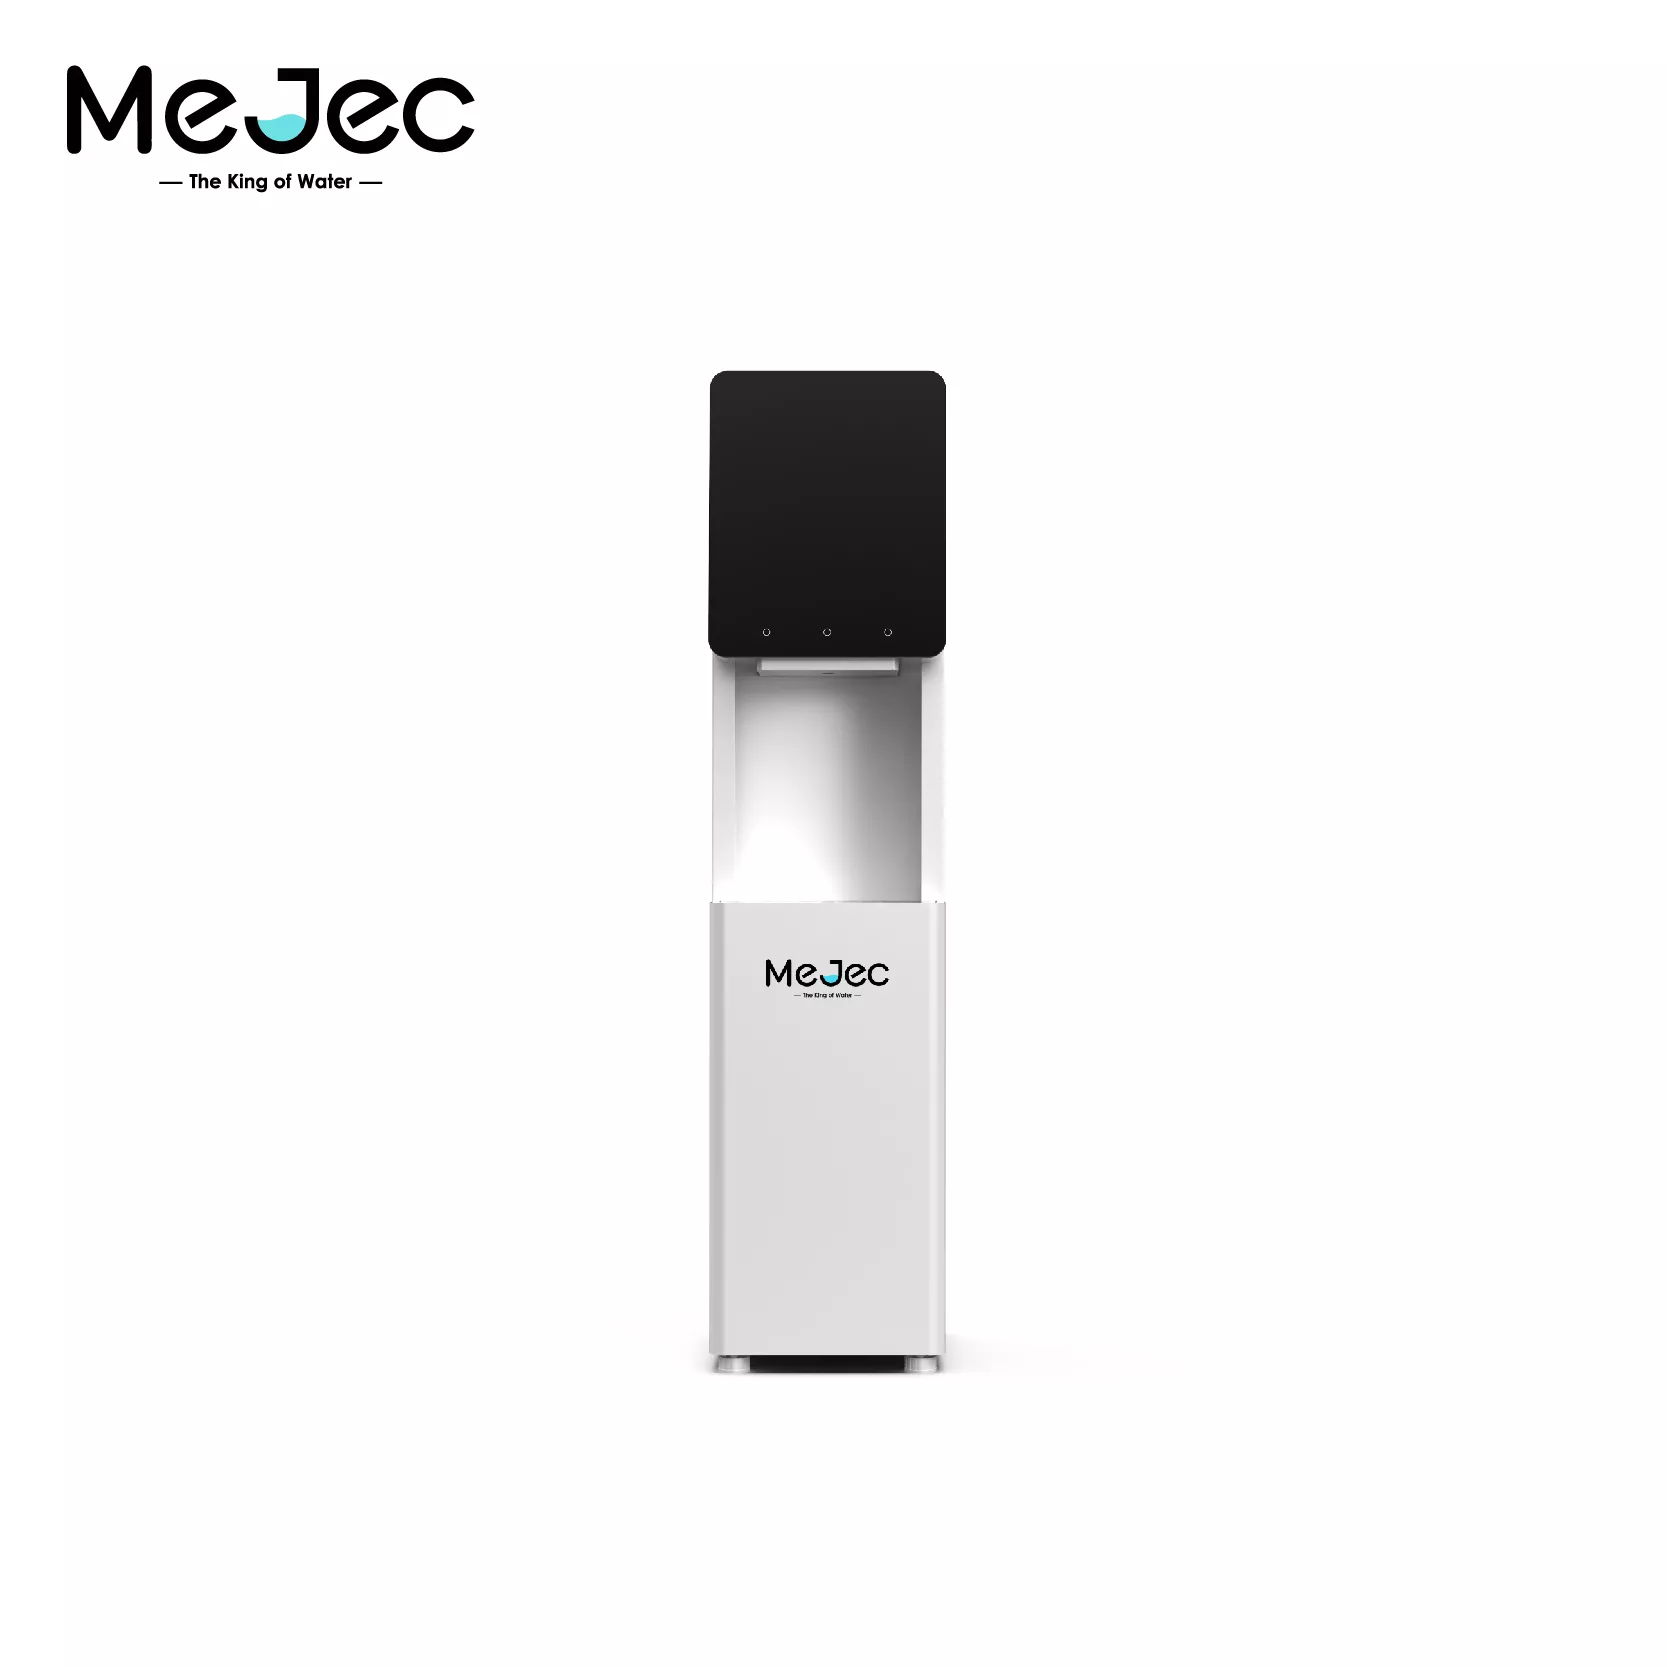
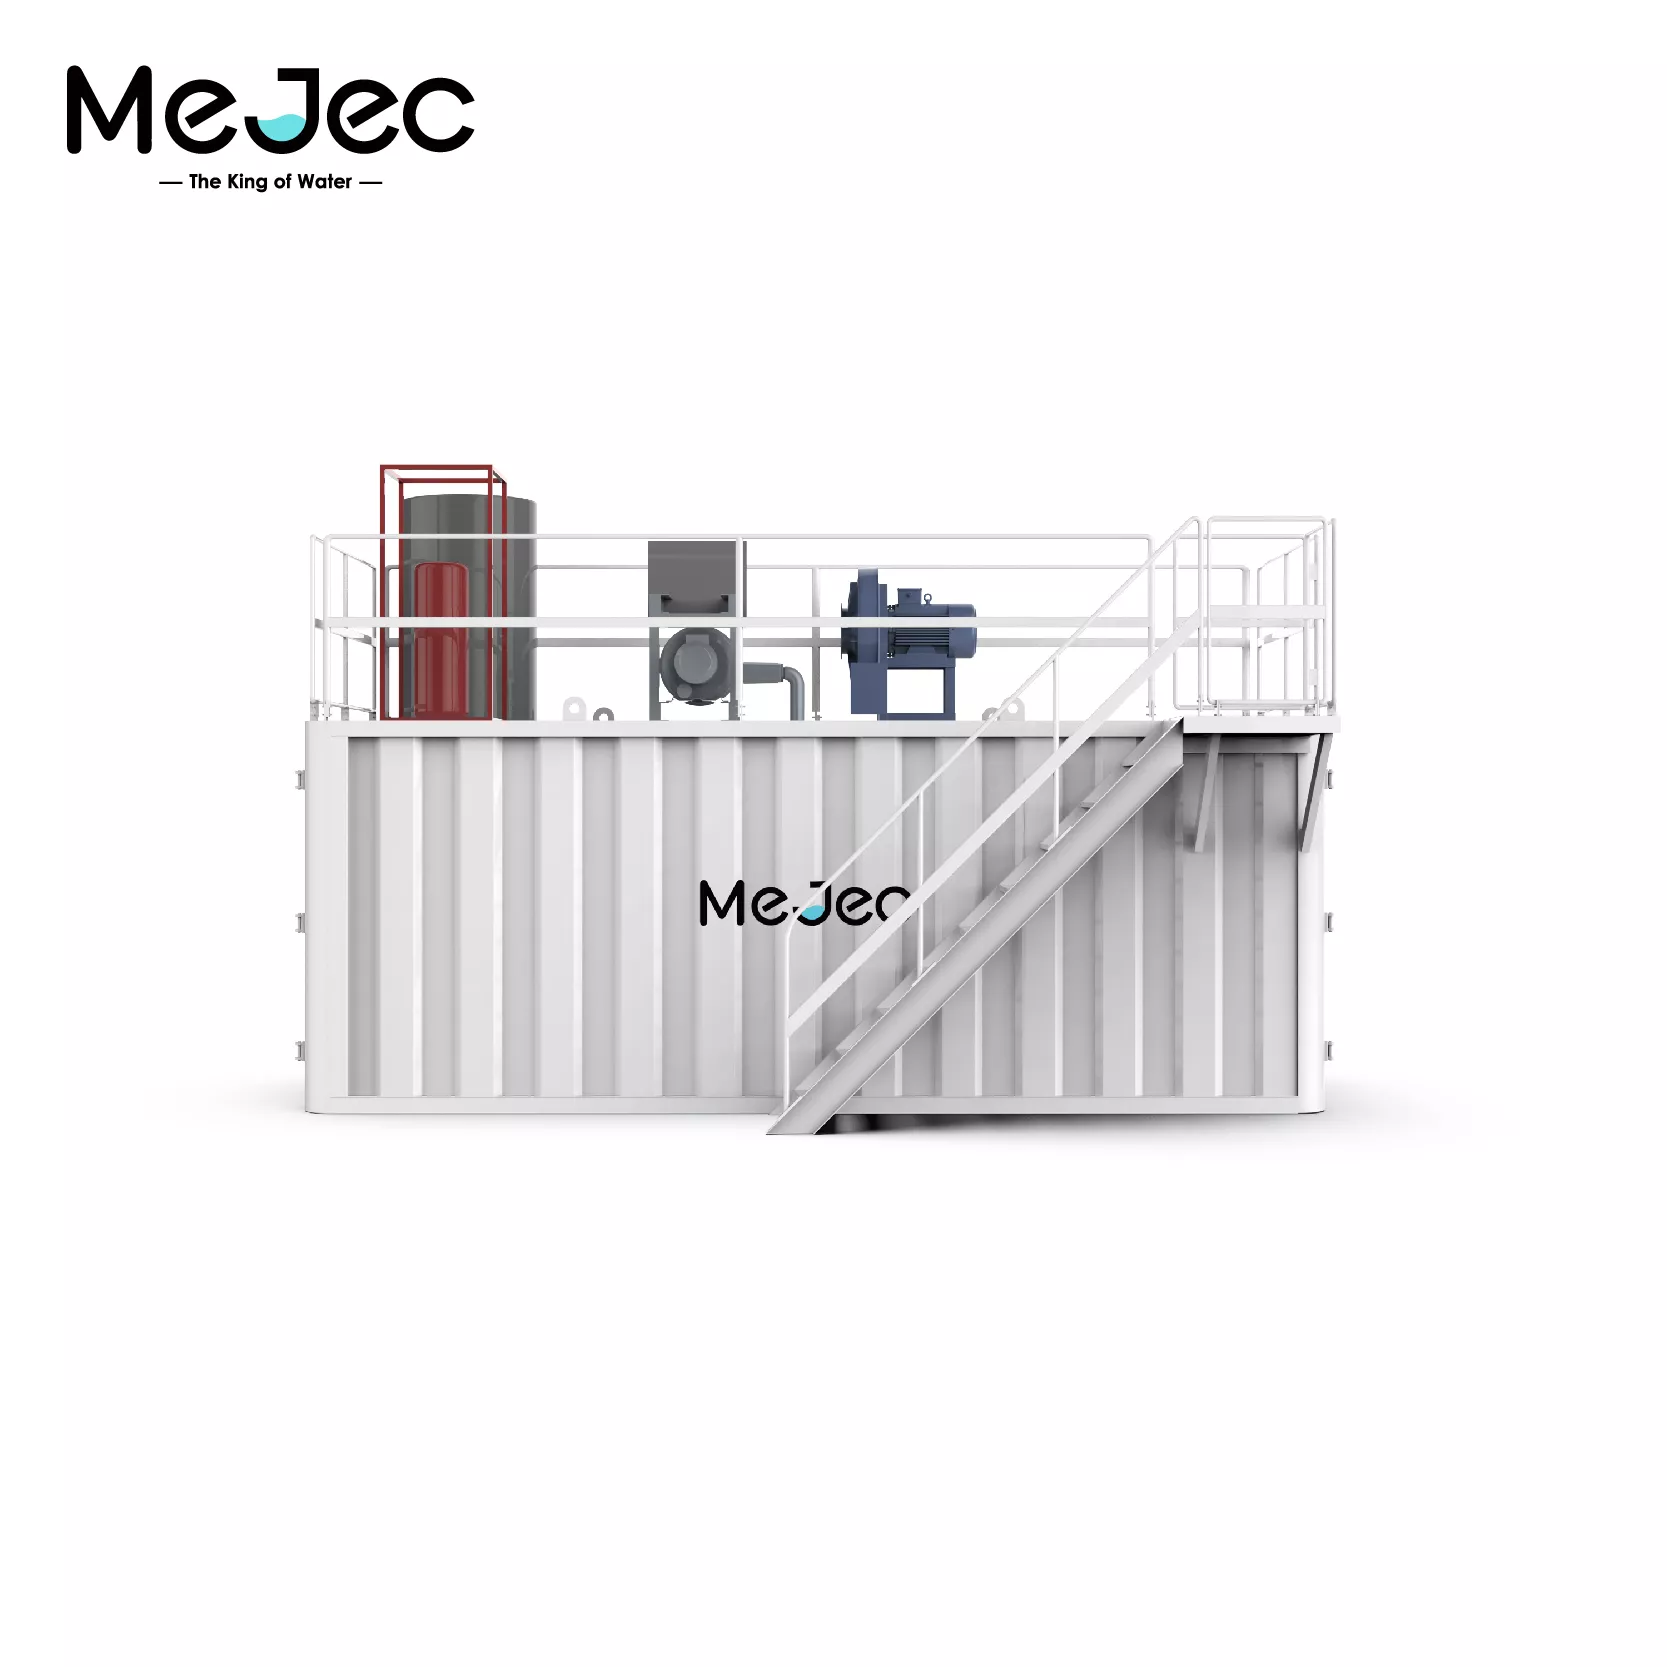
The Mejec industrial water purifier and dedicated ...

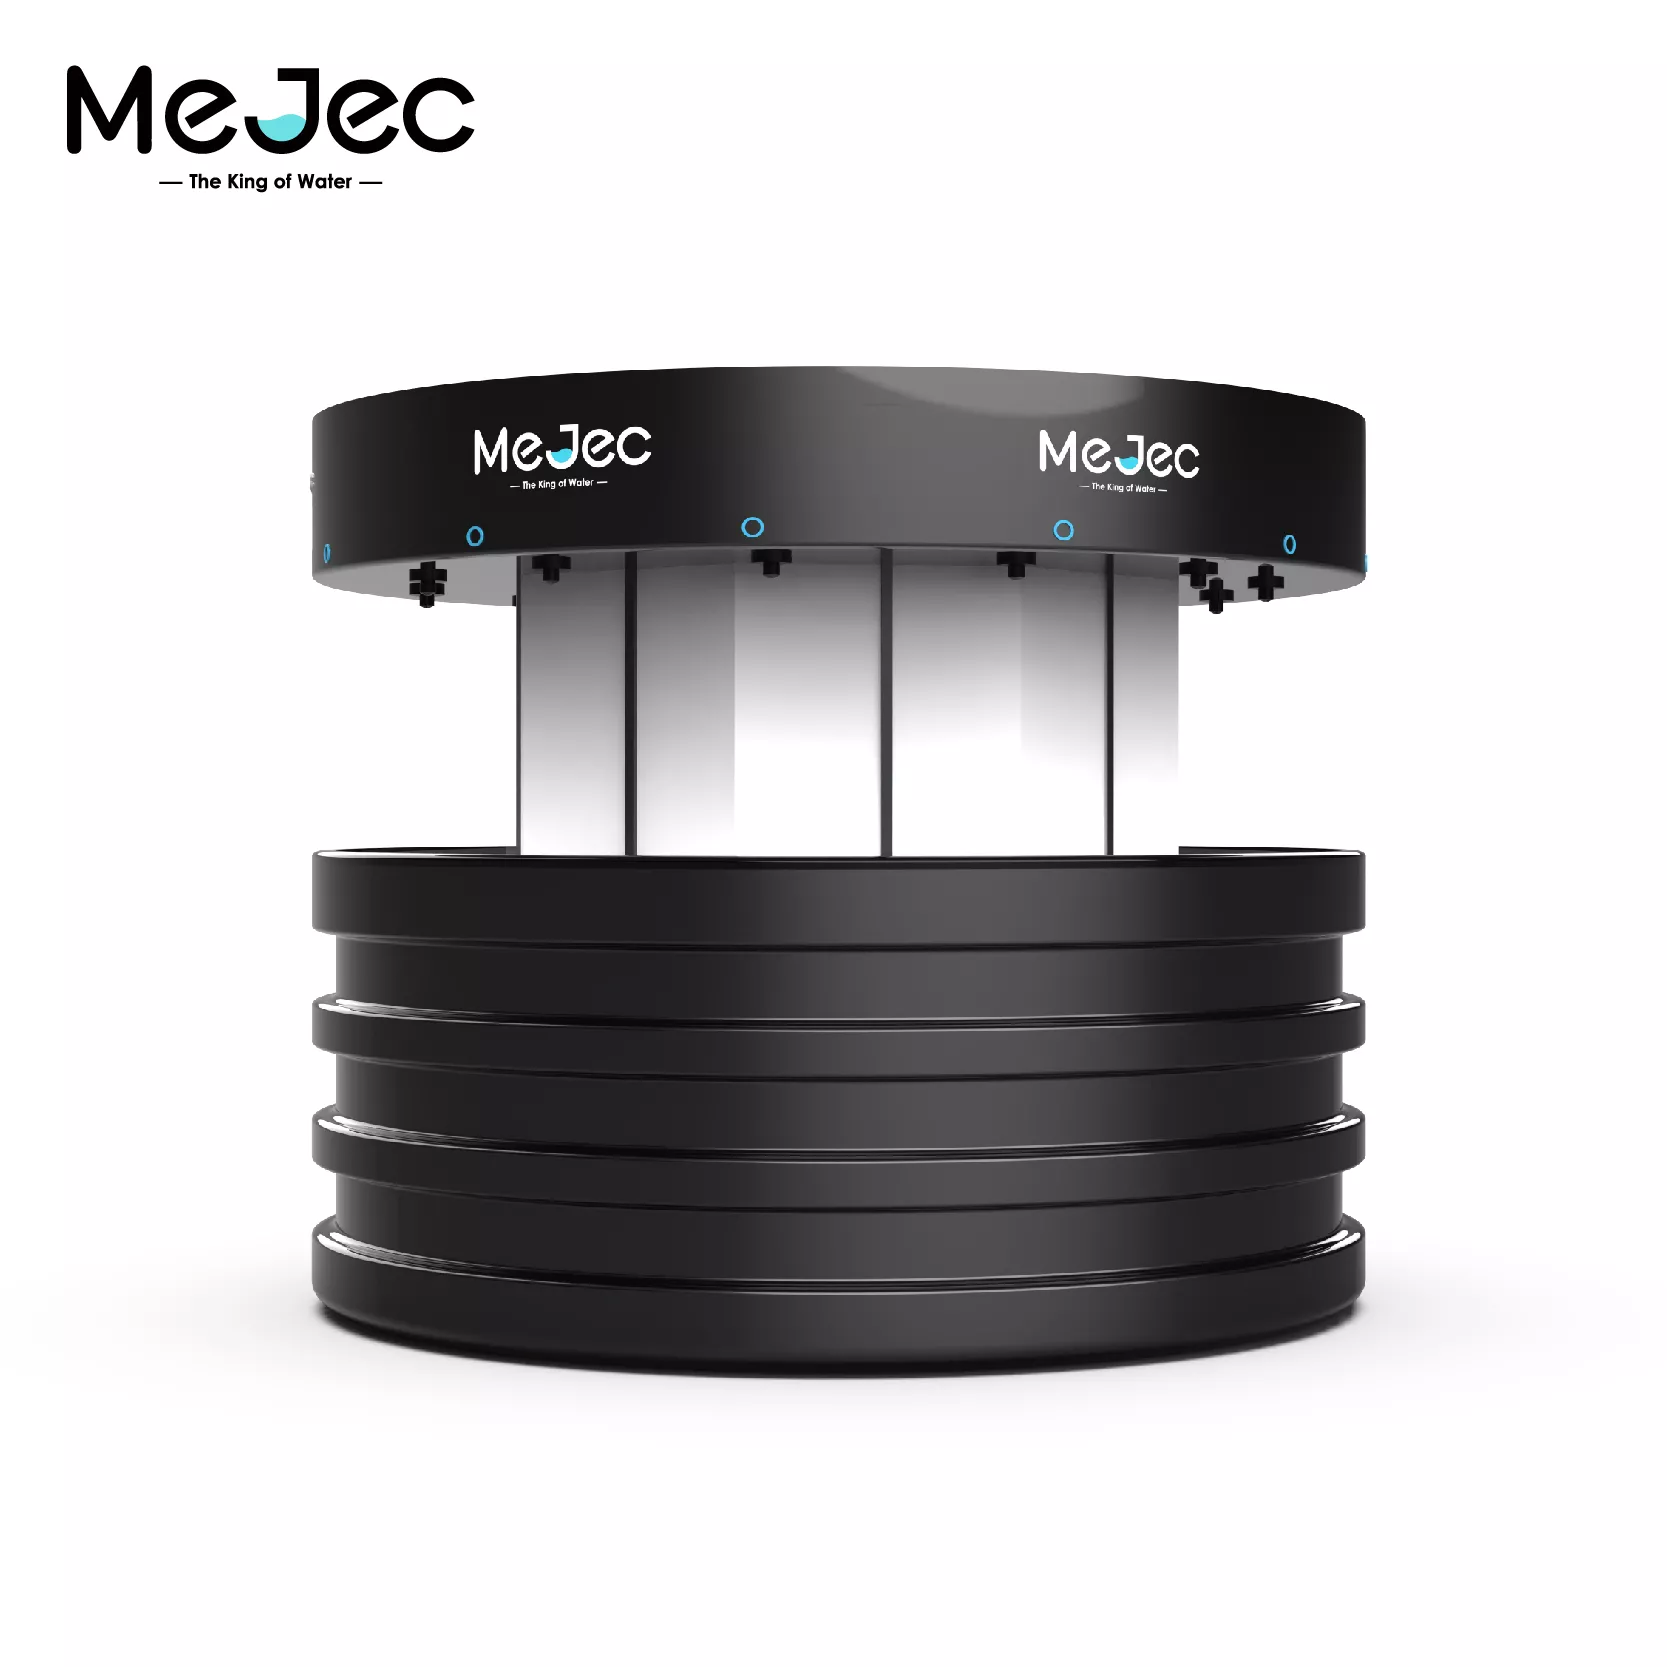
The Mejec dual-faucet boiling water dispenser is b...
.webp)
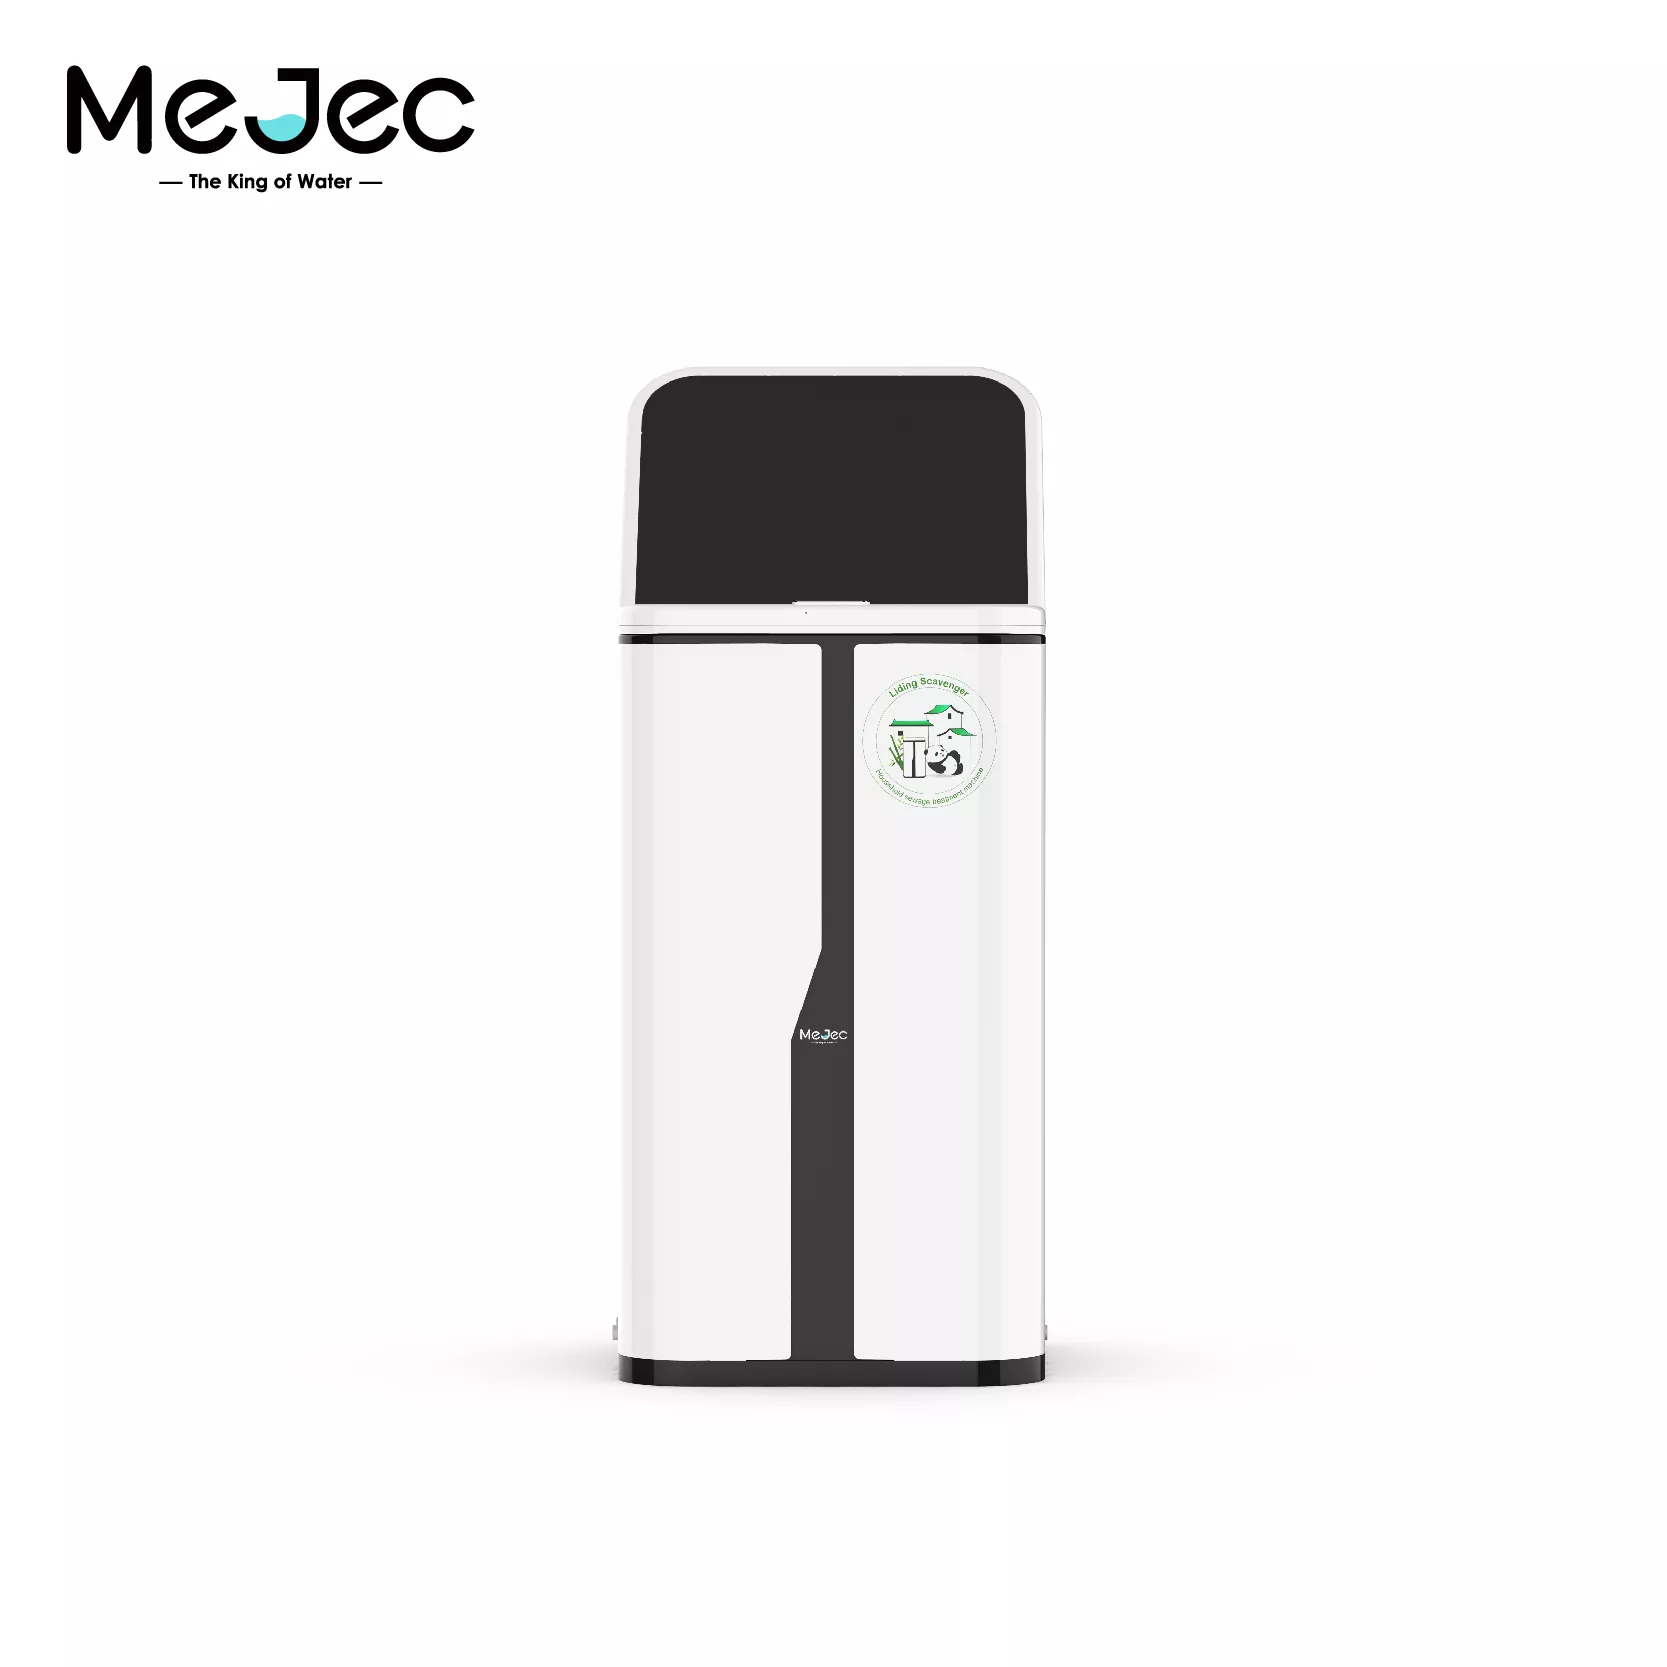
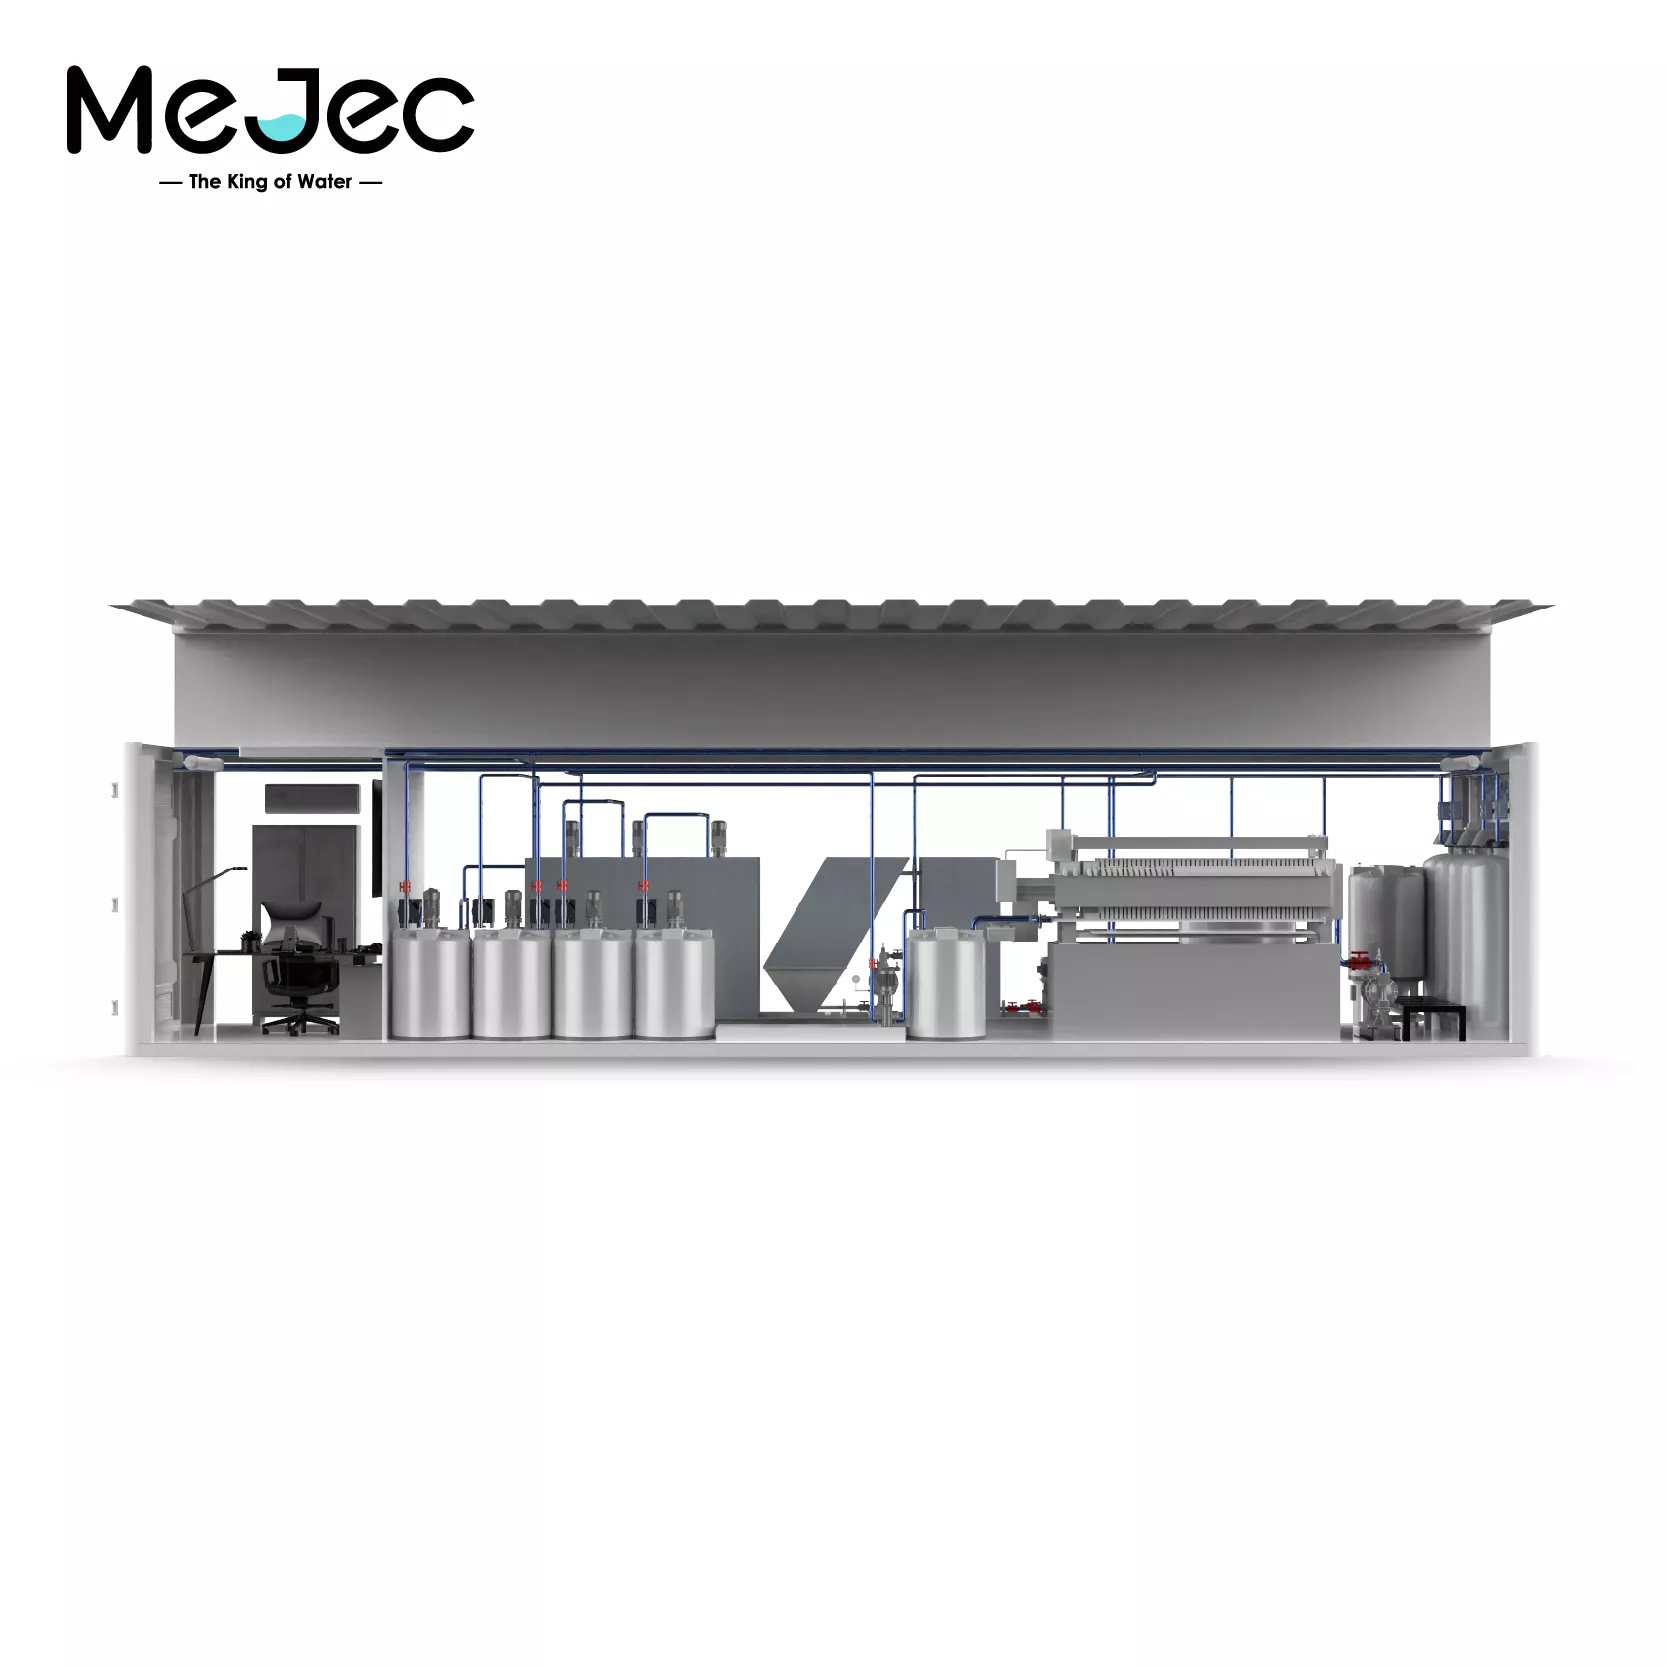
Mejec containerized seawater desalination system i...
Select the most popular foreign trade service products to meet your diverse needs
Select the most popular foreign trade service products to meet your diverse needs


User Comments
Service Experience Sharing from Real Customers
Emily Chen
Office ManagerThis stand for glass water dispenser is a game-changer for our office. It's sturdy, looks professional, and the adjustable height fits our large glass bottles perfectly. No more lifting heavy bottles!
David Rodriguez
Cafe OwnerBought this stand for our self-service water station with glass dispensers. It's very stable and well-made. The sleek design complements our cafe's aesthetic. One point off because assembly instructions could be clearer.
Sarah Johnson
Yoga Studio DirectorPerfect addition to our wellness space! The stand elevates our glass water dispenser, making it easy for clients to use. It's durable and the metal construction feels high-quality. Highly recommend for any health-focused business.
Michael Park
Dental HygienistWe use this stand in our clinic's waiting area for a glass water cooler. It's the ideal height, very stable (no wobbling), and easy to clean. Patients appreciate the easy access. Excellent product that serves its purpose perfectly.