


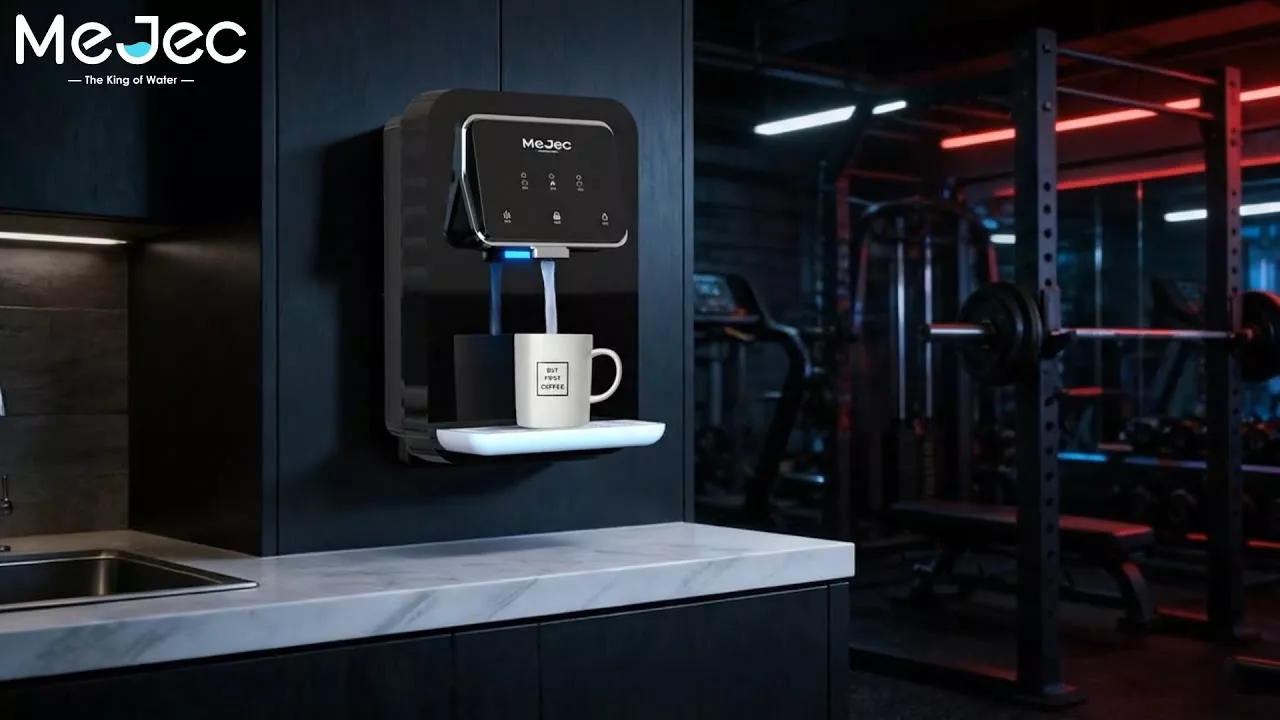
Elevate Your Space with the Mejec Wall-Mounted Water Dispenser
Discover the Mejec Wall-Mounted Water Dispenser—wh...
More
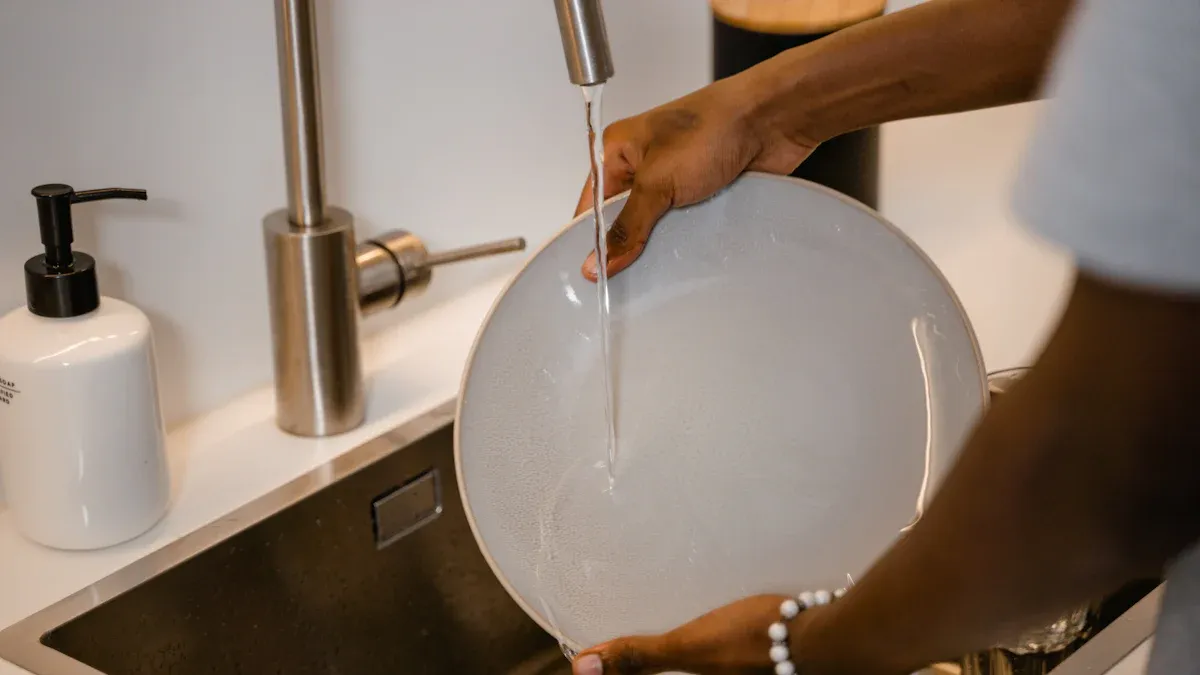
Your ceramic water dispenser is a popular household choice for fresh, pure water. You must clean it regularly to keep it hygienic. Uncleaned surfaces can quickly grow bacterial biofilm, which may affect your water quality.
Pro Tip 💡 Perform a full cleaning every 2 to 4 weeks. You will disassemble the unit, wash it with a mild solution, rinse it well, and let all parts air dry completely.
Clean your ceramic water dispenser every 2 to 4 weeks. This stops germs from growing.
Use mild soap or vinegar for cleaning. Avoid harsh chemicals and rough scrubbers.
Take the dispenser apart, wash each piece, rinse well, and let all parts dry completely before putting it back together.
You do not need special equipment to clean your ceramic water dispenser. You can find most of these simple items right in your kitchen. Gathering your supplies first makes the cleaning process quick and efficient.
Before you begin, collect these basic tools. Having everything ready will streamline your cleaning routine.
Two Soft Cloths or Sponges: Use soft, non-abrasive cloths to avoid scratching the finish. Microfiber cloths are an excellent choice. They are lint-free and designed not to harm delicate surfaces.
A Clean Basin or Sink: You need a clean space large enough to wash the ceramic body.
A Bottle Brush: This tool helps you clean inside the spigot and other hard-to-reach areas.
A Drying Rack or Clean Towels: These are for air-drying all the components after rinsing.
You have two simple, effective options for a cleaning solution. Both choices are safe for ceramic and kill germs effectively.
Cleaning Solution Recipe 📝 For a natural disinfectant, mix one part distilled white vinegar with one part warm water. This 50/50 solution is perfect for routine cleaning and is safe for ceramic surfaces.
Alternatively, you can use a few drops of mild dish soap mixed into a basin of warm water. This simple soap solution easily cuts through any grime or buildup. Avoid harsh chemicals or abrasive cleaners. They can damage the dispenser's glaze or leave behind harmful residues.
Choosing the right cleaner protects your dispenser and your health. You should use gentle, non-toxic agents. This ensures your water remains pure and the ceramic surface stays in perfect condition.
Mild dish soap is an excellent choice for cleaning. It effectively removes grime without damaging the ceramic glaze. You should select a soap free of dyes and fragrances to prevent leaving behind unwanted residues. For example, brands like Seventh Generation Free & Clear offer plant-based formulas without harsh additives. Another great option is Attitude Dishwashing Liquid, which is fragrance-free and safe enough for baby bottles. A few drops in warm water are all you need.
Distilled white vinegar is a powerful natural disinfectant. Its acidic properties kill mold and bacteria effectively. A solution of equal parts vinegar and water is perfect for your ceramic water dispenser. Vinegar is food-safe, so you do not have to worry about harmful chemicals contaminating your water after rinsing.
A Note on Vinegar 📝 While vinegar is a great natural cleaner, you should always dilute it. Using it at full strength over long periods could potentially affect the dispenser's glaze. A 50/50 solution is both safe and effective.
You must avoid harsh chemicals at all costs. Cleaners containing bleach or ammonia can damage the protective layer of the ceramic. Chemical research shows that cleaners with a pH level below 6 or above 8 can cause microscopic damage to the surface. You should also look for warning labels on products. Words like "Warning" or "Danger" often indicate the presence of harmful ingredients that you should not use.
Never use steel wool, scouring pads, or abrasive powders. These items will scratch the smooth, glazed finish of your dispenser. Scratches not only ruin the appearance but also create tiny crevices where bacteria can hide and grow. Always stick to soft cloths or non-abrasive sponges for washing.
Following a consistent process makes cleaning your dispenser simple and effective. These six steps will guide you from disassembly to a fresh refill, ensuring every part is properly sanitized.
First, you need to take your dispenser apart. This allows you to clean each component individually.
Empty the Dispenser: If there is a water bottle on top, carefully lift it off. Pour out any remaining water from the ceramic reservoir into a sink.
Remove the Lid: Take the ceramic lid off and set it aside.
Unscrew the Spigot: Place one hand inside the dispenser to hold the nut steady. Use your other hand to twist the spigot counter-clockwise from the outside. Once loose, remove the spigot, nut, and any rubber or silicone washers. Keep these small parts together so you do not lose them.
Now you will wash the main part of the dispenser. Use your chosen cleaning solution of mild soap or diluted vinegar.
Fill your sink or a clean basin with warm water. For best results, the water temperature should be between 35°C and 55°C (95°F and 131°F). This temperature range helps your cleaning solution work effectively against any biofilm. Submerge a soft cloth in the solution and gently wipe the entire interior and exterior of the ceramic body. For the inside, you can use a bottle brush to scrub the bottom and sides. Handwashing is the best method to protect the dispenser's delicate finish.
The spigot needs special attention because it directly touches your water. A clean spigot is essential for hygiene.
Deep Cleaning Tip 🧼 For a deep clean, you can soak the spigot parts. A study found that soaking a tap in recently boiled water (above 80°C or 176°F) for five minutes effectively removes buildup. Let the water cool slightly before placing plastic parts inside to avoid damage.
Before a deep clean, check if your spigot can be taken apart further.
Check Instructions: Your dispenser's manual may have specific guidelines for spigot disassembly.
Examine the Parts: Look for seals or valves that appear removable. Some spigots are single units, while others are designed for a full breakdown.
Assess Buildup: If you see visible residue, taking it apart is a good idea.
Use a bottle brush to scrub inside the spigot barrel and nozzle. Clean the nut and washers with your soft cloth and cleaning solution.
Rinsing is one of the most important steps. You must remove all traces of soap or vinegar. Any leftover residue can affect the taste of your water or be harmful to drink.
Hold each component—the ceramic body, lid, spigot, nut, and washers—under cool, running water. Rinse them for at least 30 seconds each. Make sure water flows through the spigot to flush it out completely. Continue rinsing until you no longer feel any slippery soap residue or smell any vinegar.
You must let every part air dry completely before reassembly. Using a towel can leave behind lint or transfer germs.
Place all the components on a clean drying rack or on a fresh towel laid flat. Position the ceramic body upside down to allow water to drain out and air to circulate inside. Do not reassemble the dispenser while it is still damp. Moisture trapped inside can lead to mold and bacteria growth, undoing all your hard work. Patience here is key.
Once every part is bone-dry, you can put your ceramic water dispenser back together.
Inspect the Gaskets: Before reattaching the spigot, check its rubber or silicone washers (gaskets). If they look cracked or worn out, replace them. Standard garden hose washers from a home improvement store often make great replacements.
Reinstall the Spigot: Place one washer on the spigot's threaded end and insert it through the hole in the dispenser. Place the second washer on the threads inside the dispenser and screw on the nut. Hand-tighten the nut firmly, then use a wrench for a final quarter-turn to ensure a watertight seal. Do not overtighten, as this can crack the ceramic.
Refill and Check: Place the lid back on, put your water bottle on top, and check for any leaks around the spigot.
Your dispenser is now clean, safe, and ready to provide you with fresh-tasting water.
Proper maintenance keeps your ceramic water dispenser working well and your water tasting fresh. Consistent care prevents the buildup of germs and minerals. Following a simple routine ensures you always have clean, pure water on hand.
You should perform a full, deep cleaning every two to four weeks. This regular schedule is the best way to prevent bacteria and mold from growing inside the reservoir. If your home is warm or your dispenser sits in a sunny spot, you may need to clean it more often. Homes with high water usage should also aim for the two-week mark.
Key Takeaway 🗓️ A deep clean every 2–4 weeks is the standard. Adjust this schedule based on your home's environment and how much water you use.
You can take small steps between deep cleanings to maintain hygiene. These simple habits reduce buildup and keep the exterior looking great.
Wipe the spigot and its handle daily with a clean, damp cloth. This removes fingerprints and prevents germs from transferring.
Clean the outside of the dispenser weekly. This simple wipe-down removes dust and any splashes from filling your glass.
Keep your dispenser out of direct sunlight. Sunlight can encourage algae to grow inside the reservoir, especially if you use a clear water bottle.
These quick tasks make your next deep cleaning session much easier.
Even with regular care, you might face a few common problems. You can solve most issues with simple household items and a little know-how. These tips will help you keep your dispenser in top shape.
Hard water can leave behind white, chalky mineral deposits. You can remove these stains without harsh chemicals. Vinegar and baking soda are two effective, safe options.
Vinegar Solution: The acid in vinegar dissolves mineral buildup. Spray a 50/50 mix of white vinegar and water on the stains. Let it sit for 15 minutes, then wipe with a soft cloth and rinse well.
Baking Soda Paste: Baking soda is a mild abrasive that lifts stains. Make a paste with baking soda and a little water. Apply it to the stain, scrub gently, and rinse thoroughly.
You may see green spots inside your dispenser if it is exposed to certain conditions. Algae need light, heat, and stagnant water to grow. While the smooth glaze on your ceramic dispenser helps prevent algae from clinging, you should still take steps to stop its growth. The best prevention is keeping the water from sitting too long. Always place your dispenser away from direct sunlight to keep the water cool and in the dark.
A dripping spigot is a common issue that you can usually fix quickly. The leak often comes from a loose connection or a worn-out part.
Quick Fix Tip 🔧 Most leaks happen because the nut inside the dispenser is not tight enough. First, try tightening it by hand. If that does not work, use a wrench for a slight quarter-turn.
If tightening does not stop the leak, the washers may be old. Turn off the water supply, empty the dispenser, and unscrew the spigot. Check the rubber washers for cracks. You can find replacement washers at any hardware store.
You can easily maintain a hygienic dispenser. Clean it every 2 to 4 weeks using simple household items like mild soap or vinegar.
Remember the most critical steps: wash thoroughly, rinse away all residue, and let every part air dry completely. This consistent care ensures your water always tastes fresh and pure. 💧
You should not use a dishwasher. The high heat and harsh detergents can damage the glaze. You must always handwash your dispenser with a soft cloth for safety.
A lingering taste means you need to rinse more. You must rinse every part under cool water until all cleaning solution residue is completely gone.
You should clean and dry it completely first. Store all parts disassembled in a cool, dry place. This simple step prevents mold growth during storage.

We provide you with comprehensive foreign trade solutions to help enterprises achieve global development

Choose Mejec, Say Goodbye to Manual Maintenance! T...
The smart under-sink RO system that brings pure wa...
Mejec Scavenger Household Sewage Treatment Plant (...
.webp)
Mejec containerized seawater desalination system i...
Select the most popular foreign trade service products to meet your diverse needs
Select the most popular foreign trade service products to meet your diverse needs


User Comments
Service Experience Sharing from Real Customers
James Wilson
Office ManagerThe ceramic water dispenser and stand is a perfect addition to our office lobby. It looks elegant and professional, and the ceramic keeps the water cool for hours. Our clients often compliment it.
Sarah Chen
Yoga Studio OwnerI bought this for my wellness studio. The ceramic dispenser is beautiful and non-toxic, which aligns with our values. The stand is sturdy. It creates a serene hydration station for my clients. One star off because the faucet was slightly stiff at first.
Michael Rodriguez
Interior DesignerThis ceramic water dispenser set is exactly as advertised—stylish and functional. I recommended it to a client for their modern kitchen, and it became a stunning focal point. The quality of the glaze and the solid wood stand is impressive.
Emily Foster
Dental HygienistWe use this in our dental clinic's waiting area. The ceramic is easy to clean and hygienic. The stand elevates it to a comfortable height. It's durable, even with daily use, and has a calming, clean aesthetic that patients appreciate.