


.webp)
Top Commercial Water Dispensers for Restaurants Reviewed in 2026
Compare the top water dispenser for restaurant mod...
More
Proper preparation is key to a smooth installation of your purified water dispenser. Taking a few minutes to get organized now will save you time and prevent headaches later. This section covers choosing the perfect spot, gathering your supplies, and safely preparing your plumbing.
Selecting the right spot for your purified water dispenser is your first important decision. You need a location that meets a few key requirements.
Near a Power Outlet: Your dispenser needs electricity to cool and heat the water. Choose a spot within reach of a standard electrical outlet.
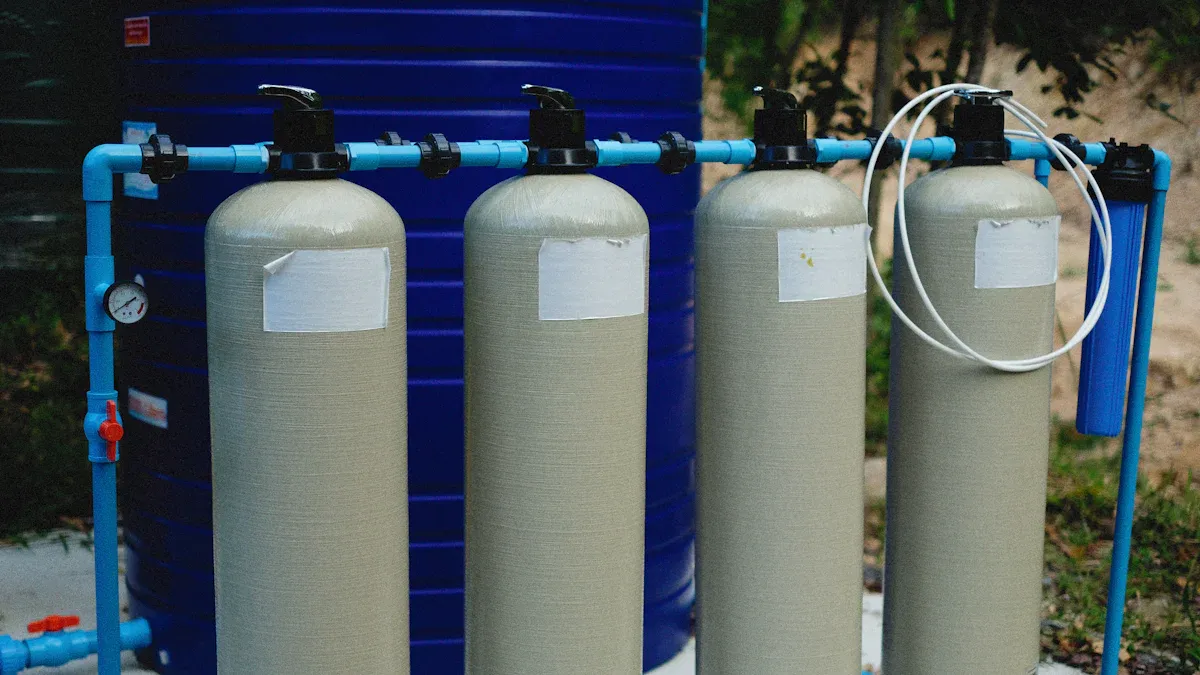
Close to a Water Source: The unit must connect to your cold water line. Pick a location that allows for easy and discreet routing of the water tubing.
On a Level Surface: The dispenser must sit on a flat, stable, and level floor. This ensures it operates quietly and prevents any risk of tipping.
Allow for Ventilation: Leave at least 4 inches (10 cm) of space around the back and sides of the unit. This clearance is crucial for proper airflow to prevent the compressor from overheating.
Pro Tip 💡 Avoid placing your purified water dispenser in direct sunlight or near a heat source like an oven or radiator. High temperatures can make the cooling system work harder, increasing energy consumption.
Before you begin the installation, gather all necessary tools and parts. Having everything ready will make the process much faster. Check your user manual for a complete list specific to your model.
| Tool/Part | Purpose |
|---|---|
| Adjustable Wrench | To tighten fittings and connections. |
| Utility Knife/Cutter | For clean, straight cuts on the water tubing. |
| Drill (Optional) | To create a hole in a cabinet for tubing. |
| Bucket and Towels | To catch any water spills during installation. |
| Safety Glasses | To protect your eyes. |
Your purified water dispenser kit should include essential parts like a saddle valve, tubing, and fittings. Lay them out and confirm you have everything shown in your manual.
Safety comes first when working with plumbing. You must turn off the water supply before tapping into the line.
Locate the shutoff valve for the cold water line under your sink. It usually has a small, oval-shaped handle.
Turn the handle clockwise until it stops. This will shut off the water flow to the faucet.
Turn on the cold water tap on your faucet to release any remaining pressure and water in the line. Let it run until the water stops completely.
You are now ready to begin the main installation steps for your purified water dispenser.
Choose a good spot for your dispenser. It needs power, water, a flat surface, and space for air.
Gather all your tools and turn off the water supply before you start. This makes installation safe and easy.
Follow the steps to connect the water line, install filters, and check for leaks. Then, flush the system before you plug it in.
Proper preparation is key to a smooth installation. Taking a few minutes to get organized now will save you time and prevent headaches later. This section covers choosing the perfect spot for your purified water dispenser, gathering your supplies, and safely preparing your plumbing.
Selecting the right spot for your dispenser is your first important decision. You need a location that meets a few key requirements for safety and performance.
Find a Power Outlet: Place your dispenser within reach of a standard electrical outlet to power its heating and cooling functions.
Stay Near a Water Source: The unit must connect to your cold water line. Pick a location that allows for easy routing of the water tubing.
Use a Level Surface: The dispenser must sit on a flat and stable floor. This ensures it operates quietly and prevents any risk of tipping.
Allow for Ventilation: Leave at least 4 inches (10 cm) of space around the back and sides. This clearance is crucial for proper airflow to prevent overheating.
Choose a Clean Area: A clean, stable environment helps your dispenser last longer. Avoid harsh or dusty areas that can cause extra wear.
Before you begin, gather all necessary tools and parts. Having everything ready will make the process much faster. Check your user manual for a complete list specific to your model.
| Tool/Part | Purpose |
|---|---|
| Adjustable Wrench | To tighten fittings and connections. |
| Utility Knife/Cutter | For clean, straight cuts on the water tubing. |
| Drill & Drywall Knife | To create holes in cabinets for tubing. |
| Bucket and Towels | To catch any water spills during installation. |
| Safety Glasses | To protect your eyes. |
Safety comes first when working with plumbing. You must turn off the water supply before tapping into the line.
First, find the shutoff valve for the cold water line, usually under your sink.
Next, turn the handle clockwise until it stops. This will shut off the water flow.
Finally, turn on the cold water tap on your faucet. This releases any remaining pressure and water in the line.
Know Your Valve Type 📝 Your shutoff valve is likely a gate valve or a ball valve. A gate valve has a round handle you turn multiple times. A ball valve has a lever handle you turn just a quarter-turn (90 degrees) until it is perpendicular to the pipe.
You have prepared your space and tools. Now you can begin the main installation. Follow these steps carefully to connect your dispenser to the water supply and get it ready for use.
You will connect your dispenser to the cold water pipe under your sink. Your kit likely includes a fitting for this job. You have a few options for making this connection.
Saddle Valve: This clamp-on valve pierces the pipe to create a water line. It is easy to install without special tools. However, some plumbing codes do not approve them because they can leak over time.
Push Fitting Tee: This modern fitting connects easily to copper, PEX, or CPVC pipes. You simply push it on for a reliable seal. It is a great option but costs more.
Copper Tee Fitting: This is the most secure method. It requires you to cut the pipe and solder a new fitting in place. This method provides the lowest chance of leaks but requires plumbing skills.
Most kits provide a saddle valve. Here is how you install it:
Prepare the Pipe: Clean the section of the cold water pipe where you will place the valve. You can use fine sandpaper or steel wool to make it smooth.
Mount the Valve: Unscrew the piercing needle so it is fully retracted. Place the rubber gasket on the inside of the valve. Fit both halves of the valve around the pipe and tighten the bolts evenly. The rubber should press firmly against the pipe.
Pierce the Pipe: Turn the valve handle clockwise. You will feel resistance as the needle pierces the pipe. Keep turning until it stops. The valve is now in the "off" position.
Check for Leaks: Slowly turn your main water supply back on. Carefully check the new valve for any drips or leaks.
Important Note 📝 Most saddle valves work on copper pipes. Some models are also safe for PVC or PEX plastic pipes. Always check your valve's instructions to confirm it is right for your plumbing.
Next, you will run the water line from the saddle valve to your dispenser.
Measure and Cut the Tubing: Route the 1/4-inch plastic tubing from the saddle valve to the back of the dispenser. Leave a little slack to prevent kinks. Use a utility knife to make a clean, square cut at the desired length.
Prepare the Fitting: Slide the compression nut and the small brass ring (ferrule) onto the end of the tubing.
Insert the Brass Sleeve: Push the small brass sleeve insert into the opening of the plastic tube. This small part is very important. It prevents the compression fitting from crushing the tube.
Attach to the Valve: Insert the tubing end into the saddle valve's outlet. Slide the ferrule down to meet the valve. Hand-tighten the compression nut. Then, use a wrench to give it one more half-turn.
Connect to the Dispenser: Repeat the process on the other end of the tubing. Connect this end to the water inlet port on the back of your purified water dispenser. The inlet is usually labeled.
Pro Tip 💡 For an extra layer of protection against leaks, you can wrap the male threads on the dispenser's inlet port with Teflon tape before attaching the compression nut. Do not overtighten the nut. A snug fit is all you need.
Your dispenser uses filters to purify the water. You must install these correctly. Always check your manual, as filter types and locations can vary.
The typical installation order is:
Sediment Filter: This is usually the first filter the water enters. It captures larger particles like dirt, sand, and rust. Unscrew the filter housing, remove the plastic wrap from the new filter cartridge, and place it inside.
Carbon Block Filter: This filter is typically the second stage. It removes chlorine, lead, pesticides, and other chemicals that cause bad tastes and odors. Install it in its housing just like the sediment filter.
When installing the filters, make sure the O-rings are seated correctly in their grooves inside the filter housing caps. A missing or misplaced O-ring is a common cause of leaks. Screw the housings back on, making them hand-tight.
With all connections made, you can now move the unit into its final location.
Carefully slide the dispenser into the spot you chose earlier.
Ensure you leave at least 4 inches of clearance on the sides and back for ventilation.
Check that the unit is sitting flat and level on the floor. An unlevel dispenser can be noisy or vibrate during operation.
You are now ready for the final checks before enjoying your first glass of fresh water.
You have completed the main installation. Now you will perform the final checks to ensure your purified water dispenser operates correctly and safely. These last steps prepare the system for its first use.
Return to the cold water shutoff valve under your sink. Slowly turn the handle counter-clockwise to restore the water flow. Opening the valve slowly helps prevent a sudden surge of pressure in the lines.
You must now carefully inspect your work for any signs of water leakage. A small drip can cause significant damage over time.
Check these common trouble spots:
The connection at the original water source.
The new saddle valve or tee fitting on the pipe.
The full length of the external water tubing.
The water inlet connection on the back of the dispenser.
Troubleshooting Leaks 💧 Leaks often happen because of trapped air in the lines or a faulty water valve. If you see a drip, turn the water off, tighten the connection a quarter-turn, and check again. Do not overtighten the fittings.
Flushing clears out any air, dust, or carbon particles from the new filters and lines. This step is essential for clean, great-tasting water.
Place a large pitcher or bucket under the cold water spigot.
Press the lever to dispense water. Continue until you have flushed at least 1 gallon (about 8 tall glasses).
Discard this water.
You will know the system is successfully flushed when the water runs clear. Any initial cloudiness or dripping from the spigot should disappear.
Your dispenser is now ready for power.
Plug the power cord into a grounded electrical outlet.
Locate the hot and cold tank switches on the back of the unit.
Turn both switches to the "On" position.
The dispenser will now begin to chill and heat the water. This process can take up to an hour.
Your installation is complete, but your work is not quite done. Consistent maintenance ensures your purified water dispenser provides clean, safe, and great-tasting water for years. This guide covers your filter schedule, replacement steps, and cleaning routines.
Filters are the heart of your water purification system. They trap contaminants and eventually become full. You must replace them regularly to maintain water quality and system performance. Your user manual provides the exact schedule for your model.
General filter lifespans often look like this:
| Filter Type | Lifespan (Months) | Lifespan (Gallons) |
|---|---|---|
| Sediment/Carbon | 6 | 1,500 - 3,000 |
| RO Membrane | 12-24+ | N/A |
The lifespan of a Reverse Osmosis (RO) membrane can vary greatly, typically lasting from 1 to 5 years. Its replacement depends more on your water quality and usage than on time alone.
Several factors determine how often you need to change your filters:
Water Usage: A large family uses more water. This means filters reach their capacity faster.
Local Water Quality: Water with high levels of sediment or chlorine forces filters to work harder. This shortens their lifespan.
Contaminant Types: Different impurities can clog filters at different rates.
Maintenance Frequency: Following a regular cleaning schedule helps your filters last longer.
Replacing filters is a straightforward task you can do yourself. Always have a bucket and towels ready to catch any spills.
1. Depressurize the SystemYou must release the water pressure before opening the filter housings.
Turn off the cold water supply valve that connects to your dispenser.
Press the cold water lever on the dispenser. Let water flow until it stops to release pressure in the lines.
Press the red pressure-release button on top of the filter housing, if your model has one. This releases any trapped pressure.
2. Swap the Filter CartridgesMost modern systems use simple twist-on cartridges.
Place a towel directly under the filter module.
Start with the first filter (usually the sediment filter). Rotate the cartridge a quarter-turn counter-clockwise.
Pull the old filter down and out. You can now dispose of it.
Remove the protective cap from the new filter cartridge.
Insert the new filter into the housing. Rotate it a quarter-turn clockwise until it locks firmly in place.
Repeat these steps for the other filters, like the carbon block.
Turn the water supply back on. Flush about one gallon of water through the system to remove any carbon dust.
Check carefully for any leaks around the new filters over the next few hours.
Regular cleaning prevents the buildup of germs and keeps your dispenser looking new. You should clean the exterior surfaces weekly.
Drip Tray: This tray catches spills and can grow bacteria quickly. You should remove and wash it daily in high-use environments. Use warm, soapy water, then rinse and dry it completely.
Spigots and Levers: These are high-touch areas. Wipe them down daily with a soft cloth and a food-safe cleaning solution to prevent the spread of germs.
Every 3 to 6 months, you should sanitize the internal water tanks and lines. This process removes any biofilm or microbial growth inside the system.
Safety First! ⚠️ Always follow your user manual's instructions for sanitization. Use only the cleaning tools provided with your equipment. Never use metal scrapers, harsh chemicals, or solvents that can damage plastic parts. Prepare any sanitizing solution exactly as the manual directs.
A typical sanitization process involves:
Unplugging the unit and draining all water from the tanks.
Creating a sanitizing solution, often with a small amount of unscented household bleach or a specialized cleaning tablet.
Filling the reservoir with the solution and letting it sit for the recommended time.
Draining the solution completely.
Flushing the system thoroughly with fresh water until any cleaning taste or smell is gone.
Proper care of your purified water dispenser guarantees every glass you drink is as clean and refreshing as the first.
Congratulations! You have successfully installed your purified water dispenser. Consistent maintenance ensures optimal performance and great-tasting water. You will enjoy significant savings and help reduce plastic waste. Keep this guide and your user manual for future reference.
"When you see that reverse osmosis wins in water quality... sustainability... and it costs significantly less than bottled water – The choice is clear." - PerfectWater
You will hear the compressor and fan working to cool the water. Gurgling sounds are also normal as the tanks fill. These noises mean your dispenser is operating correctly.
Your dispenser needs time to work. You can expect fully chilled and heated water in about one hour after you power it on. This gives the systems time to function.
New filters can release harmless carbon particles. You must flush the system with at least one gallon of water. This simple step removes any initial taste and ensures pure water.

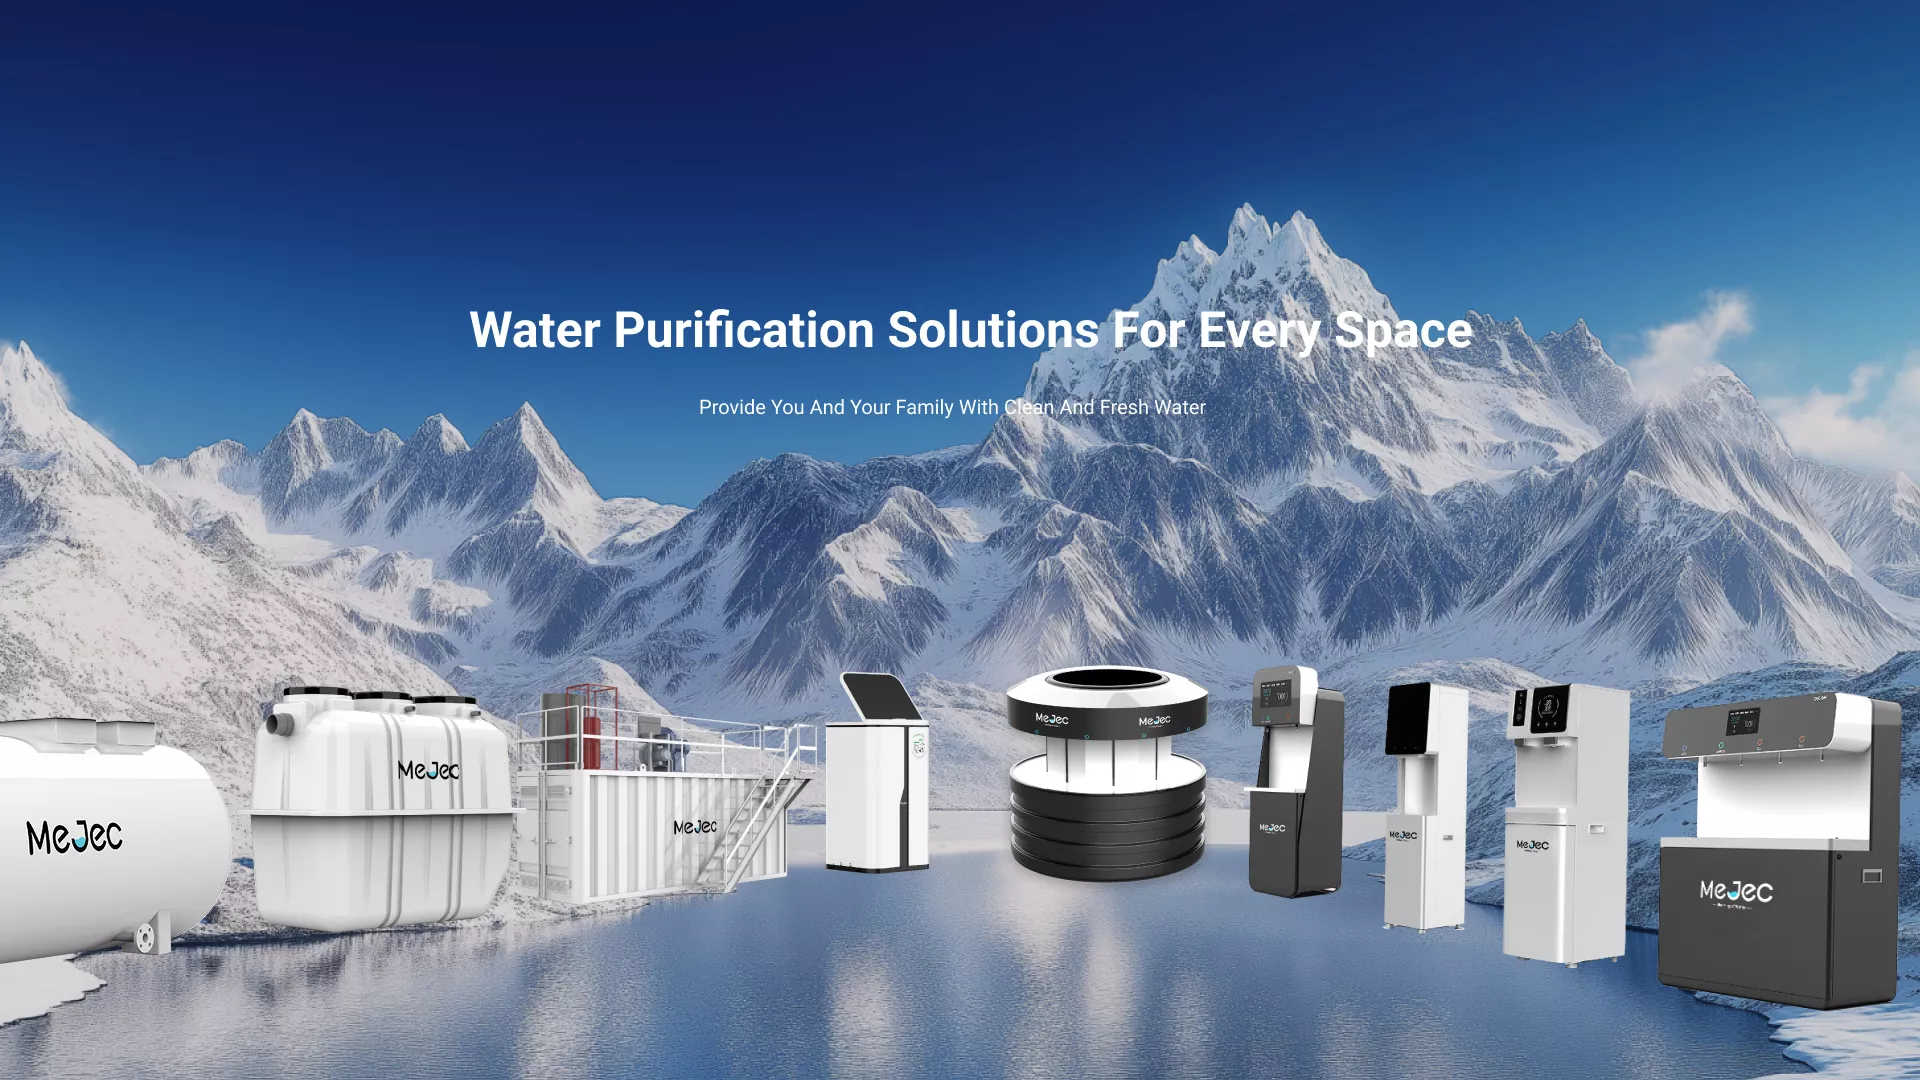
We provide you with comprehensive foreign trade solutions to help enterprises achieve global development
Upgrade your home's water with mejec efficient 3-s...

Whether your venue is a specialty café in pursuit ...
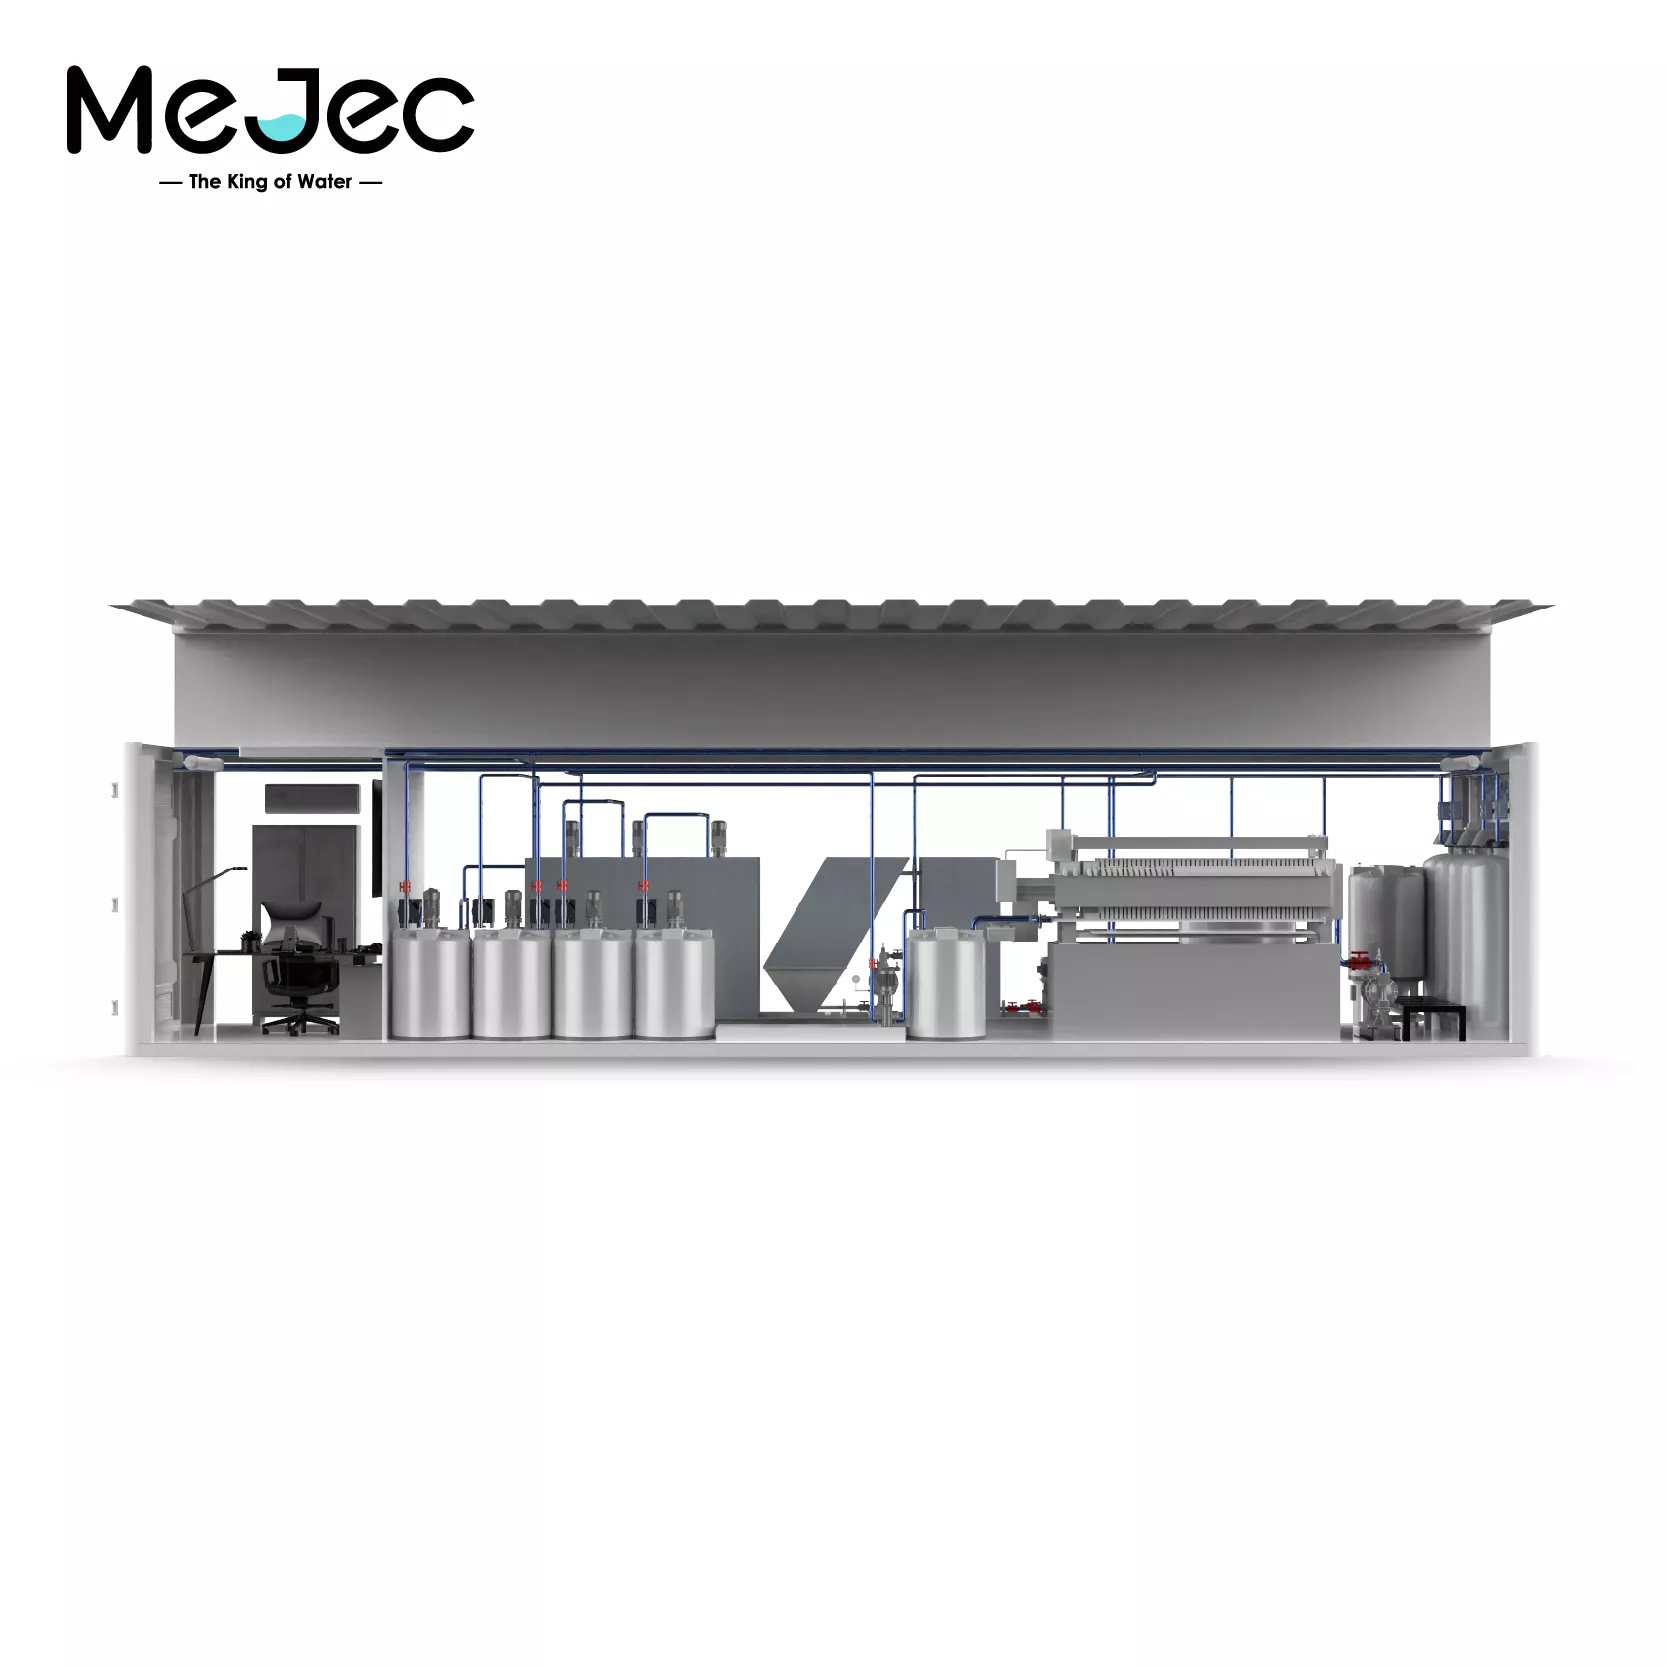
The Mejec industrial water purifier and dedicated ...

Imagine an office where the simple act of getting ...
Select the most popular foreign trade service products to meet your diverse needs
Select the most popular foreign trade service products to meet your diverse needs


User Comments
Service Experience Sharing from Real Customers
James Wilson
Laboratory TechnicianThis purified water dispenser is a game-changer for our lab. The water quality is consistently excellent, meeting all our stringent requirements for experiments. The unit is reliable and the maintenance alerts are very helpful.
Sarah Chen
Office ManagerWe installed this dispenser in our break room and staff love it. The water tastes crisp and clean, and it has significantly reduced our plastic bottle waste. The hot water function for tea is a great bonus. Very satisfied overall.
David Rodriguez
Head BrewerAs a craft brewery, water purity is critical. This dispenser provides the perfect base water for our pilot batches and quality testing. It's robust, easy to use, and the filtration system is top-notch. An essential piece of equipment for us.
Emily Park
Dental HygienistPerfect for our dental clinic. The purified water is essential for our autoclaves and patient care. This dispenser is compact, quiet, and delivers ultra-pure water on demand. Installation was straightforward and service has been excellent.