


.webp)
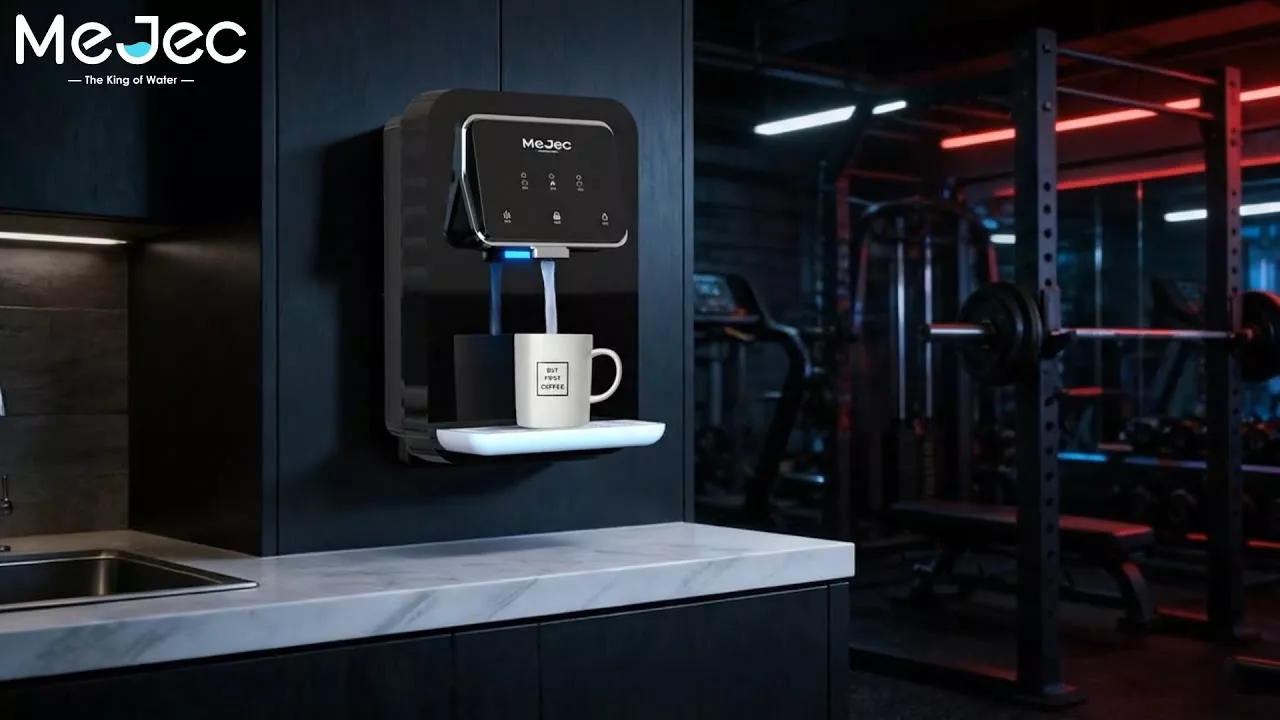
Wall-Mounted Direct-Drinking Dispenser Redefines Everyday Hydration
Elevate your hydration instantly with our wall-mou...
More

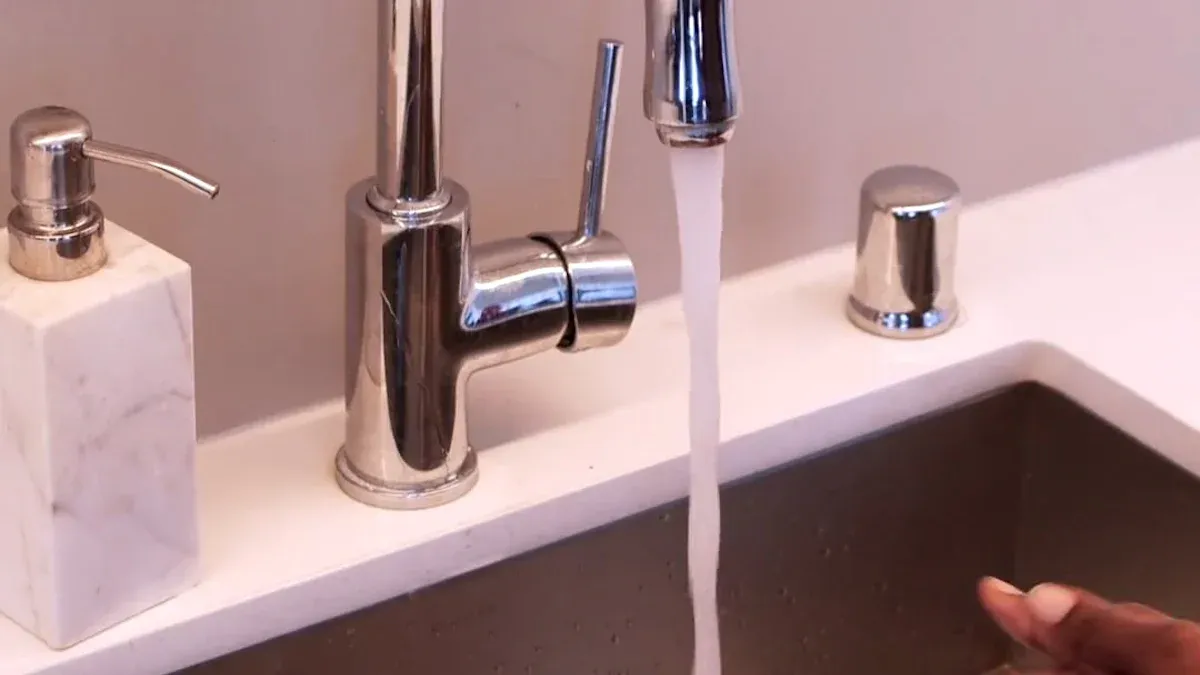
Get ready to enjoy near-boiling water right from your sink. A quick and hot water dispenser brings incredible convenience to your kitchen. You can make tea, coffee, or instant meals in seconds. This guide provides simple, step-by-step instructions for a successful installation. You will feel confident as you follow along.
Tip: Imagine having hot water ready anytime. This project makes that a reality.
Prepare your space and gather tools before you start. This makes the installation easier.
Follow safety steps like turning off water and power. This keeps you safe during the project.
Fill the tank with water before turning on the heat. This prevents damage to your new dispenser.
Proper preparation is the key to a smooth installation. You should take a few moments to get organized. This will save you time and prevent headaches later.
First, you need to look under your kitchen sink. Measure the available area. Your new quick and hot water dispenser tank needs a home. Most tanks are compact, but you must confirm the fit.
A common tank size is around 8 inches wide and 12 inches tall.
Tank capacity is often 1/2-gallon or 2/3-gallon.
The shipping weight is usually under 6 pounds.
You must also ensure there is enough open space around the tank. Proper clearance provides good ventilation. It also allows for easy maintenance access and prevents overheating. A good rule is to leave 12 inches of clearance on all sides if your manual does not specify otherwise.
Next, you should collect all the necessary tools. Having everything ready makes the job much easier. You will not have to stop and search for a tool mid-project.
| Tool | Purpose |
|---|---|
| Adjustable Wrench | Tightening water line connections |
| Basin Wrench | Reaching nuts in tight spaces |
| Phillips Screwdriver | Securing mounting brackets |
| Bucket and Towels | Catching water from disconnected lines |
| Safety Glasses | Protecting your eyes |
Finally, open the box and lay out all the components. Compare the parts you have with the inventory list in the instruction manual.
Make sure you have every piece before you begin. Check for any signs of damage that may have occurred during shipping. Contact the manufacturer if anything is missing or broken.
Now you are ready for the main event: the installation. Follow these steps carefully, and you will have your new dispenser running in no time. This is a manageable DIY project for most homeowners. However, if you prefer to hire a professional, you can expect the costs to vary.
Thinking About Professional Installation?
Hiring a plumber can be a great option if you are not comfortable with DIY projects. The cost for a professional to install your quick and hot water dispenser can change based on your location and the complexity of the job. Here is a general idea of what you might expect to pay:
Item Lower Cost Higher Cost Total $368.27 $520.00 This estimate often includes labor, basic materials, and cleanup. Costs can increase for premium products or if your under-sink area requires extra work.
Safety is your top priority. You must turn off the water and electricity to the work area before you start.
Shut Off the Water: Locate the cold water shutoff valve under your sink. Turn the handle clockwise until it stops. If you do not have a valve under the sink, you will need to turn off the main water supply to your house.
Turn Off the Power: Find your home's electrical panel. Locate the circuit breaker that controls the kitchen outlets. Flip the switch to the OFF position. If you are unsure which breaker it is, you can turn off the main breaker for the whole house. Always make sure your hands are dry when working with the electrical panel.
Safety Tip: ⚡️ After flipping the breaker, use a non-contact voltage tester on the outlet you plan to use. This confirms the power is truly off before you proceed.
Your new dispenser needs a faucet. Most sinks have an extra pre-drilled hole covered with a cap, often used for a soap dispenser or sprayer.
If you have an available hole, remove the cap.
If you do not have a hole, you will need to drill one. This step requires special tools and care, especially with stone or composite countertops.
Once you have an open hole, feed the faucet's water lines down through it. From underneath the sink, slide the provided washers and mounting nut onto the faucet's threaded base. Use your basin wrench to tighten the nut until the faucet is secure and does not wobble.
Next, you will find a spot for the hot water tank. The location is important for proper function and safety.
The tank must be mounted vertically on the cabinet wall.
Leave at least 4 inches of clear space around the sides and top for air circulation.
The tank must be within 30 inches of the electrical outlet you plan to use.
Hold the tank's mounting bracket against the cabinet wall, making sure it is level. Mark the screw holes with a pencil. Drill pilot holes on your marks, then securely screw the bracket to the wall. Hang the tank on the bracket.
Now it is time to connect the plumbing. You will connect the faucet, the tank, and your cold water supply. Your kit will include several flexible tubes.
Connect the tube from the cold water supply valve to the inlet port on the hot water tank.
Connect the tubes from the new faucet to the corresponding outlet ports on the top of the tank. These are usually color-coded or labeled.
When tightening the compression fittings, start by hand to avoid mistakes.
How to Prevent Cross-Threading
Damaging the threads on your connections can cause leaks. To get it right, first turn the nut backward (counter-clockwise) until you feel a small click. This click tells you the threads are properly aligned. Now, you can tighten it by hand before using a wrench for the final turn.
Your quick and hot water dispenser needs a specific type of power source. Check your manufacturer's guide, but most units require a standard grounded outlet.
Voltage: 110-120 volt, 60Hz AC only.
Circuit: A 15 or 20 amp grounded circuit is necessary. It is highly recommended to use a dedicated circuit that serves only the water dispenser. This prevents the circuit from overloading.
Outlet: The outlet must be properly grounded. It cannot be connected to a wall switch. While outlets near a sink often require GFCI protection, an outlet inside an enclosed cabinet for an appliance like this typically does not.
Once you confirm the outlet is correct, plug in the power cord for the tank. Do not turn on the heating element switch on the tank yet.
This is the final and most important step before you can enjoy hot water. You must fill the tank with water before the heating element turns on. Powering a dry tank will permanently damage it.
Fill the Tank: Slowly turn the cold water shutoff valve back on. Listen for the sound of the tank filling with water.
Run the Faucet: Press the handle on your new hot water faucet. At first, air will sputter out. This is normal. Keep the handle pressed until you get a steady, smooth stream of cold water. This means the tank is full.
Check for Leaks: With the water pressure on, carefully inspect every connection point. A simple way to spot a slow drip is to place a dry paper towel under each fitting. Any moisture will be immediately visible.
Heat the Water: Once you are certain there are no leaks and the tank is full, you can turn on the heating element. There is usually a switch or dial on the front of the tank.
It will take about 10-15 minutes for the water to reach its maximum temperature. Congratulations, your installation is complete!
Congratulations on installing your new quick and hot water dispenser. You can now enjoy the convenience of on-demand hot water for your favorite drinks and meals. To get the most out of your unit, you should understand its settings and care requirements.
Pro Tip: Your dispenser's temperature is often adjustable. Setting the right temperature can perfect your morning coffee or tea.
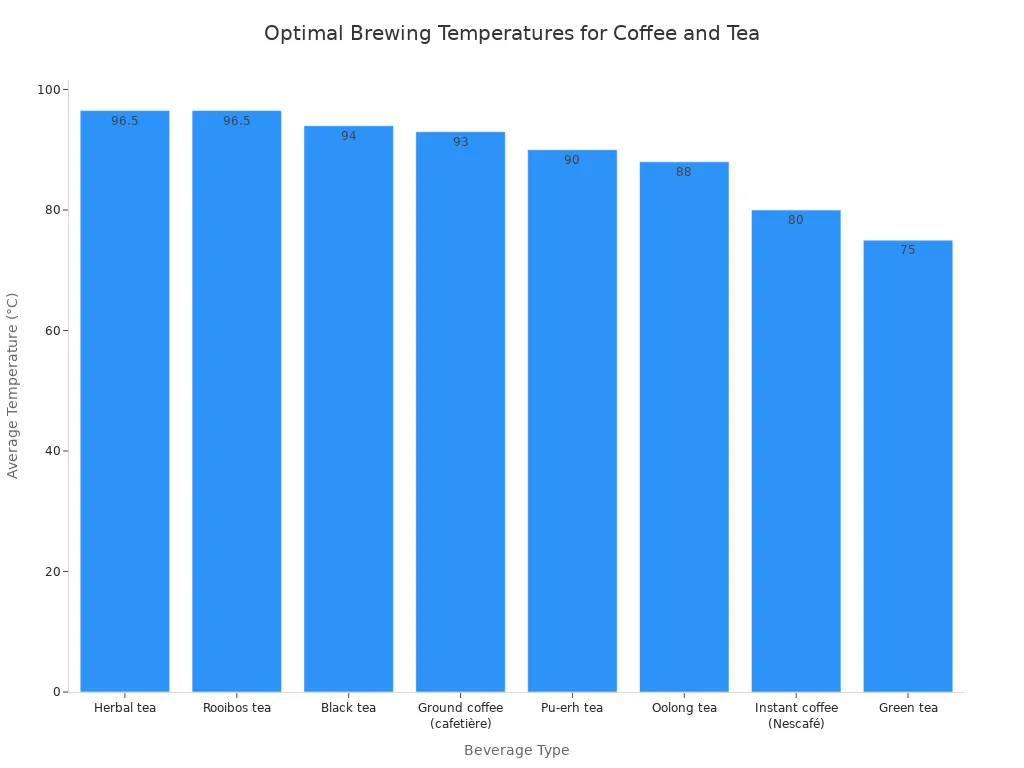
You can adjust the temperature for the perfect brew. Different drinks taste best at specific temperatures.
| Beverage Type | Temperature Range (°C) |
|---|---|
| Herbal tea | 93-100 |
| Black tea | 90-98 |
| Ground coffee | 90-96 |
| Oolong tea | 88 |
| Green tea | 70-80 |
Remember to follow your manufacturer's guide for long-term maintenance. Regular care keeps your appliance running efficiently. Common tasks include:
Replacing the water filter
Checking the heating element for scale
Testing temperature calibration
You can drill a new hole in your sink or countertop. This step needs special tools. Consider hiring a pro for stone surfaces to prevent cracking or damage.
No, you cannot use a switched outlet. The dispenser needs constant power to keep the water hot. You must plug it into a standard, unswitched grounded outlet.

We provide you with comprehensive foreign trade solutions to help enterprises achieve global development
Experience effortless purity with our advanced RO ...

The Dual-Core 360° Pre-Filter protects your entire...

Mejec-Johkasou-SA is a small buried sewage treatme...

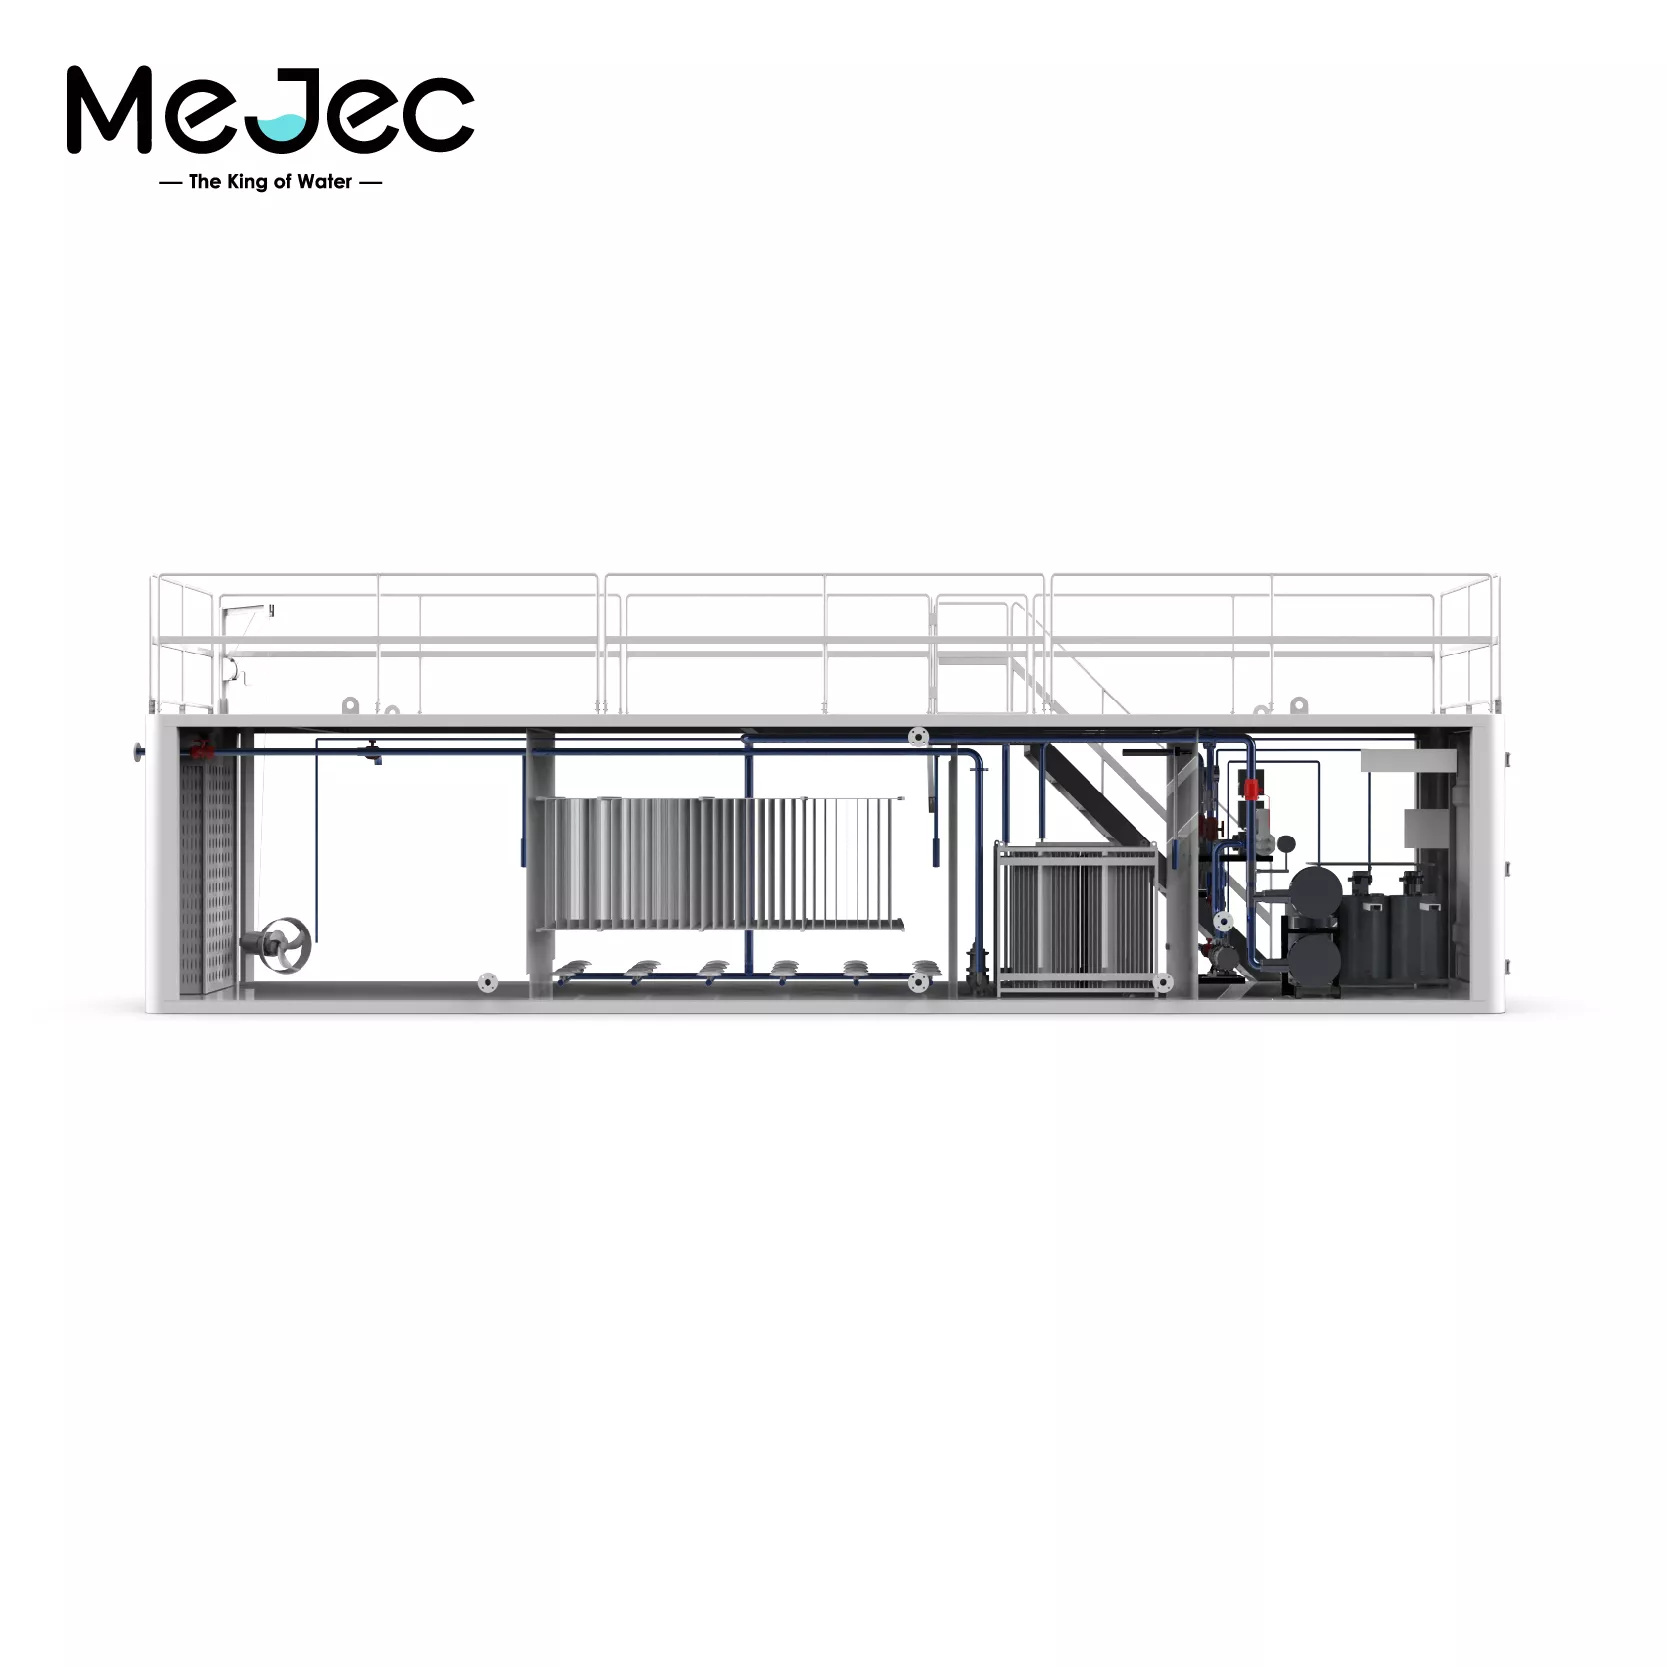
Imagine an office where the simple act of getting ...
Select the most popular foreign trade service products to meet your diverse needs
Select the most popular foreign trade service products to meet your diverse needs


User Comments
Service Experience Sharing from Real Customers
James Wilson
Office ManagerThis quick and hot water dispenser is a game-changer for our busy office. It provides boiling water in seconds, perfect for instant coffee, tea, and oatmeal during short breaks. The safety lock feature gives me peace of mind. Highly recommended for any workplace!
Sarah Chen
Registered NurseAs a nurse working long shifts, having immediate access to hot water is essential. This dispenser is incredibly fast and efficient, allowing me to quickly make a warm drink or soup without leaving the nurse's station. It's reliable, compact, and a lifesaver in a hectic hospital environment.
David Miller
TeacherPerfect for the teachers' lounge! The quick hot water function means I can brew a cup of tea between classes without waiting. The temperature control is great for different types of beverages. It's durable and handles the constant use from our staff very well.
Emily Rodriguez
Cafe OwnerWe use this as a backup and for staff beverages. The speed at which it delivers piping hot water is impressive, matching the pace of our busy cafe. It's energy-efficient and the build quality is solid for commercial use. A fantastic addition to our food service operation.