


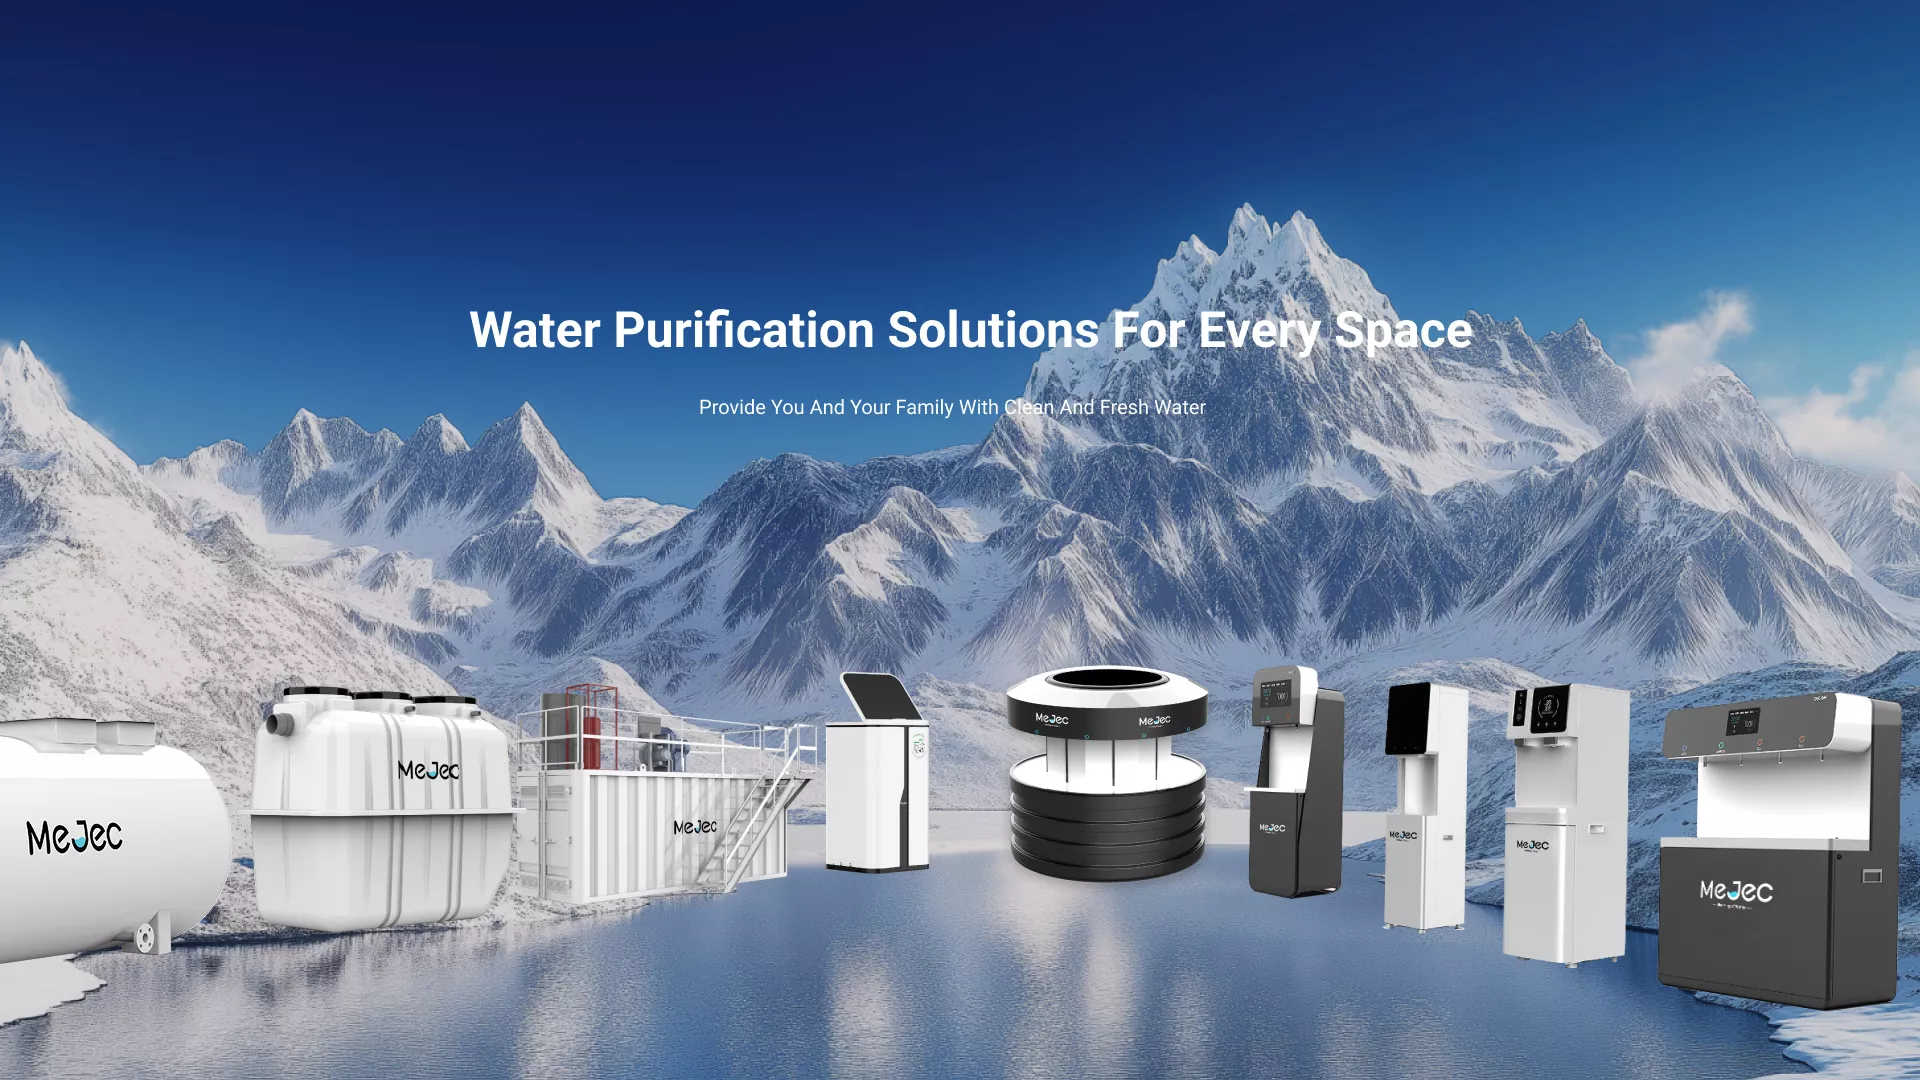
.webp)
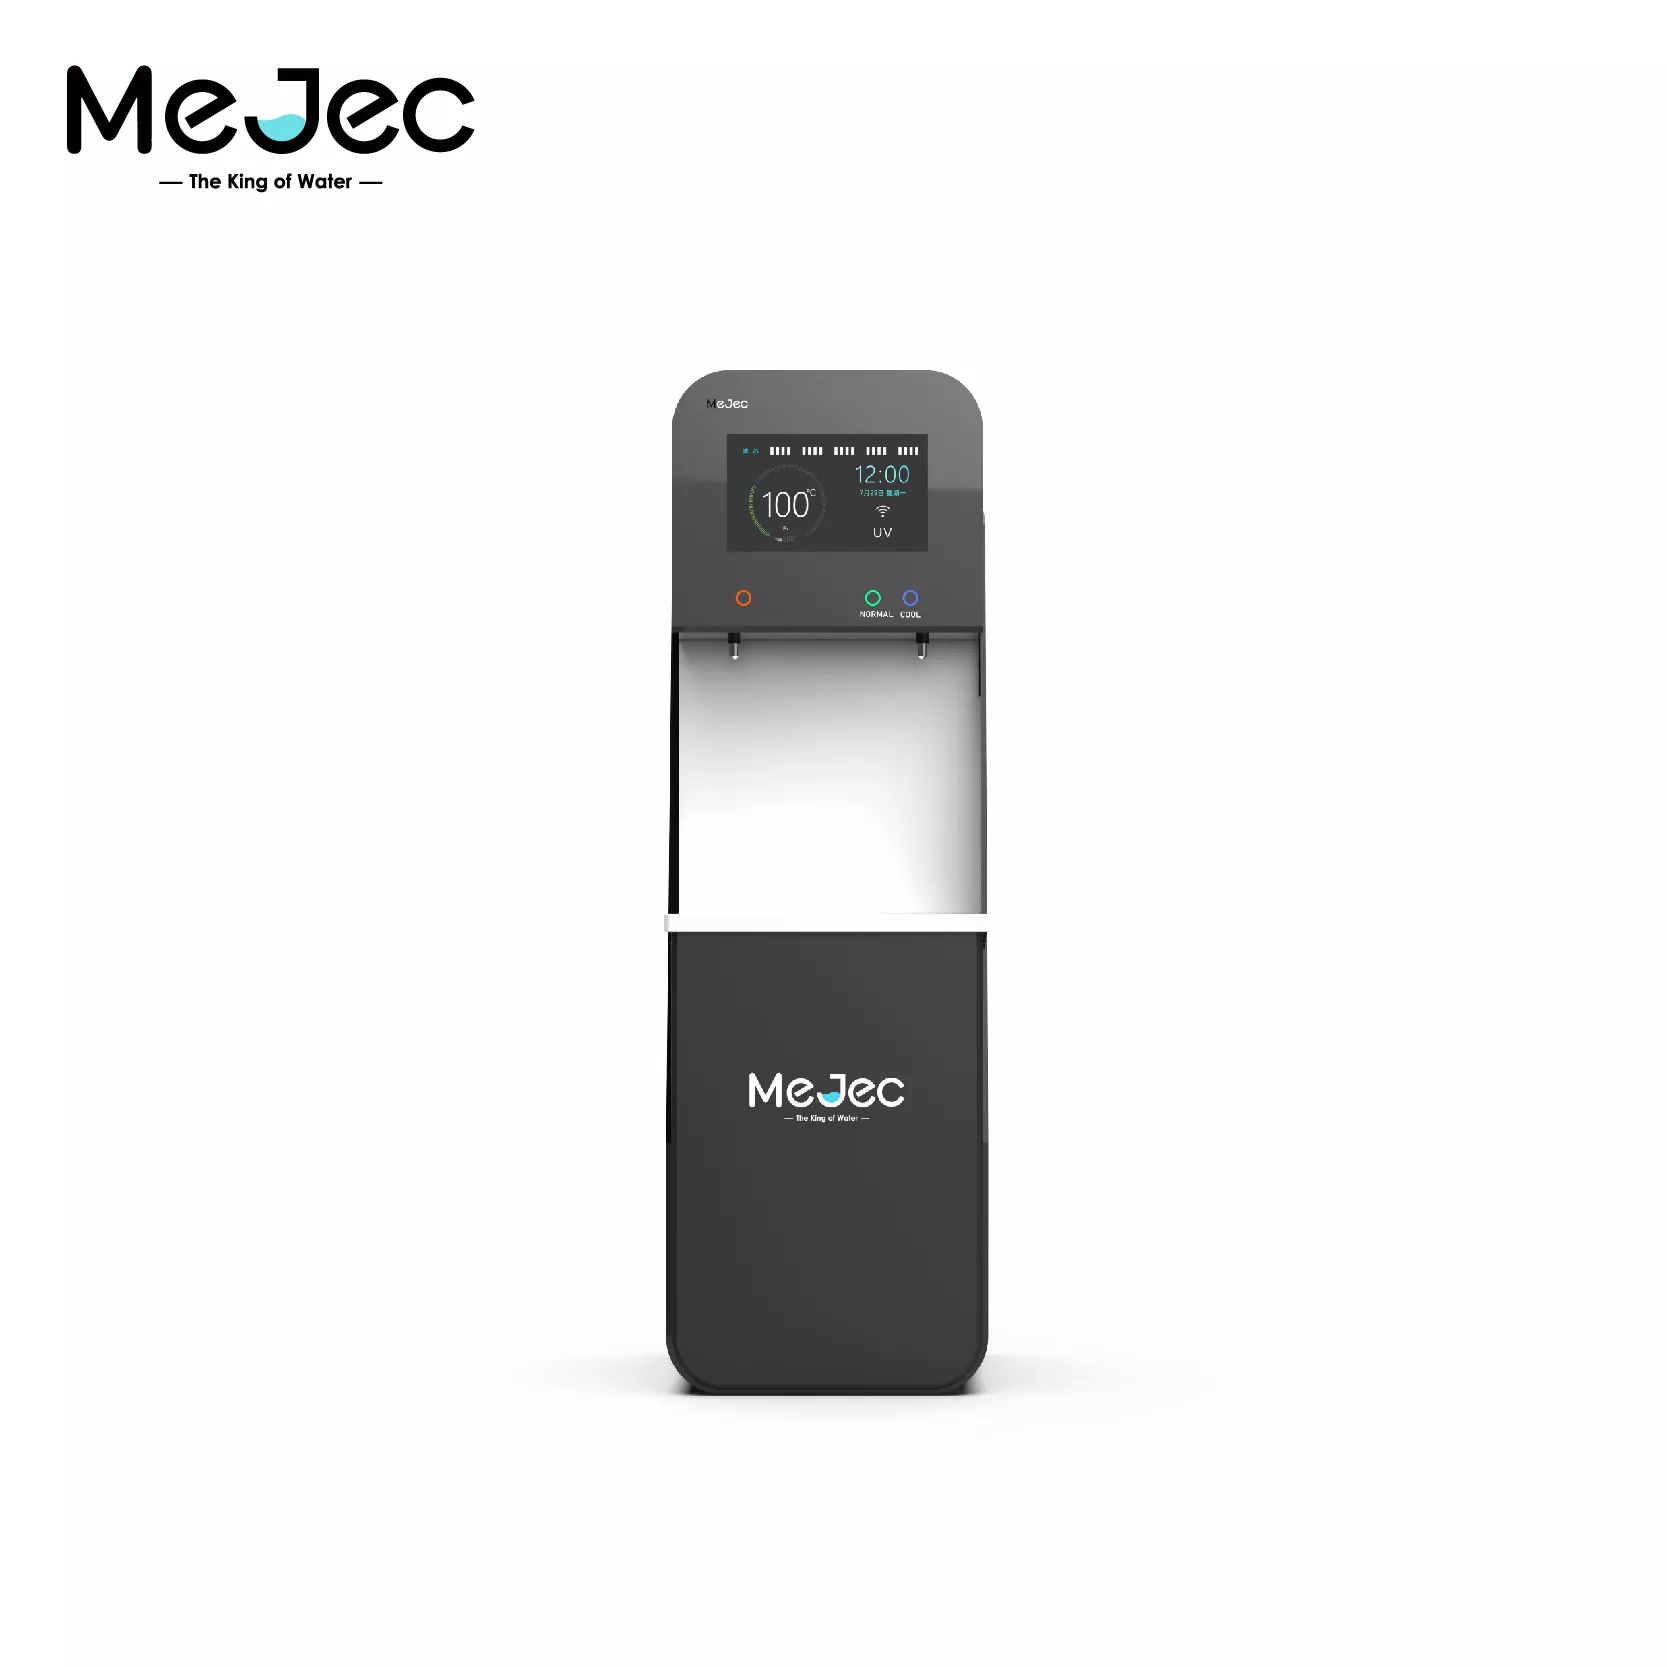
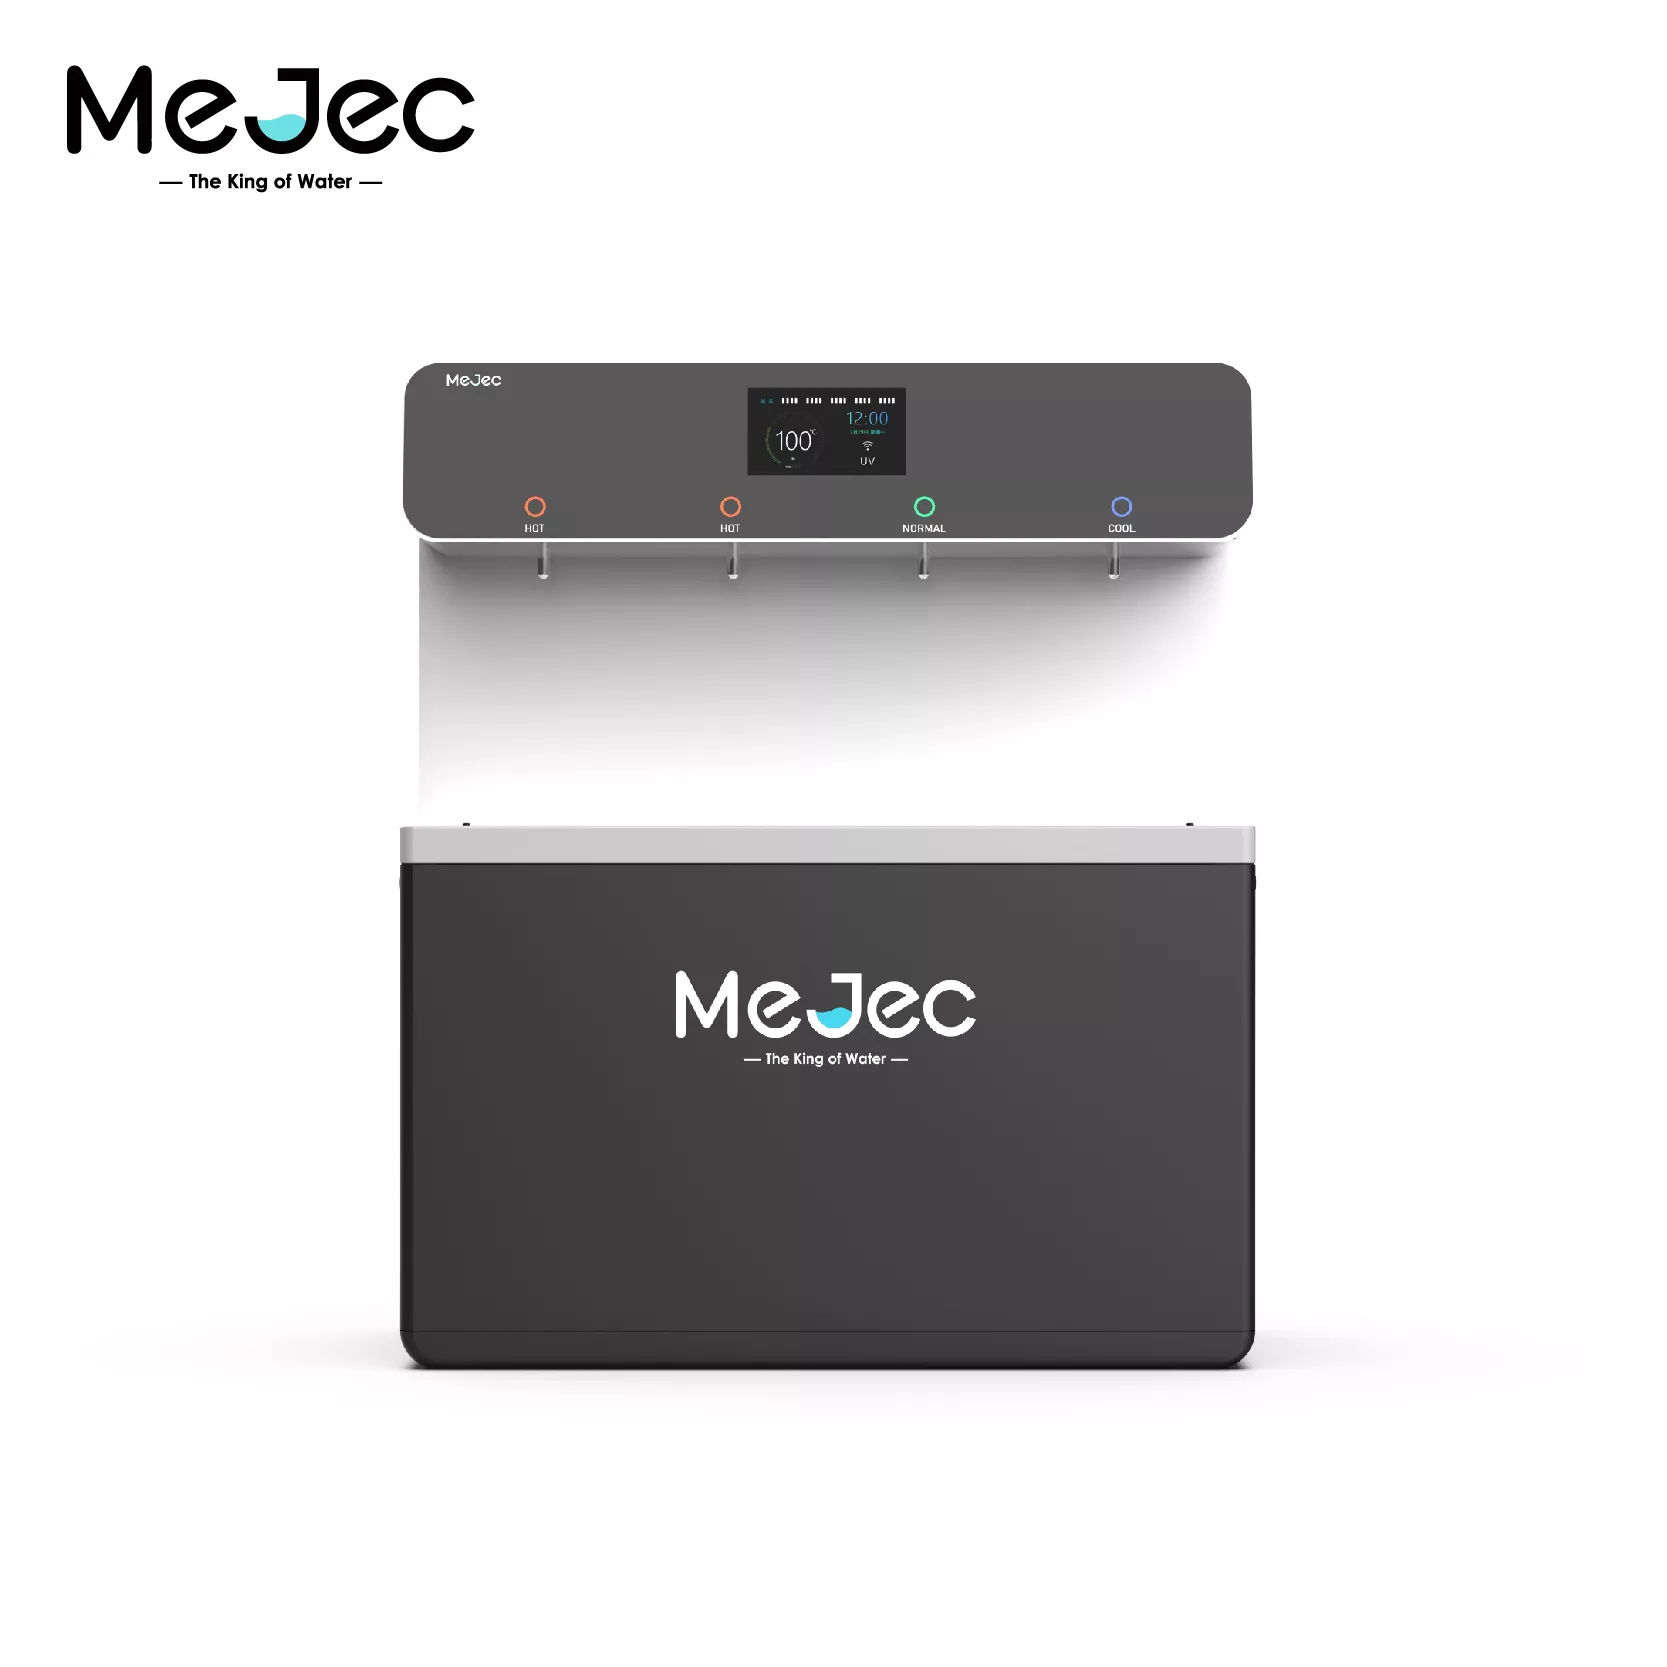
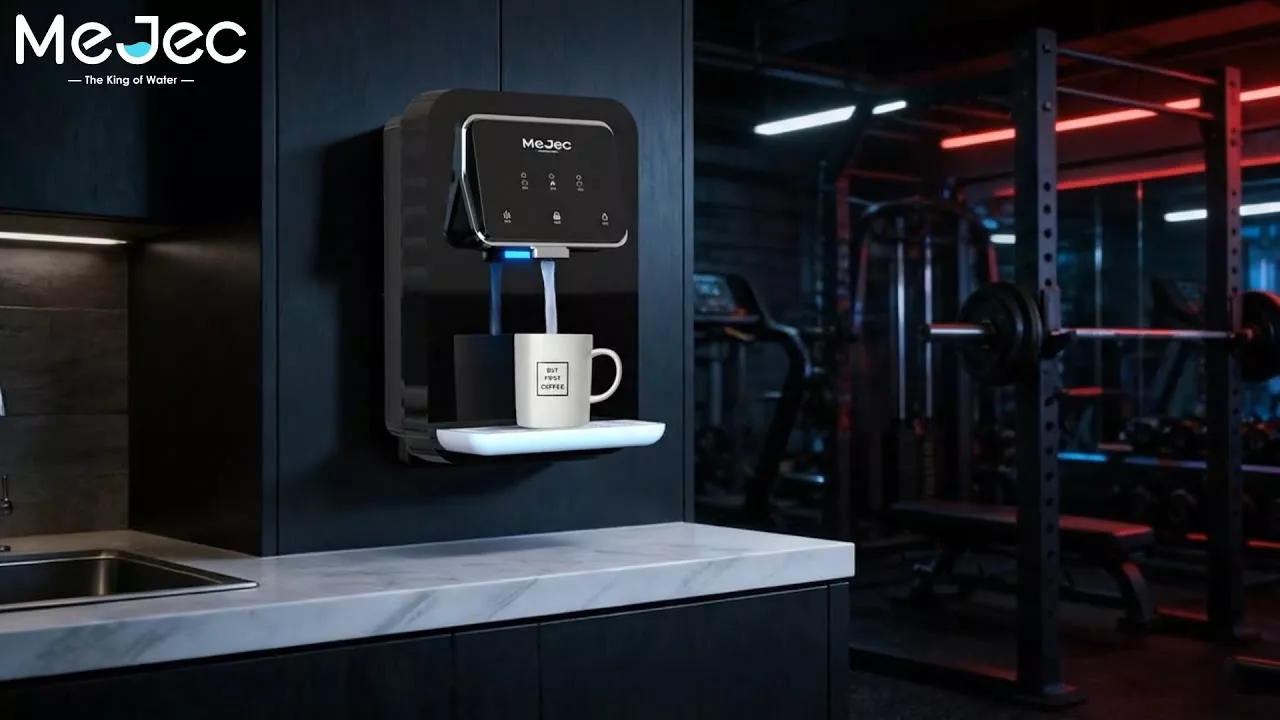
Elevate Your Space with the Mejec Wall-Mounted Water Dispenser
Discover the Mejec Wall-Mounted Water Dispenser—wh...
More
You can install your new tankless water dispenser as a simple DIY project. Many people enjoy the improved taste (27.6%) and convenience (14.0%) these units provide. Follow this 5-stage roadmap for a successful setup:
Choose Location & Gather Tools
Connect the Water Supply
Set Up the Drain Line
Install Filters & Make Final Connections
Power On & Flush the System
Gather your tools and pick a good spot for the dispenser before you start. This helps the installation go smoothly.
Follow the steps carefully: turn off the water, connect the lines, install filters, and check for leaks. This makes sure your system works right.
Do not connect to hot water, install the drain saddle wrong, or turn on power before flushing. Avoiding these mistakes keeps your dispenser safe and working well.
Proper preparation makes your installation project smooth and successful. You should first gather your supplies and select the ideal location. This simple first step prevents surprises later.
You can find most of the necessary tools right in your toolbox. Having everything ready saves you time and trips to the hardware store. Before you begin, collect these essential items:
Adjustable wrench
Tubing cutter or sharp scissors
Drill with a hole saw bit (if you need a new faucet hole)
Plumber's tape
A bucket and some old towels for any water spills
Your new tankless water dispenser kit should include the main unit, its dedicated faucet, T-valve fittings, and tubing. Always check the box contents first.
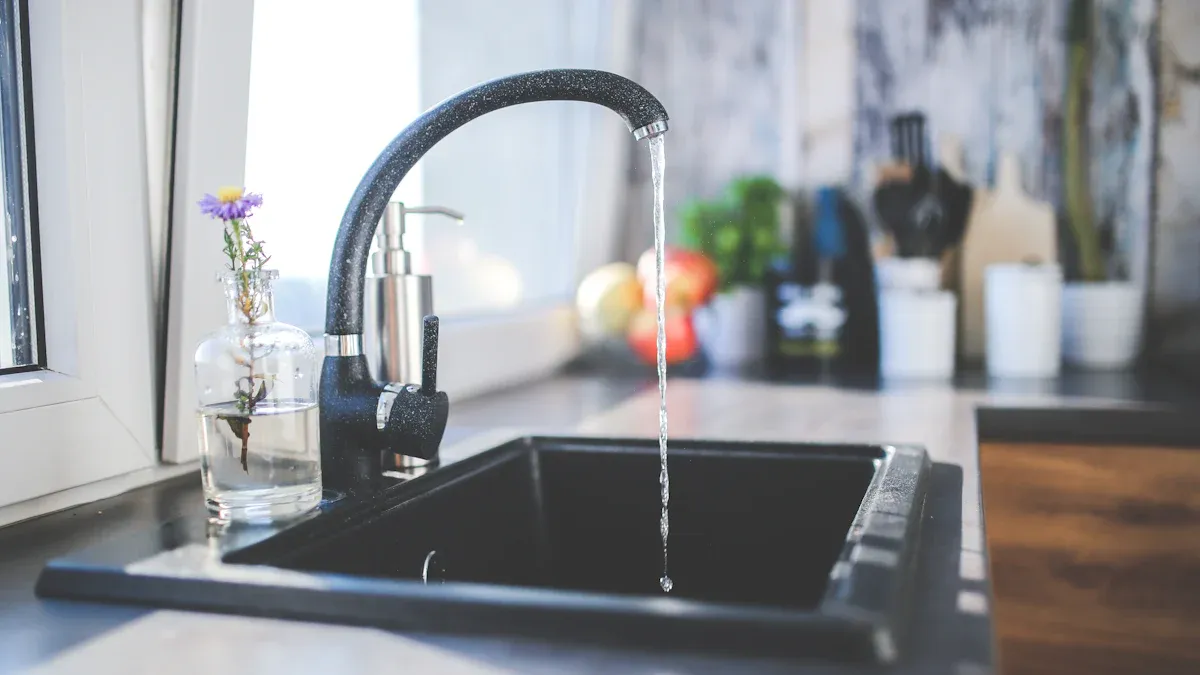
Selecting the right spot for your unit is crucial for safety and performance. You will typically install the dispenser under your kitchen sink. The location needs good airflow for ventilation and enough room for future filter changes.
Pro Tip: Check Your Clearances! 📝 You must leave adequate space around the unit. As a general rule, provide at least 12 inches of clearance above the unit and 24 inches in front for easy servicing. Also, allow 4-6 inches on the sides. Always check your manufacturer's manual, as specific models may have different requirements.
With your tools and location ready, you can now begin the installation. These five steps will guide you through the process. You will have your new system running in no time.
Safety comes first. You must shut off the cold water supply to your sink. Find the angle stop valve under your sink and turn it clockwise until it stops. Then, turn on your main faucet to release any remaining pressure and water in the line.
Next, you will install the feed water adapter. This T-shaped valve diverts water to your dispenser. Your kit should include the correct adapter for your setup. You simply unscrew the cold water line from the angle stop valve, screw on the adapter, and then reattach the water line to the adapter.
Types of Feed Adapters 🚰 Manufacturers provide various adapters to fit different plumbing setups. You might encounter several types, including:
Angle Stop Valve Adapters (with 1/4" or 3/8" outlets)
Universal Angle Stop Valve Adapters
Adapters for 1/2" NPT Cold Water Lines
If your tankless water dispenser uses reverse osmosis (RO), you need to install a drain line. This line carries away the wastewater containing rejected contaminants. You will connect a drain saddle to your sink's drain pipe.
First, drill a hole in the drain pipe above the P-trap. Your sink's drain is likely made of PVC (white) or ABS (black) plastic. Both materials are common in homes. ABS is strong and easy to install, while PVC is very durable and widely accepted by plumbing codes.
| Feature | ABS (Acrylonitrile Butadiene Styrene) | PVC (Polyvinyl Chloride) |
|---|---|---|
| Color | Black | White |
| Installation | One-step process (no primer needed) | Two-step process (primer and cement) |
| Sound | Better at dampening sound | Less effective at dampening sound |
| Regulations | Not permitted in all areas | Widely accepted by plumbing codes |
After drilling, attach the drain saddle over the hole and tighten the screws evenly. Modern RO systems are very efficient. Some models have a waste ratio as low as 1:1, meaning they produce only one cup of wastewater for every cup of pure water. Others can achieve an impressive 2.5:1 ratio, sending even less water down the drain.
Your system uses several filters to purify the water. Common types include sediment filters for rust and dirt, carbon filters for taste and odor, and RO membranes for microscopic contaminants.
Note: Flush Before You Install! 💧 You must flush new carbon filters before installing them in the unit. This process removes loose carbon fines. Connect the filter to your water line and run water through it into a bucket for about 10 to 15 minutes.
After flushing, you can install the cartridges into the dispenser. Most units use a simple twist-and-lock mechanism. Align the filter with its housing and turn it until it clicks securely into place. Refer to your manual for the correct order and installation method for each filter.
Now you will connect all the tubing. Use a tubing cutter for clean, square cuts. You will connect the feed adapter to the dispenser's water inlet, the drain saddle to the wastewater outlet, and the dispenser to the new faucet.
Most systems use quick-connect fittings for a secure, tool-free seal. Proper insertion is key to preventing leaks.
Push the tubing firmly through the collar and O-ring.
Ensure the tube goes all the way into the fitting.
You can mark the tubing about three-quarters of an inch from the end. This mark should disappear inside the fitting, confirming a tight seal.
Once all connections are made, slowly turn the cold water supply back on. Methodically check each connection point for drips. You can run a dry paper towel around each fitting. If the towel stays dry, your connection is secure.
With the water on and no leaks detected, you can plug in the power cord. The unit will power on, and you should see indicator lights on the display panel. These lights tell you the system's status.
A status indicator often shows green for normal operation.
A filter indicator will alert you when it is time for a replacement.
A temperature indicator shows if the water is hot or cold.
Finally, you must flush the entire system. Place a large pitcher under the new faucet and dispense water for at least 10-15 minutes. This action clears any remaining air from the lines and rinses the new filters one last time. Your water is now ready to enjoy!
You can ensure your new system works perfectly by avoiding a few common errors. A successful installation means you get to enjoy pure water without any trouble. Pay close attention to these final details for a flawless setup.
You must always connect your dispenser's water supply to the cold water line. The filters inside your unit are designed specifically for cold water. Connecting to the hot water supply will cause serious problems and shorten the life of your filters.
Hot water can cause a filter to degrade much faster. This accelerates the wear on filter components. It leads to a reduced operational period compared to filters used with cold water.
You should install the drain saddle on the drain pipe above the P-trap. This is the U-shaped bend in the pipe under your sink. Placing it here is the correct method. You might hear an irritating gurgling noise when the system makes water. This sound is normal. You can minimize dripping sounds by positioning the clamp as low as possible on the vertical pipe.
You must never plug in the power cord before water is flowing through the system. Powering on an empty unit is called "dry-firing." This can permanently damage internal parts like the heating element. When an empty water heater is powered on, the element's temperature rises to a destructive point. A dry-fired element can fail in as little as 30 to 45 seconds. Always complete the flushing process first.
Installing your tankless water dispenser is a manageable task that saves you professional costs. You can now enjoy an endless supply of pure water for healthier cooking and better hydration. This simple upgrade supports your overall well-being and appliance longevity.
Remember: Follow the manufacturer's schedule for filter changes, typically every 6 to 12 months, to maintain optimal performance and water quality.
No, you must use the dedicated faucet included with your dispenser. This special faucet is designed to work with the system and prevents contaminated water from flowing back.
You should replace the filters every 6 to 12 months. Your unit has an indicator light that will alert you. Regular changes guarantee you always have pure, great-tasting water.
A gurgling sound is normal for RO models. 🔊 This noise happens when the system sends wastewater to the drain. You can minimize the sound by adjusting the drain clamp.

We provide you with comprehensive foreign trade solutions to help enterprises achieve global development
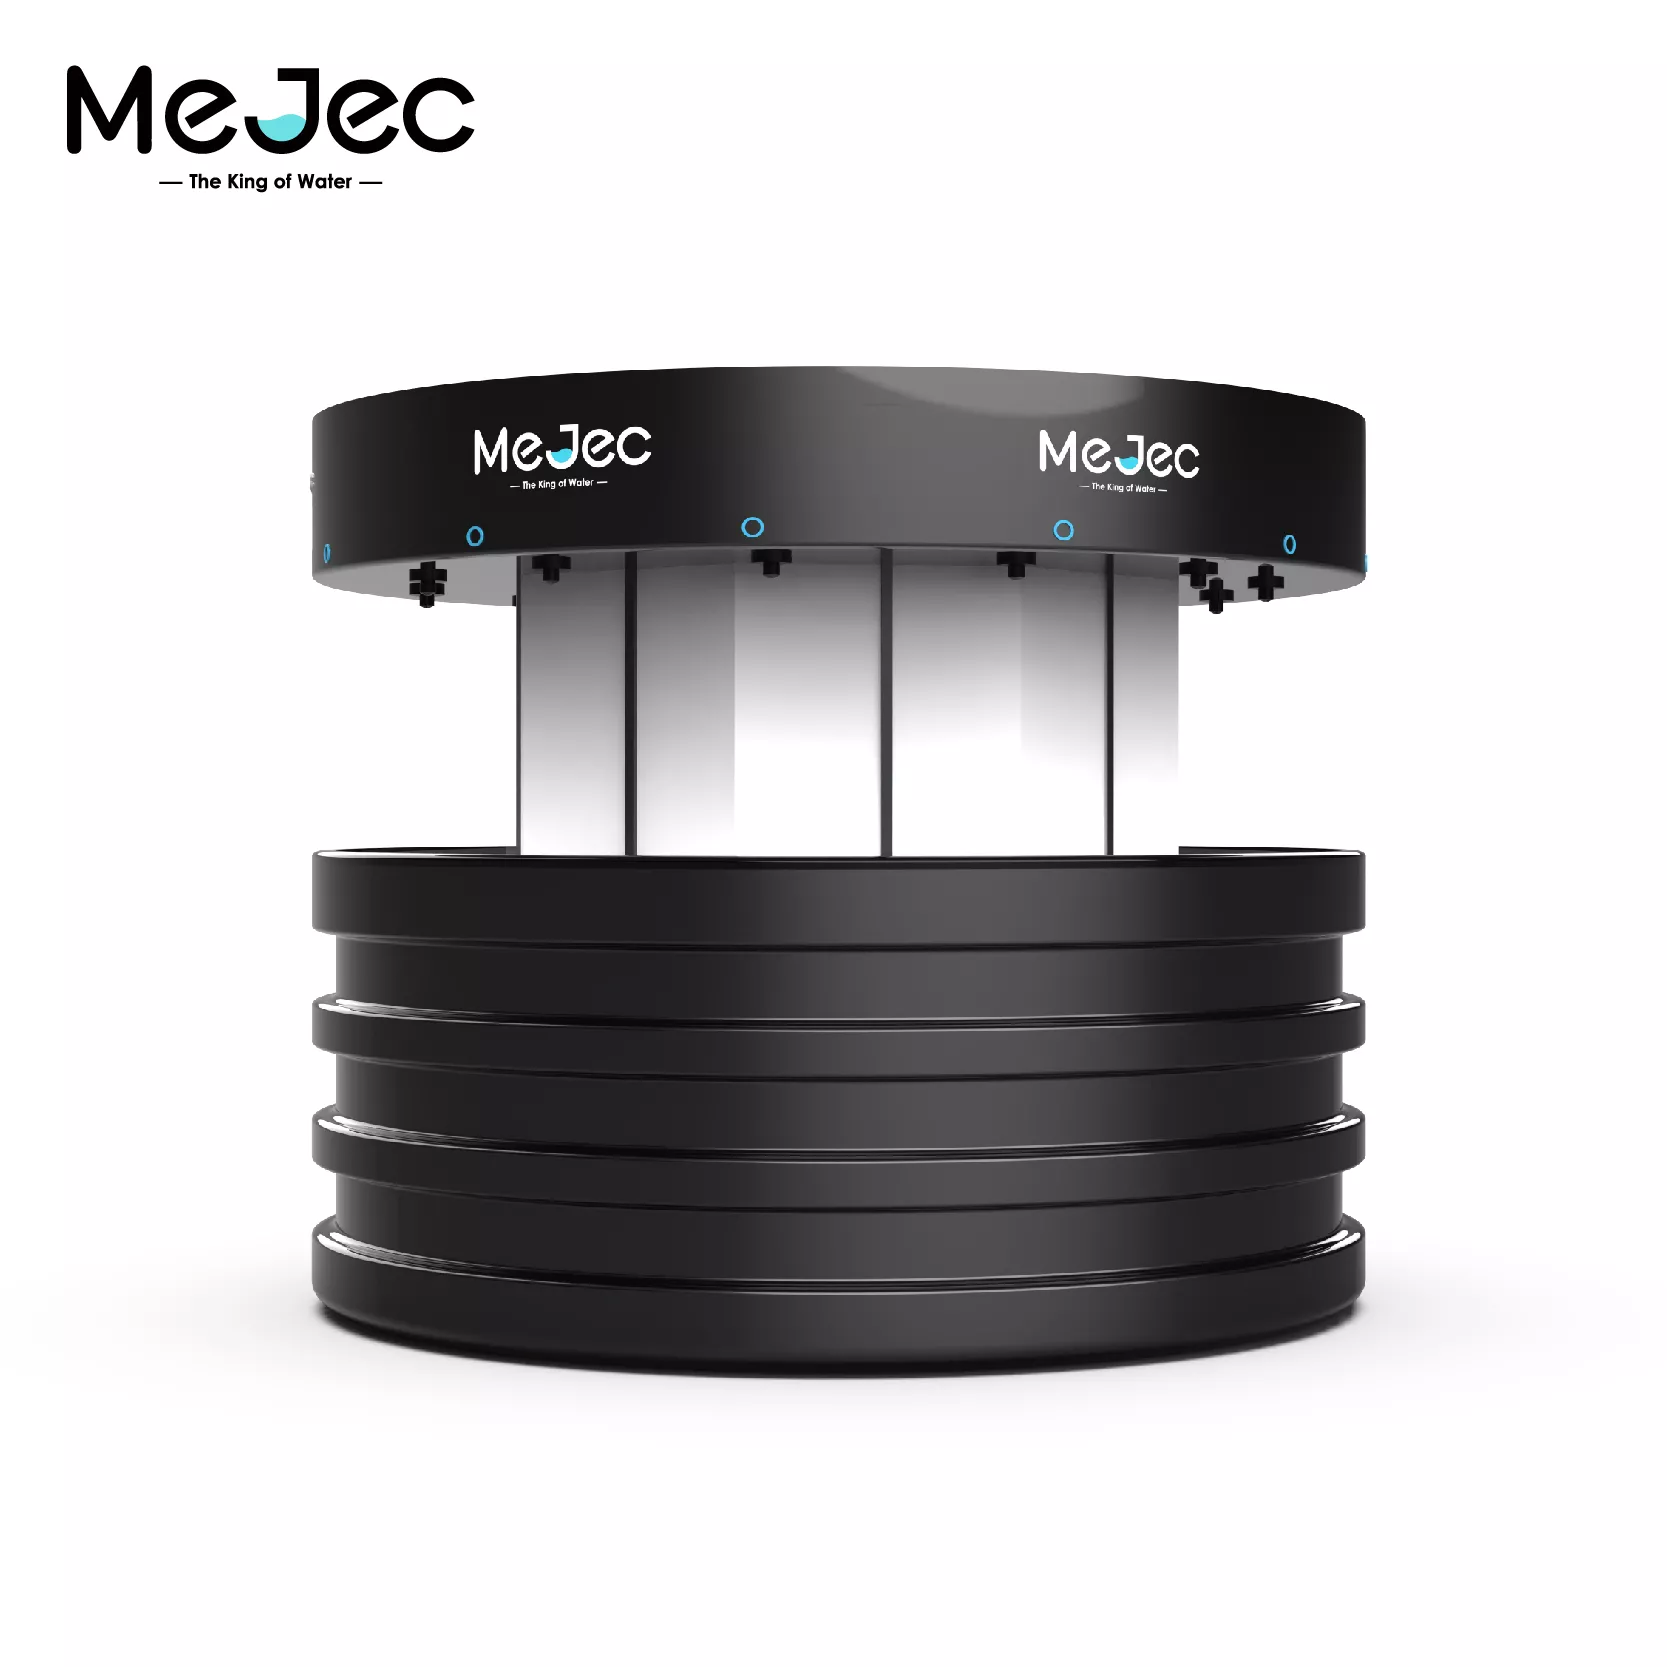
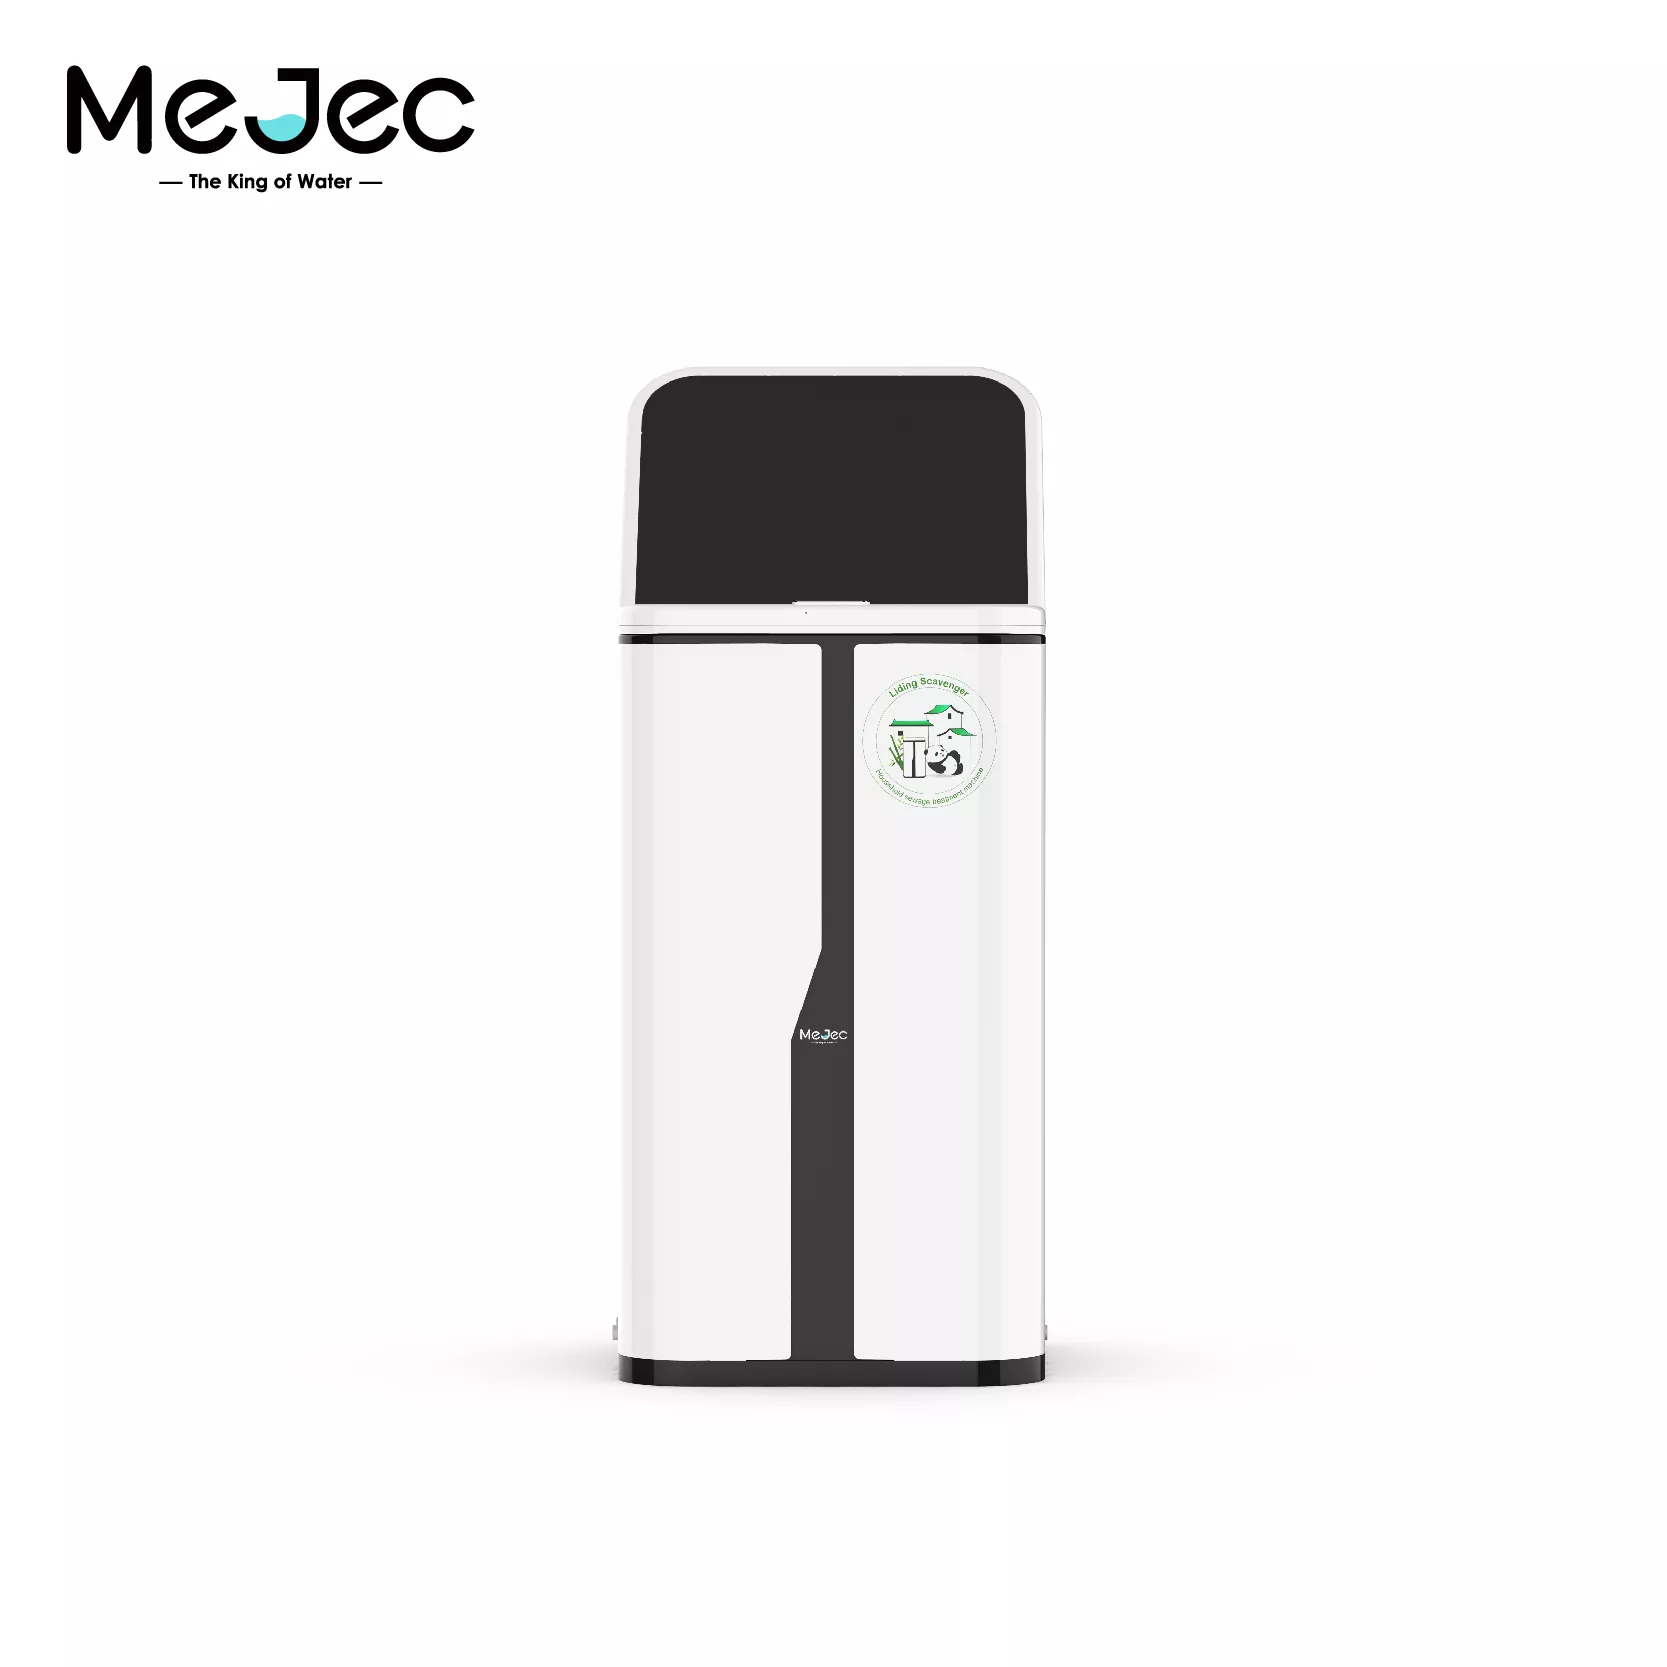
Designed for high-traffic public areas, the Mejec ...
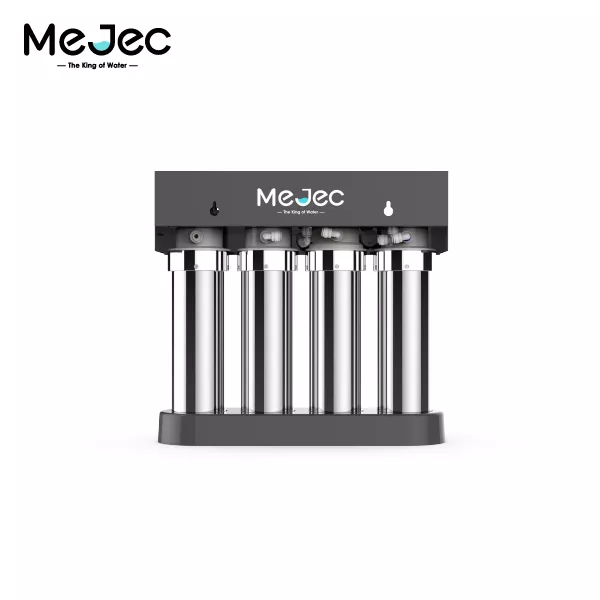
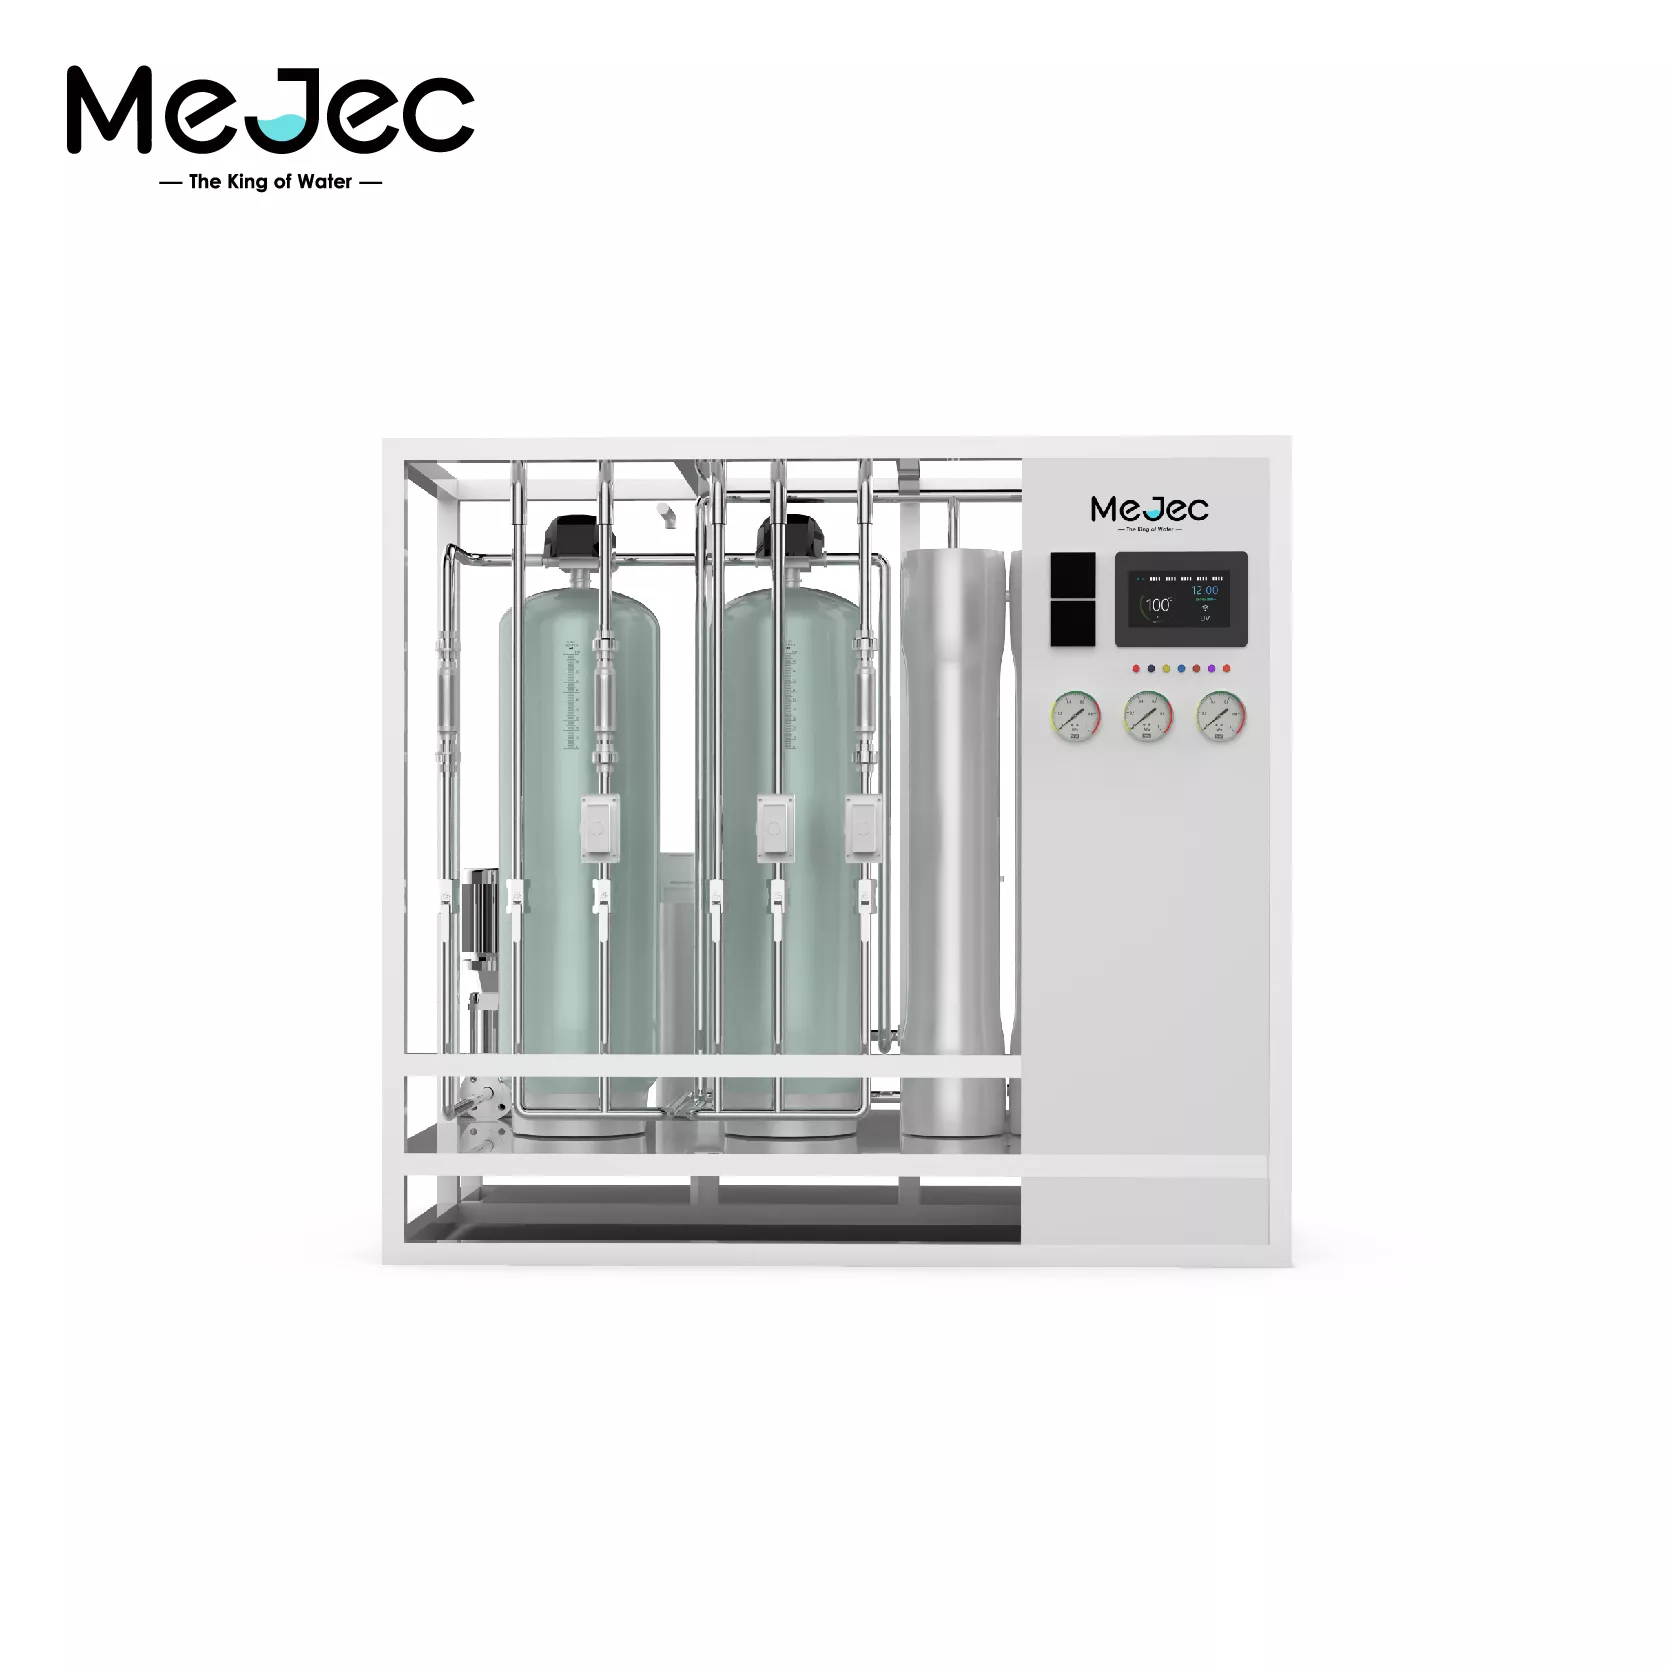
The smart under-sink RO system that brings pure wa...
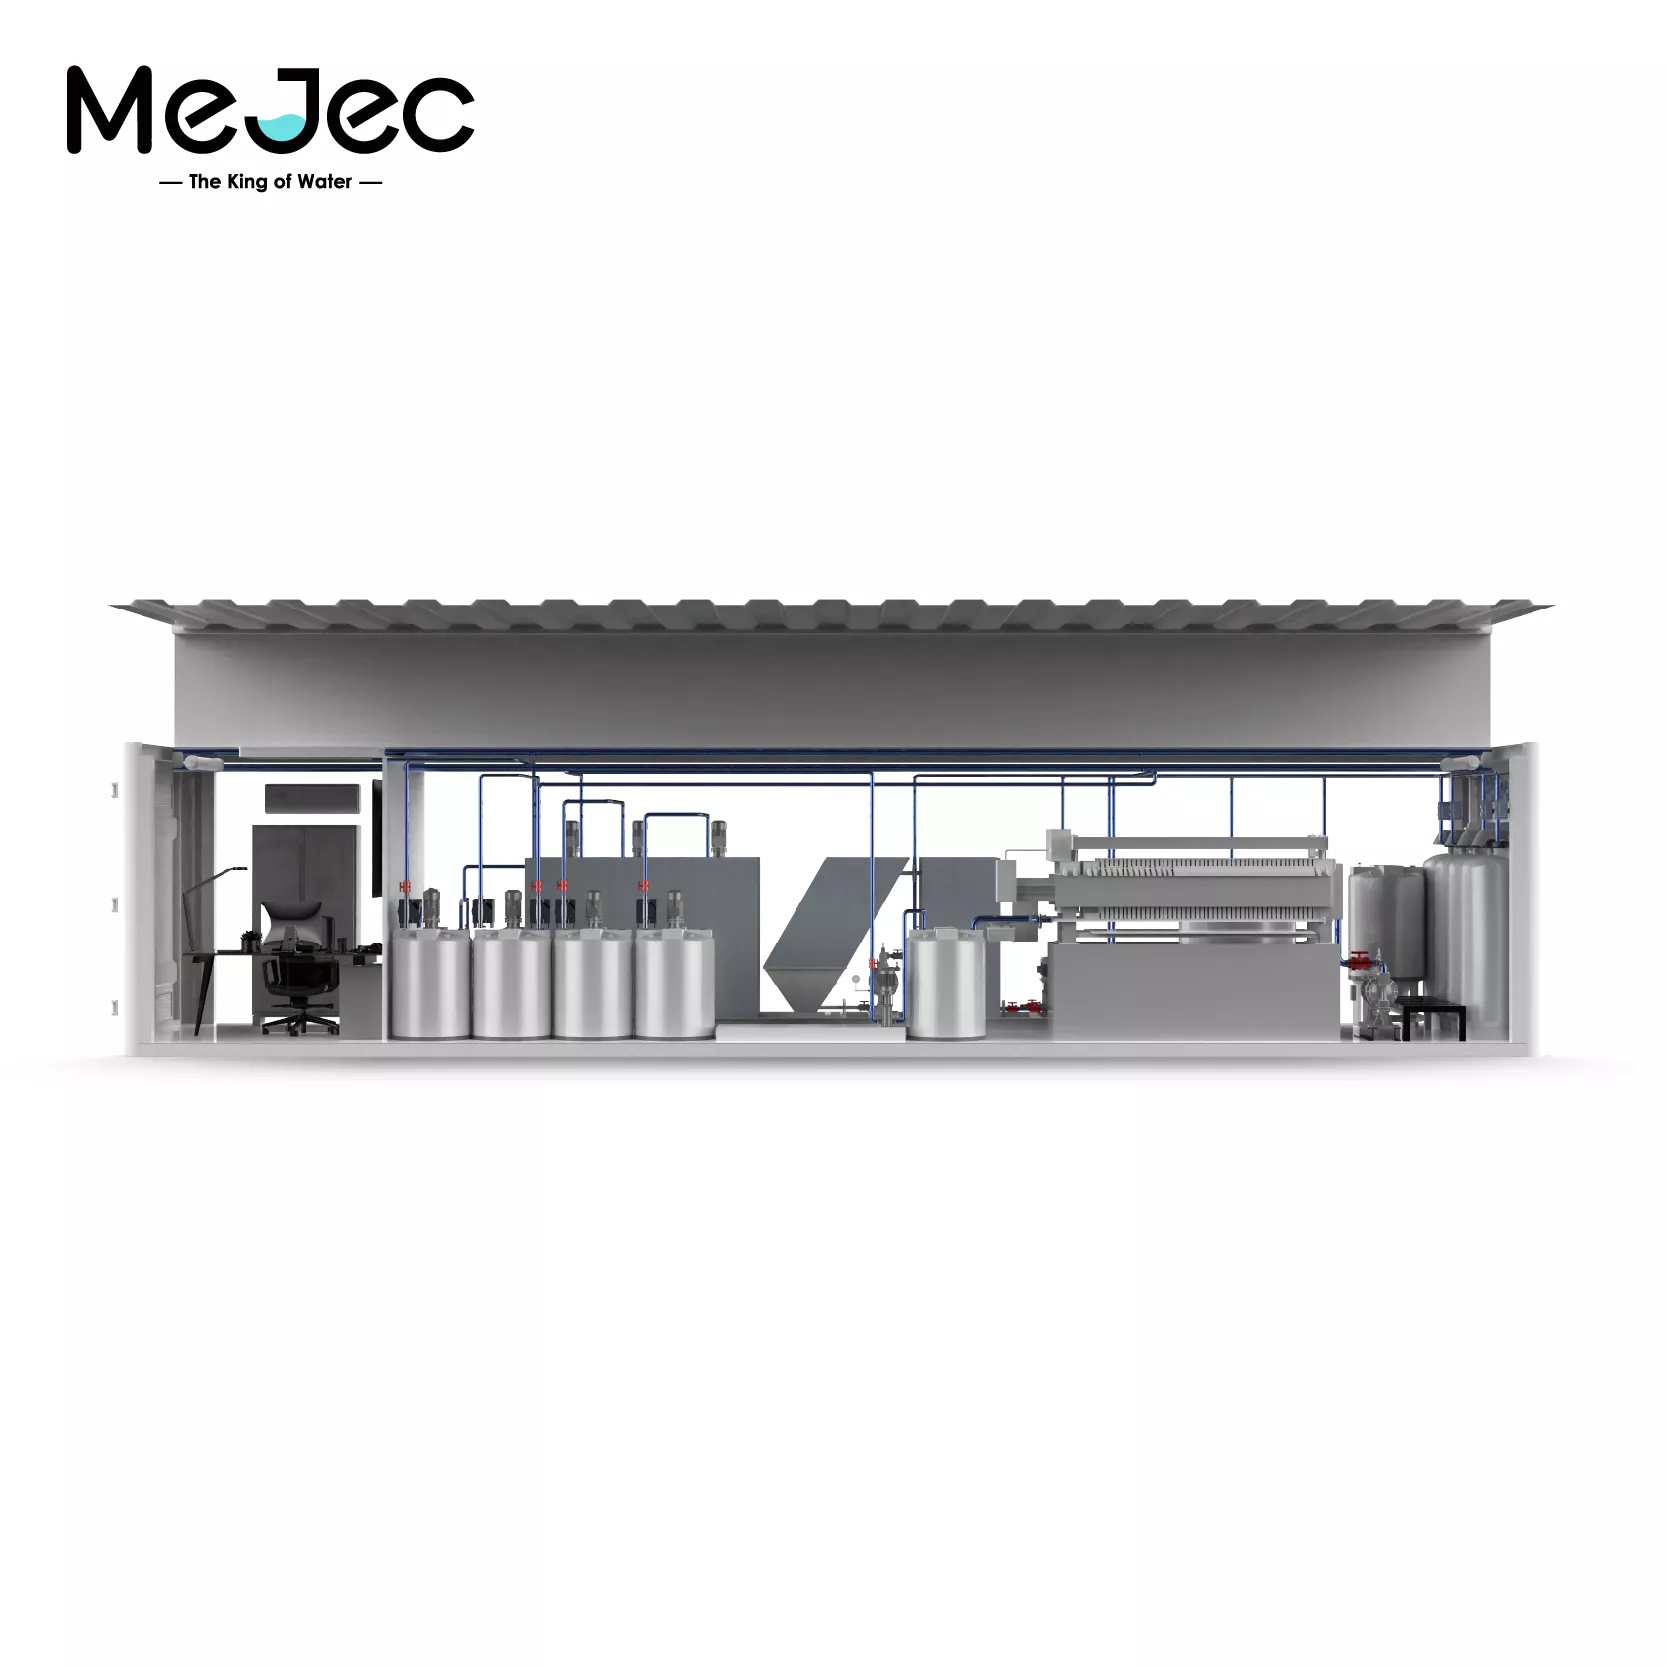
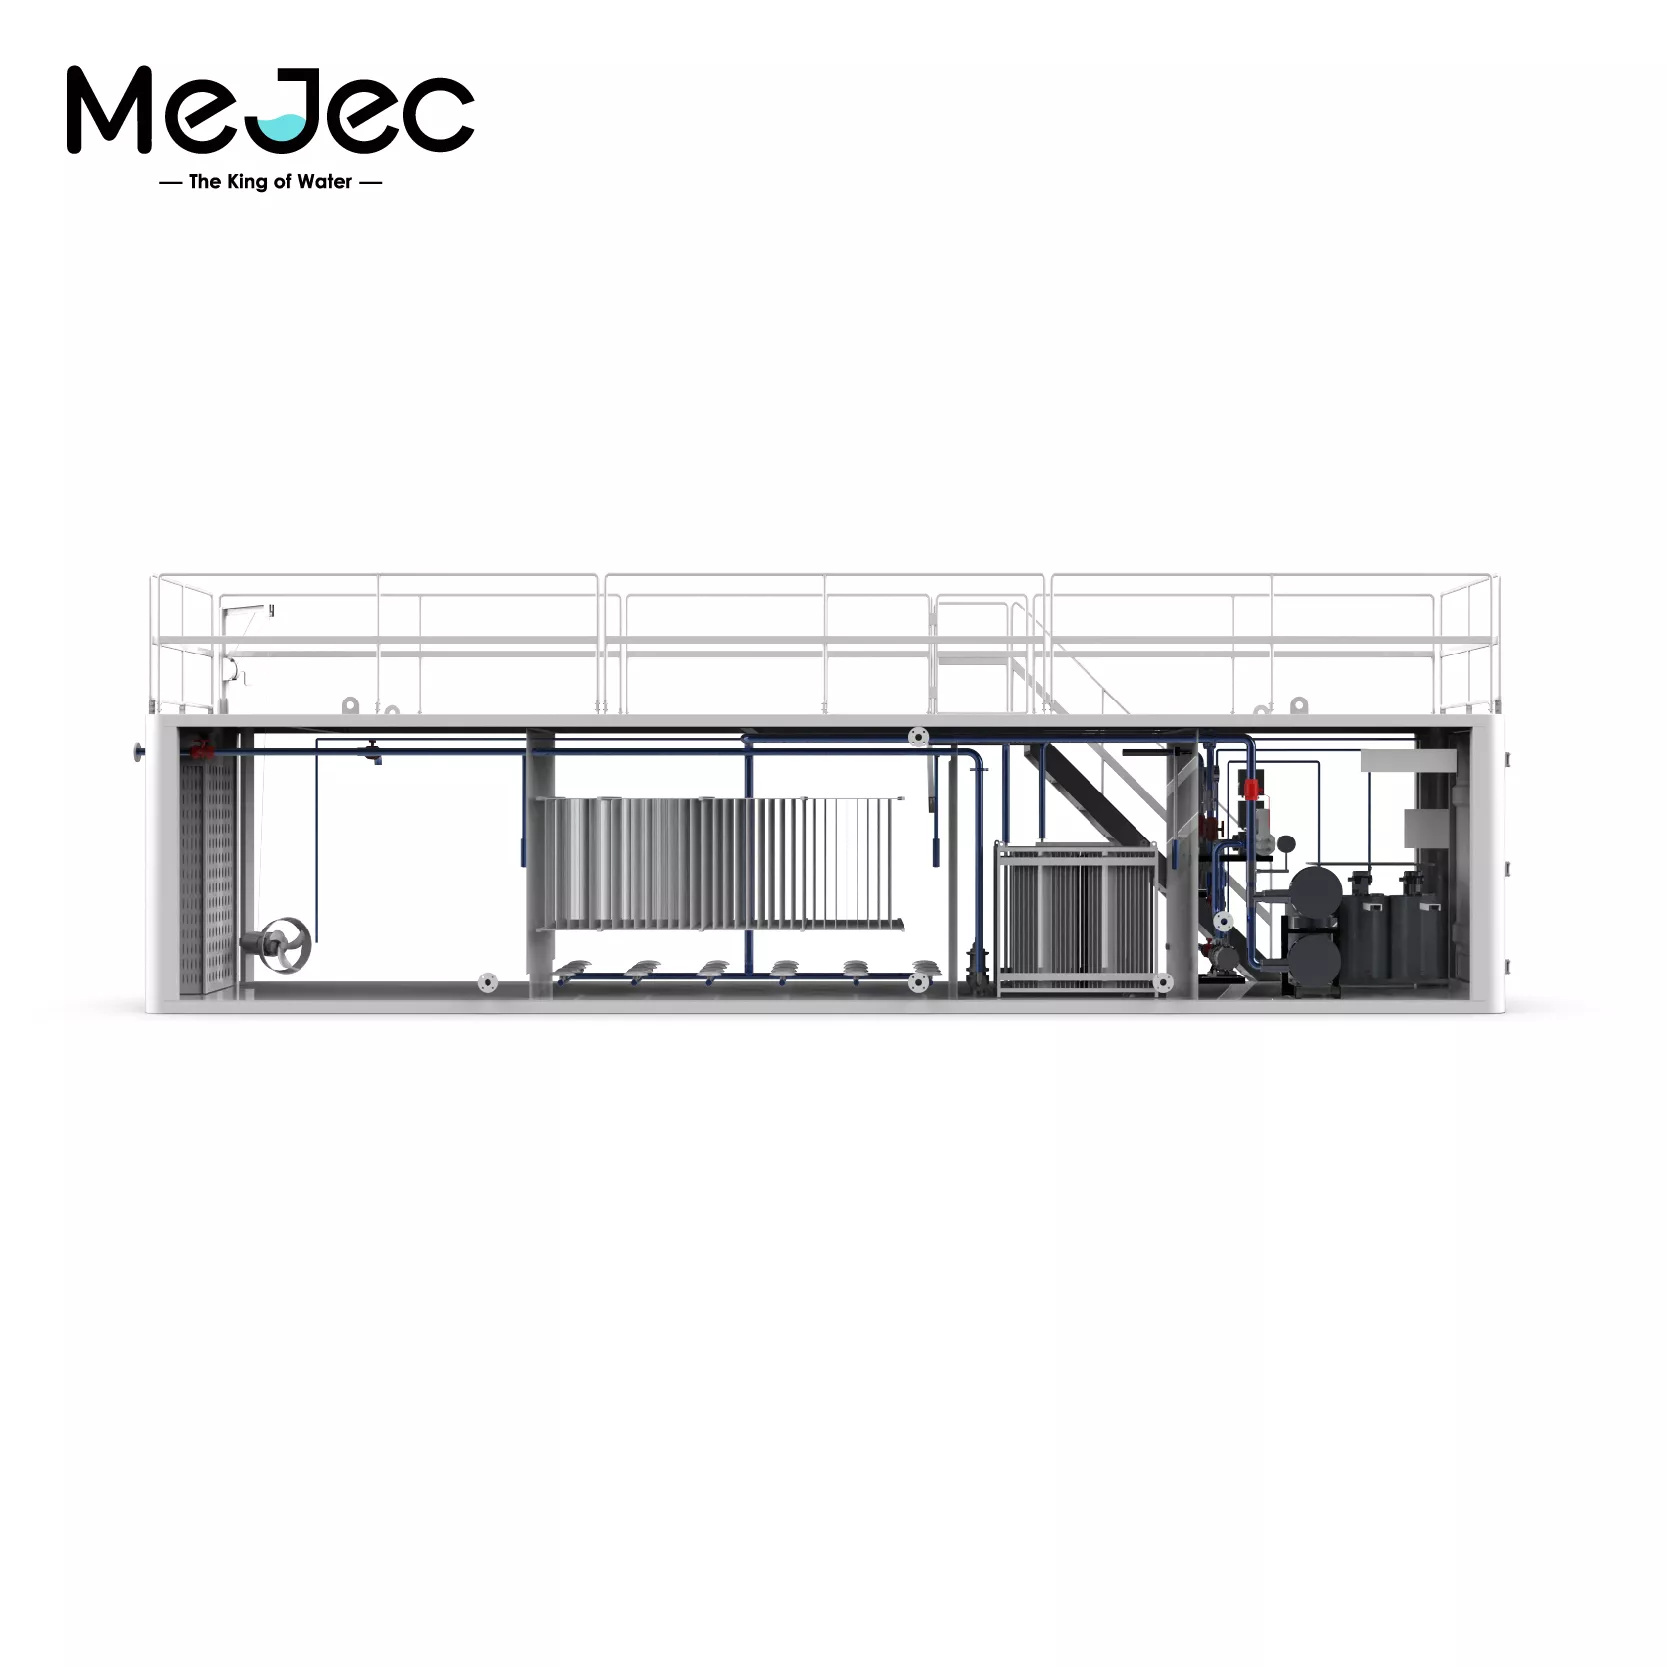
Mejec containerized wastewater treatment system ad...
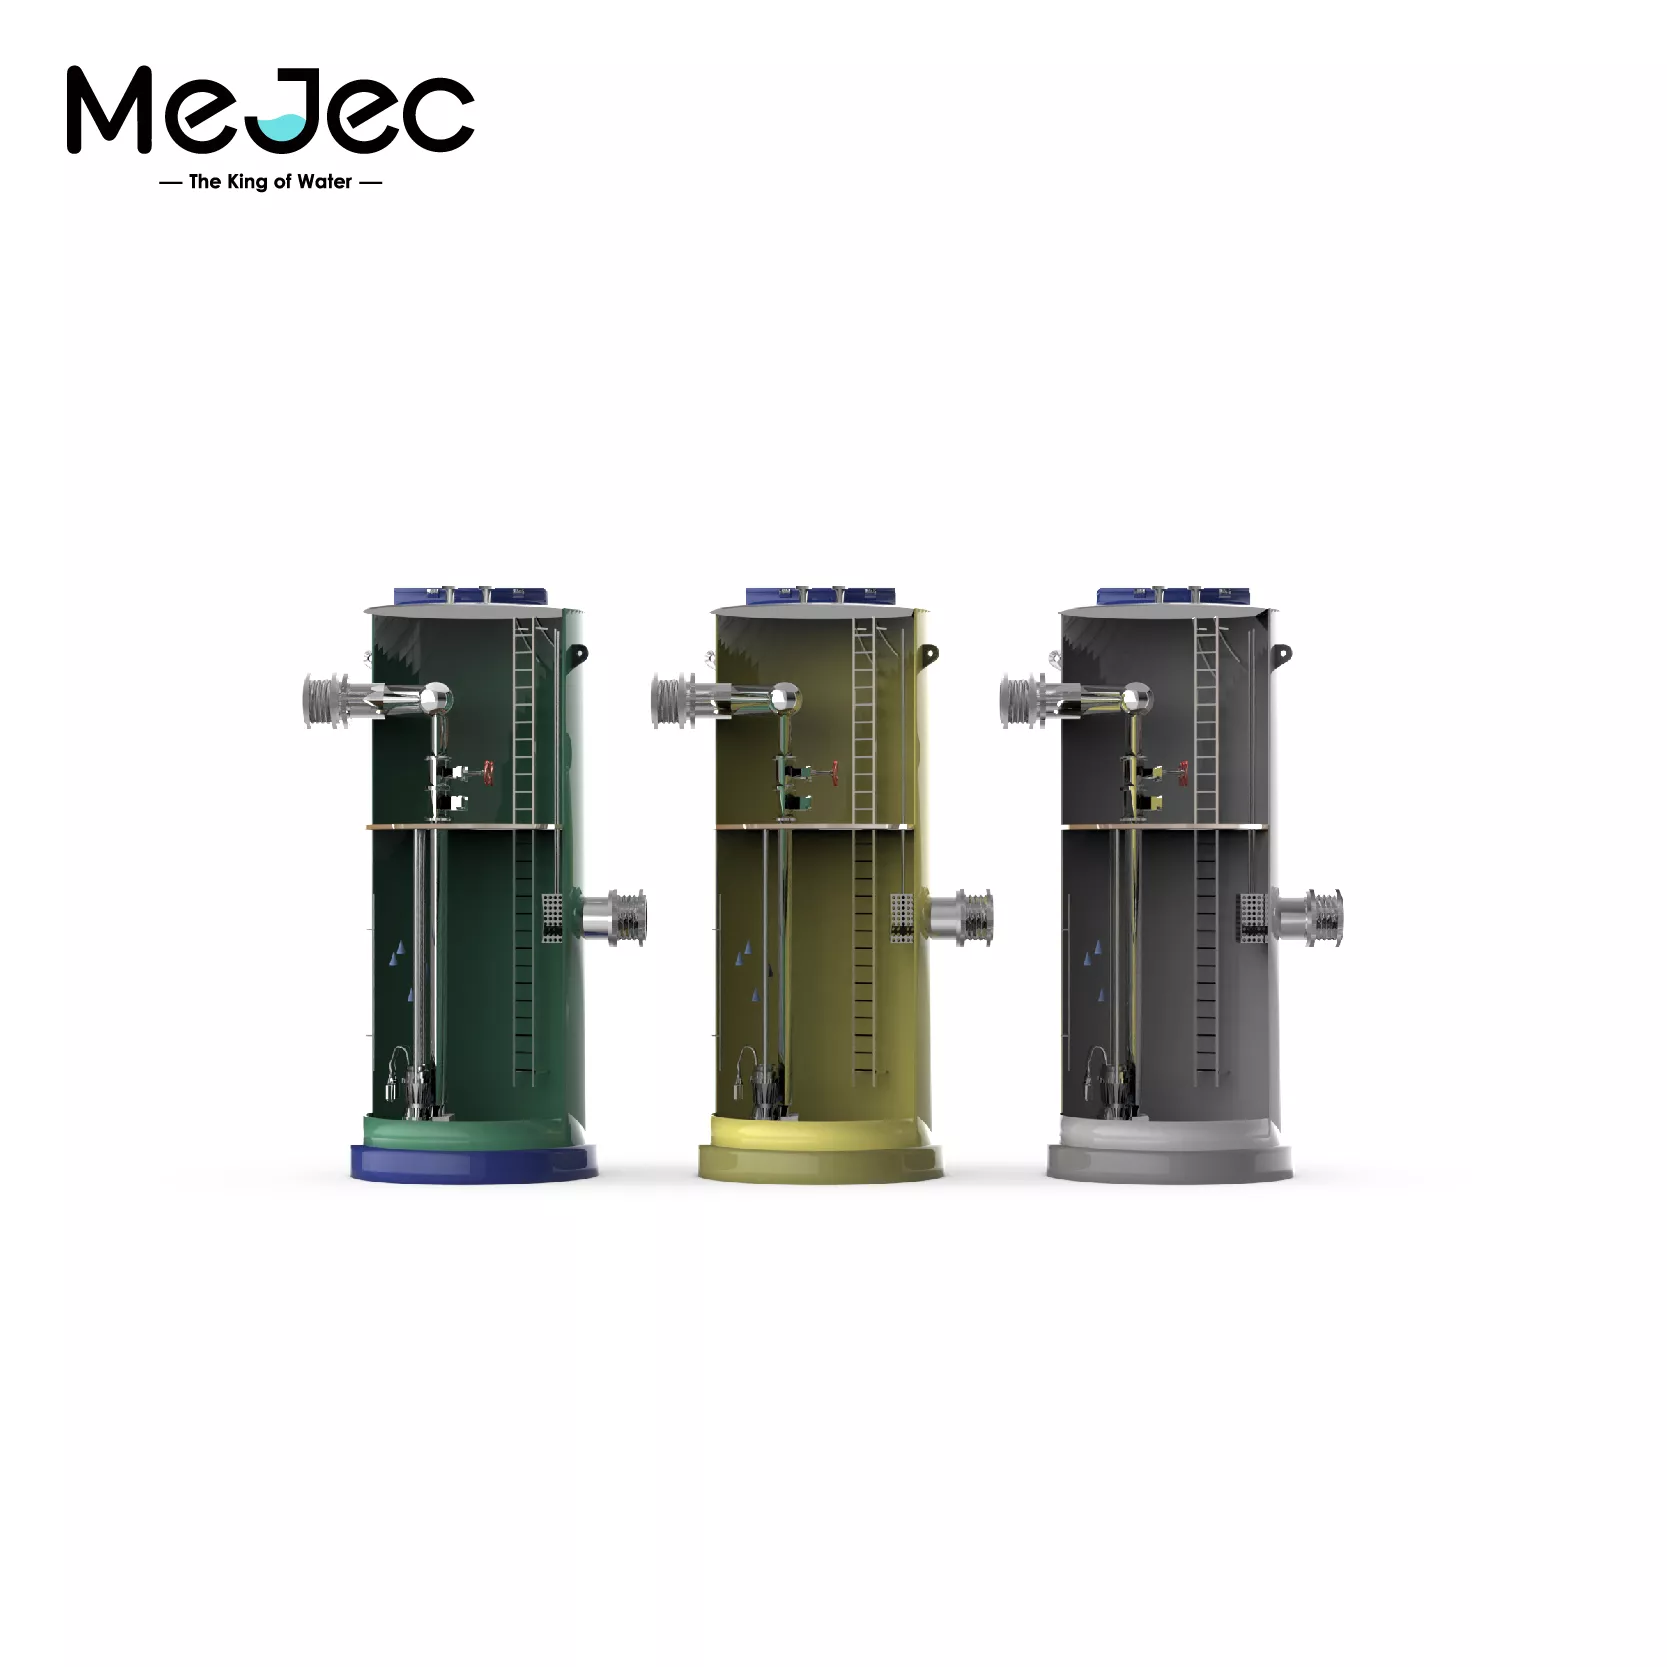
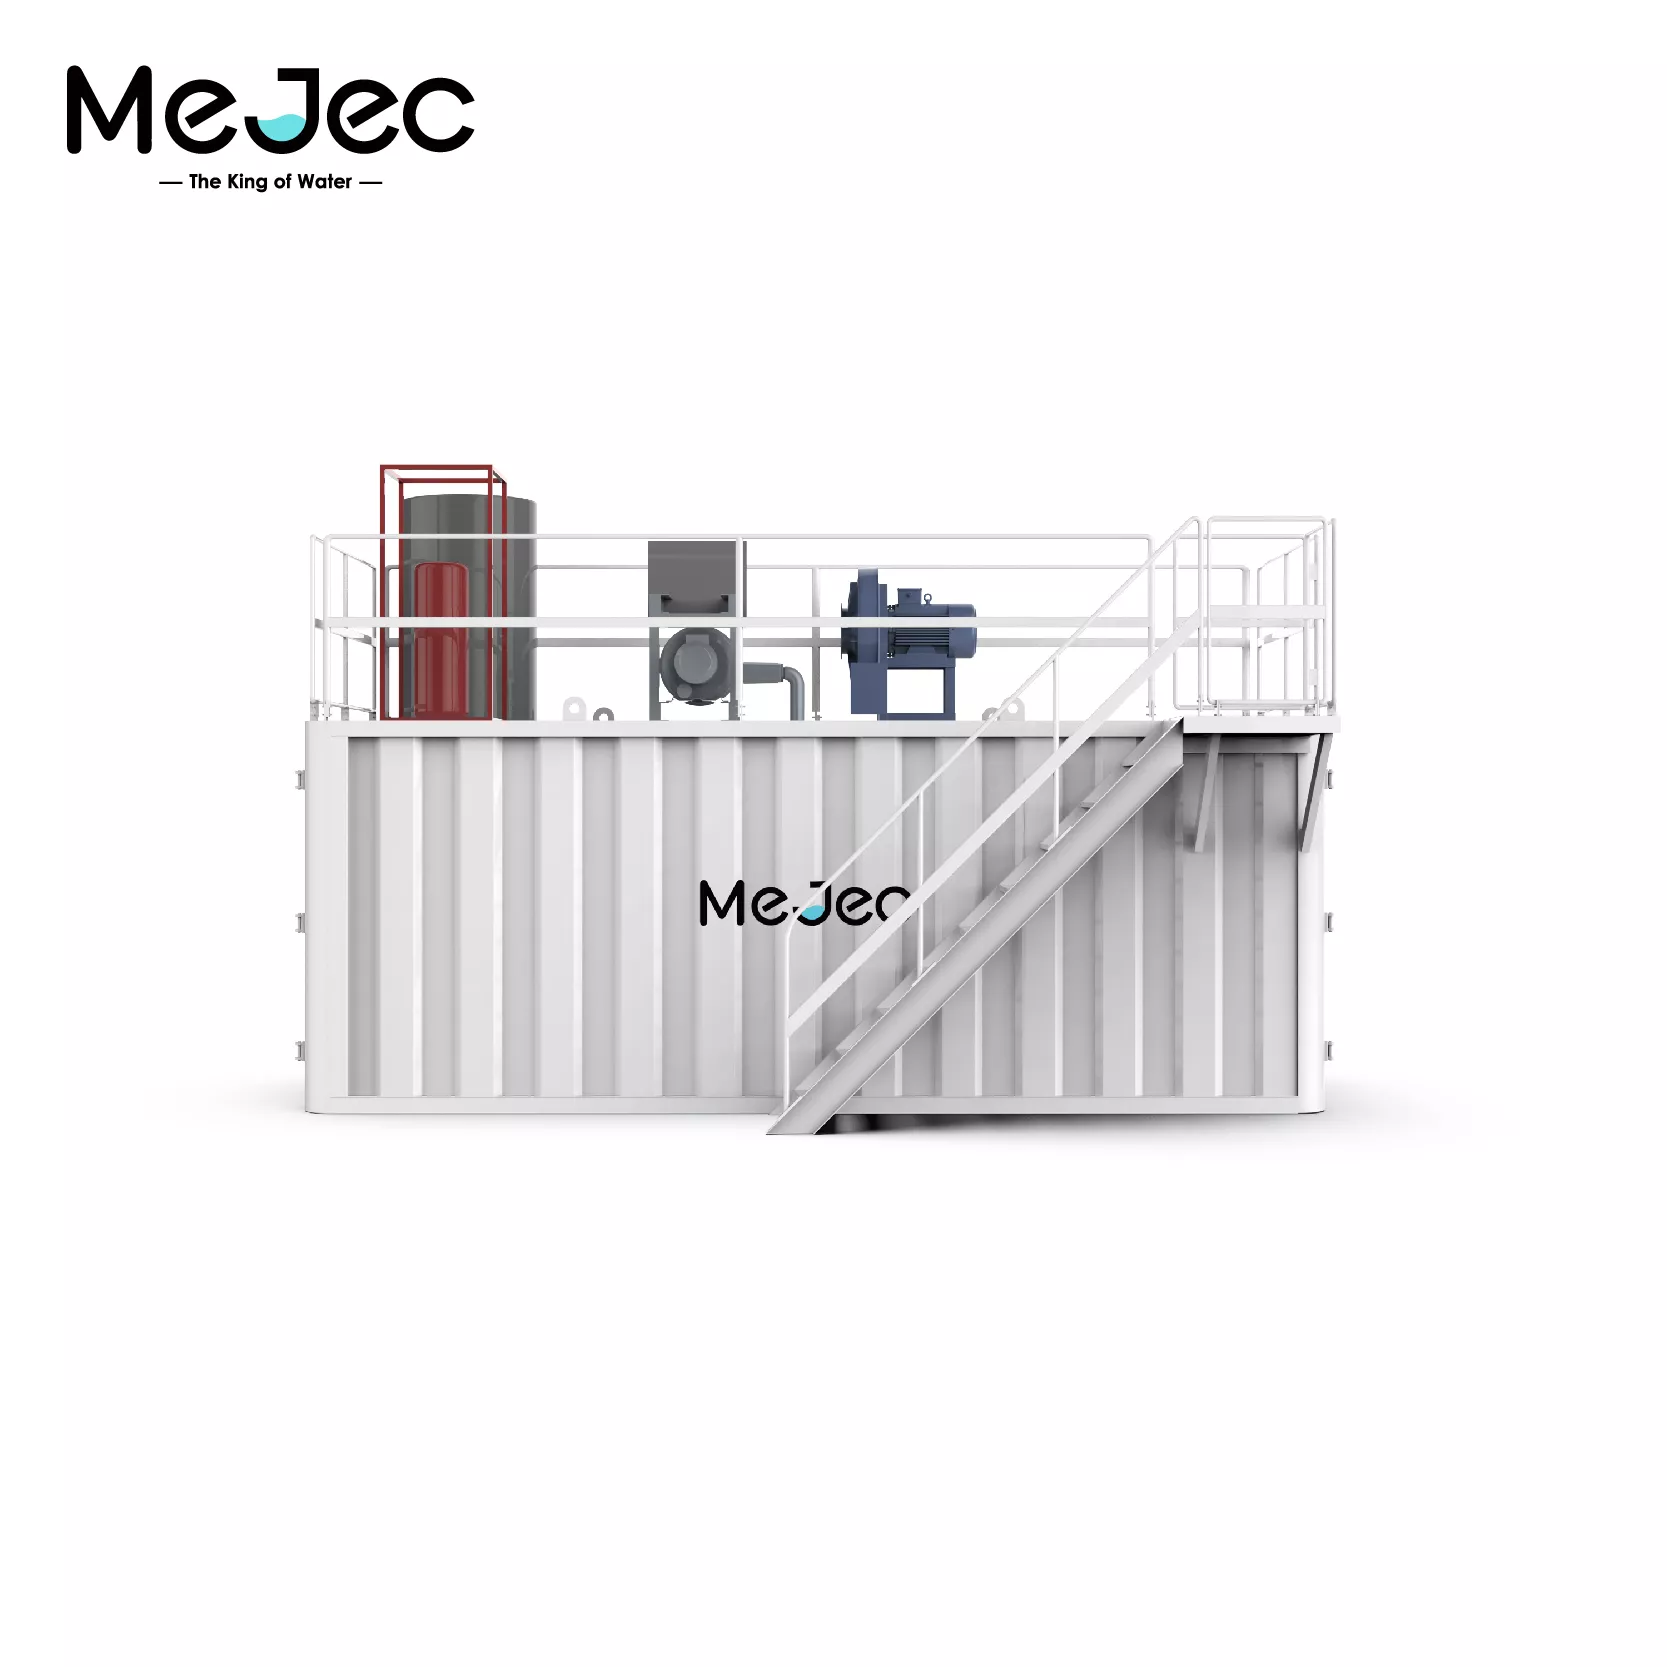
LD-BZ, The series of integrated prefabricated pump...
Select the most popular foreign trade service products to meet your diverse needs
Select the most popular foreign trade service products to meet your diverse needs


User Comments
Service Experience Sharing from Real Customers
Michael Chen
Software EngineerThis tankless water dispenser is a game-changer for our home office. Endless hot water for tea and coffee without taking up counter space. Installation was straightforward, and it heats water almost instantly. Highly recommended!
Sarah Johnson
Registered NurseAs someone in healthcare, I appreciate the precise temperature control and safety features. It's perfect for preparing baby formula and quick meals during my long shifts. Saves a tremendous amount of time and energy. One star off for the initial setup instructions which could be clearer.
David Miller
ArchitectFrom a design and efficiency standpoint, this unit is excellent. Its sleek, tankless design integrates perfectly into our modern kitchen renovation. Provides constant hot water on demand and has significantly reduced our energy bill. A brilliant appliance for any contemporary home.
Lisa Rodriguez
TeacherThis dispenser has been a lifesaver for my large family. No more waiting for the kettle to boil for multiple cups of cocoa or oatmeal in the morning. The kids can use it safely, and I love having instant hot water for my lesson planning teas. Durable, efficient, and absolutely worth the investment.