


.webp)
Top Commercial Water Dispensers for Restaurants Reviewed in 2026
Compare the top water dispenser for restaurant mod...
More
A broken water dispenser creates a frustrating inconvenience. You might find leaks, incorrect water temperatures, or that your water dispenser not dispensing water at all. Many of these common problems have simple solutions. You can often fix the issue in minutes. Try these easy troubleshooting steps before you call for a repair.
Always unplug your water dispenser before you check or clean it. This keeps you safe from electric shock.
Many problems like leaks or no water flow have simple fixes. Check the water bottle, filter, or water lines first.
If your water dispenser still does not work after you try these steps, call a professional. Do not try to fix complex internal parts yourself.
You can solve many water dispenser problems with a few basic checks. These initial steps address the most common culprits and ensure your safety before you investigate further.
Your safety is the top priority. You should always disconnect the dispenser from its power source before you inspect or clean it. This simple action prevents any risk of electric shock while you work.
Unplug the dispenser before you check its temperature controls.
Disconnect the power before you troubleshoot leaks or clean any parts.
Always turn the appliance's power switches off before you unplug it from the wall socket.
Never try to open the main casing or repair internal electrical components yourself.
A loose plug can easily stop your dispenser from working. First, make sure the power cord is firmly pushed into the wall outlet. If it is, you need to check the outlet itself. The easiest way to do this is to unplug the dispenser and plug in a small appliance you know works, like a lamp or a phone charger. If the lamp does not turn on, you have an issue with the outlet or your circuit breaker. For a more technical check, you can use a multimeter. A functioning U.S. outlet should provide a reading between 110 and 125 volts.
An improperly placed water bottle can create an airlock, stopping water from flowing. Lift the bottle straight up and then place it back down firmly onto the dispenser. You want to ensure it creates a secure seal.
Pro Tip: Listen for a gurgling sound or look for bubbles rising in the bottle. This is a good sign that the water is flowing correctly into the dispenser's reservoir.
If the bottle has a small puncture or crack, it can also disrupt the vacuum seal and cause continuous leaking. Inspect the bottle for any damage.
You might face a situation where your water dispenser is not dispensing water at all. This is a common issue with several simple causes. Before you worry, you can investigate a few things. A potential airlock, a clogged filter, or a kinked water line are often the culprits. Addressing a water dispenser not dispensing water usually involves a quick fix.
An airlock is trapped air inside the dispenser that blocks water from flowing. This often happens when you replace the water bottle. Releasing this trapped air is a simple process. The steps differ slightly for top-loading and bottom-loading models.
Important Note: Always start with the dispenser unplugged from the wall outlet. Also, keep the hot and cold switches (usually on the back) in the OFF position until the final step.
For Top-Loading Dispensers:
Lift the water bottle off the dispenser and then place it back on firmly.
Listen for a gurgling sound and look for bubbles rising. This means water is filling the internal tanks.
Wait for the bubbling to stop completely. This may take a minute or two.
Plug the dispenser into a grounded outlet.
Press the cold water tap until you get a steady stream. This purges air from the line.
Repeat the process with the hot water tap. Be careful, as you may need to disengage a child-safety lock.
Once water flows steadily from both taps, you can turn on the heating and cooling switches.
For Bottom-Loading Dispensers:
Open the dispenser's cabinet door.
Lift the probe (the tube assembly) out of the water bottle and reinsert it firmly. Make sure it touches the bottom of the bottle.
Close the cabinet door securely.
Plug the unit into a power outlet. You should hear the pump turn on to draw water into the reservoirs.
Wait for the pump to stop running.
Dispense about 4-5 cups of water from both the hot and cold taps to clear any remaining air.
Flip the hot and cold switches on to begin the heating and cooling cycles.
Many dispenser problems come from a clogged water filter. The filter's job is to catch impurities, but it can get blocked over time. This blockage restricts water flow. A severely clogged filter is a primary reason for a water dispenser not dispensing water.
Check the Replacement Schedule: Most manufacturers recommend you replace water filters every six months. Check your user manual for the specific schedule for your model.
Locate and Inspect: Find the filter housing on your dispenser. It is often located in the back or inside the main cabinet.
Replace if Necessary: If the filter looks dirty or is past its replacement date, you should install a new one. A fresh filter ensures good water flow and purity.
Sometimes, a dispenser has a control lock feature. You might have activated it by accident. Check your control panel to make sure the dispenser is not locked.
This check applies mainly to bottom-loading and point-of-use (plumbed-in) dispensers. The water line carries water to the unit. A kink or bend in this line can stop the flow completely.
Shut off the water supply to the dispenser if it is a point-of-use model.
Carefully pull the dispenser away from the wall. This gives you room to see the water line.
Look for any sharp bends or kinks in the tubing.
Gently straighten any kinks you find.
If the line appears damaged or cracked, you will need to replace it. Use parts from the original manufacturer for a proper fit.
Pro Tip: To prevent future problems, leave a few inches of space between the back of the dispenser and the wall. This reduces the chance of pinching the water line. A faulty water supply line is a frequent cause when a water dispenser is not dispensing water.
For point-of-use models, also check the saddle valve that connects to your home's plumbing. Ensure it is fully open. Some older piercing-type valves can get clogged easily and reduce water flow. If you have concerns about your plumbing connection, it is best to contact a licensed plumber.
You expect your dispenser to provide water at the right temperature. A problem with the heating or cooling system can be a major disappointment. You can often solve these issues with a few targeted checks.
A dispenser that fails to cool water can be frustrating, especially on a hot day. You should first check the basics. Make sure the cooling switch, usually on the back of the unit, is in the ON position. You should also give the dispenser enough time to cool the water after plugging it in, which can take up to three hours. If it still isn't working, you can investigate further.
1. Check for Common Cooling System FailuresSeveral internal issues can stop your dispenser from cooling water. Understanding these can help you identify the problem.
Faulty Thermostat: The thermostat regulates the temperature. A broken one will not signal the cooling system to turn on.
Incorrect Thermostat Adjustment: Sometimes the thermostat is simply set too high.
Loss of Freon: The refrigerant, or freon, is essential for cooling. A leak in the system will prevent it from working.
Sensor Tube Issues: The system uses sensor tubes to detect temperature. A sharp bend or crush in these copper tubes can cause a malfunction.
2. Test the Compressor and ThermostatYou can perform simple tests to see if the compressor or thermostat is the problem.
To test the compressor: Unplug the water dispenser from its power source. Wait a minute, then plug it back in. You should hear the compressor start running. If it stays silent, it may need professional repair.
To test the thermostat: Check the current thermostat settings. You can find the adjustment dial on the back of the unit. Try setting it to a colder temperature. If the dispenser still does not cool, you may need to replace the thermostat.
3. Reset the Cooling SystemSometimes the cooling system just needs a hard reset. This process can clear minor electronic glitches.
Note: This reset requires you to leave the dispenser unplugged for an extended period, so it is best to do it overnight. 🌃
Unplug the water dispenser and remove the water bottle.
Plug the machine back into the wall outlet.
Find the reset switch on the back of the machine and flip it.
Turn the dispenser's main power switch OFF and unplug it again.
Leave the dispenser unplugged for about 12 hours.
Plug the unit back in. Wait three to five hours before placing a new water bottle on it.
Allow the new bottle to sit and cool for another six hours.
Test the cold water tap to see if the dispenser is working correctly.
Hot water is essential for tea, coffee, and instant meals. If your dispenser stops heating, first confirm the hot water switch is turned on. You should also check that the child safety lock on the hot water tap is not preventing you from dispensing.
1. Reset the High-Limit SwitchMost dispensers have a safety feature called a high-limit switch or thermal switch. This switch shuts off the heating element if the water gets too hot or if the unit lacks proper airflow. You can often reset this switch manually.
Unplug the dispenser for safety.
Locate the high-limit reset button. It is usually a small red or black button found in a recessed hole on the back panel.
Press the small reset button firmly. You might hear a click if the switch was tripped.
Plug the dispenser back in and turn on the heating switch.
Wait about 30 minutes for the water to heat up, then test the hot water tap.
If the switch trips repeatedly, it may indicate a problem with ventilation. Ensure there are several inches of clear space around the dispenser.
2. Test the Heating ElementIf the reset does not work, the heating element itself might be faulty. You can test it for continuity with a multimeter.
Safety First! ⚠️ This is an advanced check. You should only perform it if you are comfortable and familiar with using a multimeter. Always unplug the dispenser before you begin.
Before you start, remove the wires from the heating element. Visually inspect the area for any burned or melted parts. If you see damage, the part needs replacement.
To perform the test, set your multimeter to read ohms (Ω).
Test Across the Screws: Place one probe on each of the two screws on the heating element. A good element will show a specific ohm reading (check your manual for the exact value). An "open" reading or no movement on the meter means the element is bad.
Test for a Short to the Shell: Place one probe on an element screw and the other probe on the metal water tank. The meter should show no reading. If it shows any ohms, the element is shorted and you must replace it.
Test for a Short to the Base: Place one probe on an element screw and the other on the metal base of the element itself. Again, there should be no reading. Any ohm reading indicates a short.
If the heating element fails any of these three tests, you need to replace it.
Finding a puddle around your water dispenser is alarming, but the fix is often simple. A leak can start from several places. You might see water coming from the external pipes, the front panel taps, or from inside the dispenser unit itself. You can usually pinpoint the source with a few quick checks.
Your first step is to inspect the water bottle. A tiny crack or puncture in the plastic can break the vacuum seal needed for the dispenser to work correctly. This broken seal allows air to enter the bottle continuously, forcing water to overflow the internal reservoir and leak out.
Carefully lift the bottle off the dispenser. Examine it for any signs of damage. If the bottle looks fine, place it back on the unit. Make sure you seat it firmly to create a tight seal.
Quick Tip: A properly sealed bottle will release a few bubbles and then stop. If you see a constant stream of bubbles, the bottle is likely damaged and needs to be replaced.
Many apparent leaks are just an overflowing drip tray. This tray sits below the taps to catch small spills and drips. If you do not empty it regularly, the water will spill over the sides and onto your floor.
Simply slide the drip tray out from the front of the dispenser. Empty any water into a sink and give the tray a quick wash with soap and water. 🧼 Regular cleaning prevents both overflows and the growth of mildew. An overflowing catch pan is a common issue that can look like a serious internal leak.
The taps, or spigots, where you get your water can become loose over time. This allows water to seep out around the base of the tap. Gently try to tighten each tap by turning it clockwise. Do not use tools, as you could overtighten and crack the plastic. If the leak stops, you have found your problem.
Sometimes, a leak from the tap points to an internal issue. Increased pressure inside the unit can force water out. Common causes include:
A faulty water valve that fails to shut off properly.
Trapped air bubbles in the water lines or filters.
If tightening the taps does not solve the leak, you may need to investigate these internal components.
Your water dispenser will make some noise during normal operation. However, loud or unusual sounds can signal a problem. Similarly, an off-taste in the water usually means it is time for a good cleaning.
A low, steady hum is a normal sound for the compressor. You should investigate any new, loud, or strange noises. Sounds like grinding, squealing, or loud rattling often point to a mechanical issue. You can identify the cause of many sounds.
Gurgling: Air bubbles in the water line often cause a gurgling sound. This is common after you change the filter.
Rattling: Loose parts, like internal tubing or mounting screws, can create a rattling or vibrating noise.
Buzzing: A buzzing noise when you dispense water can come from the solenoid valve. This sound may get louder when the water filter is old and needs replacement.
Normal Sounds vs. Problem Sounds: A gentle rumbling from the hot water tank every 15 minutes is normal as it heats. However, a sudden change in volume or a new sound that was not there before indicates a potential problem.
If your water has a plastic or metallic taste, your dispenser likely needs to be sanitized. Minerals from your water can create buildup inside the machine. This humid environment can also allow microbes to grow, which affects the water's taste. A deep clean every 3-6 months will prevent this.
DIY Cleaning Solution 🧼 For a simple and effective cleaning agent, mix equal parts white vinegar and water. We recommend a solution of a half-gallon of water mixed with a half-gallon of white vinegar.
Before you clean, always unplug the unit and let the hot water tank cool down completely. Drain all the water from the reservoirs. Then, run your cleaning solution through the system and flush it with fresh water until the vinegar taste is gone. Wiping down the taps daily also helps keep your water fresh.

You can solve many water dispenser issues yourself. However, some problems require an expert's knowledge and tools. Knowing when to stop and call for help can save you time and prevent further damage to your appliance.
You have tried all the steps in this guide, but the problem continues. It is now time to contact a qualified technician. Persistent issues often point to a deeper malfunction that a simple reset cannot fix. You should call a professional if you notice these ongoing symptoms:
You hear new or loud noises like buzzing, grinding, or knocking.
Water continues to leak from the base or taps after you have checked the bottle and drip tray.
The water will not get cold or hot, even after you reset the system.
You see a very slow or weak stream of water from the taps.
The water has an unpleasant metallic or stale taste that cleaning does not remove.
Some signs clearly indicate a major internal part has failed. These repairs are often complex and can be dangerous if you are not trained. A failed compressor, for example, will stop the cooling process entirely and often requires a certified technician to replace.
The main control board is another critical component. It governs most of the system's operations. If individual parts seem fine but the whole dispenser is inoperative, the main control board is likely the problem.
Safety Warning! ⚠️ Never attempt to repair the compressor, refrigerant lines, or main circuit board yourself. These systems involve high-pressure refrigerants and complex electrical wiring that pose a significant safety risk.
If you suspect a major component has failed, your safest and most effective option is to schedule a professional service call.
You can resolve most dispenser malfunctions with these quick troubleshooting steps. Problems like a water dispenser not dispensing water often have simple solutions you can manage yourself. Performing regular cleaning and maintenance will help you prevent future issues and keep your dispenser in excellent working order for years to come.
You should clean your dispenser every 3-6 months. Regular cleaning prevents mineral buildup. It also keeps your water tasting fresh and pure. 🧼
A tiny crack in the bottle can break the vacuum seal. This causes a constant leak. You should inspect the bottle carefully for any damage before placing it on the dispenser.
You can often find the reset button on the back panel. It is typically a small, red button inside a recessed hole. Check your user manual for the exact location.

We provide you with comprehensive foreign trade solutions to help enterprises achieve global development
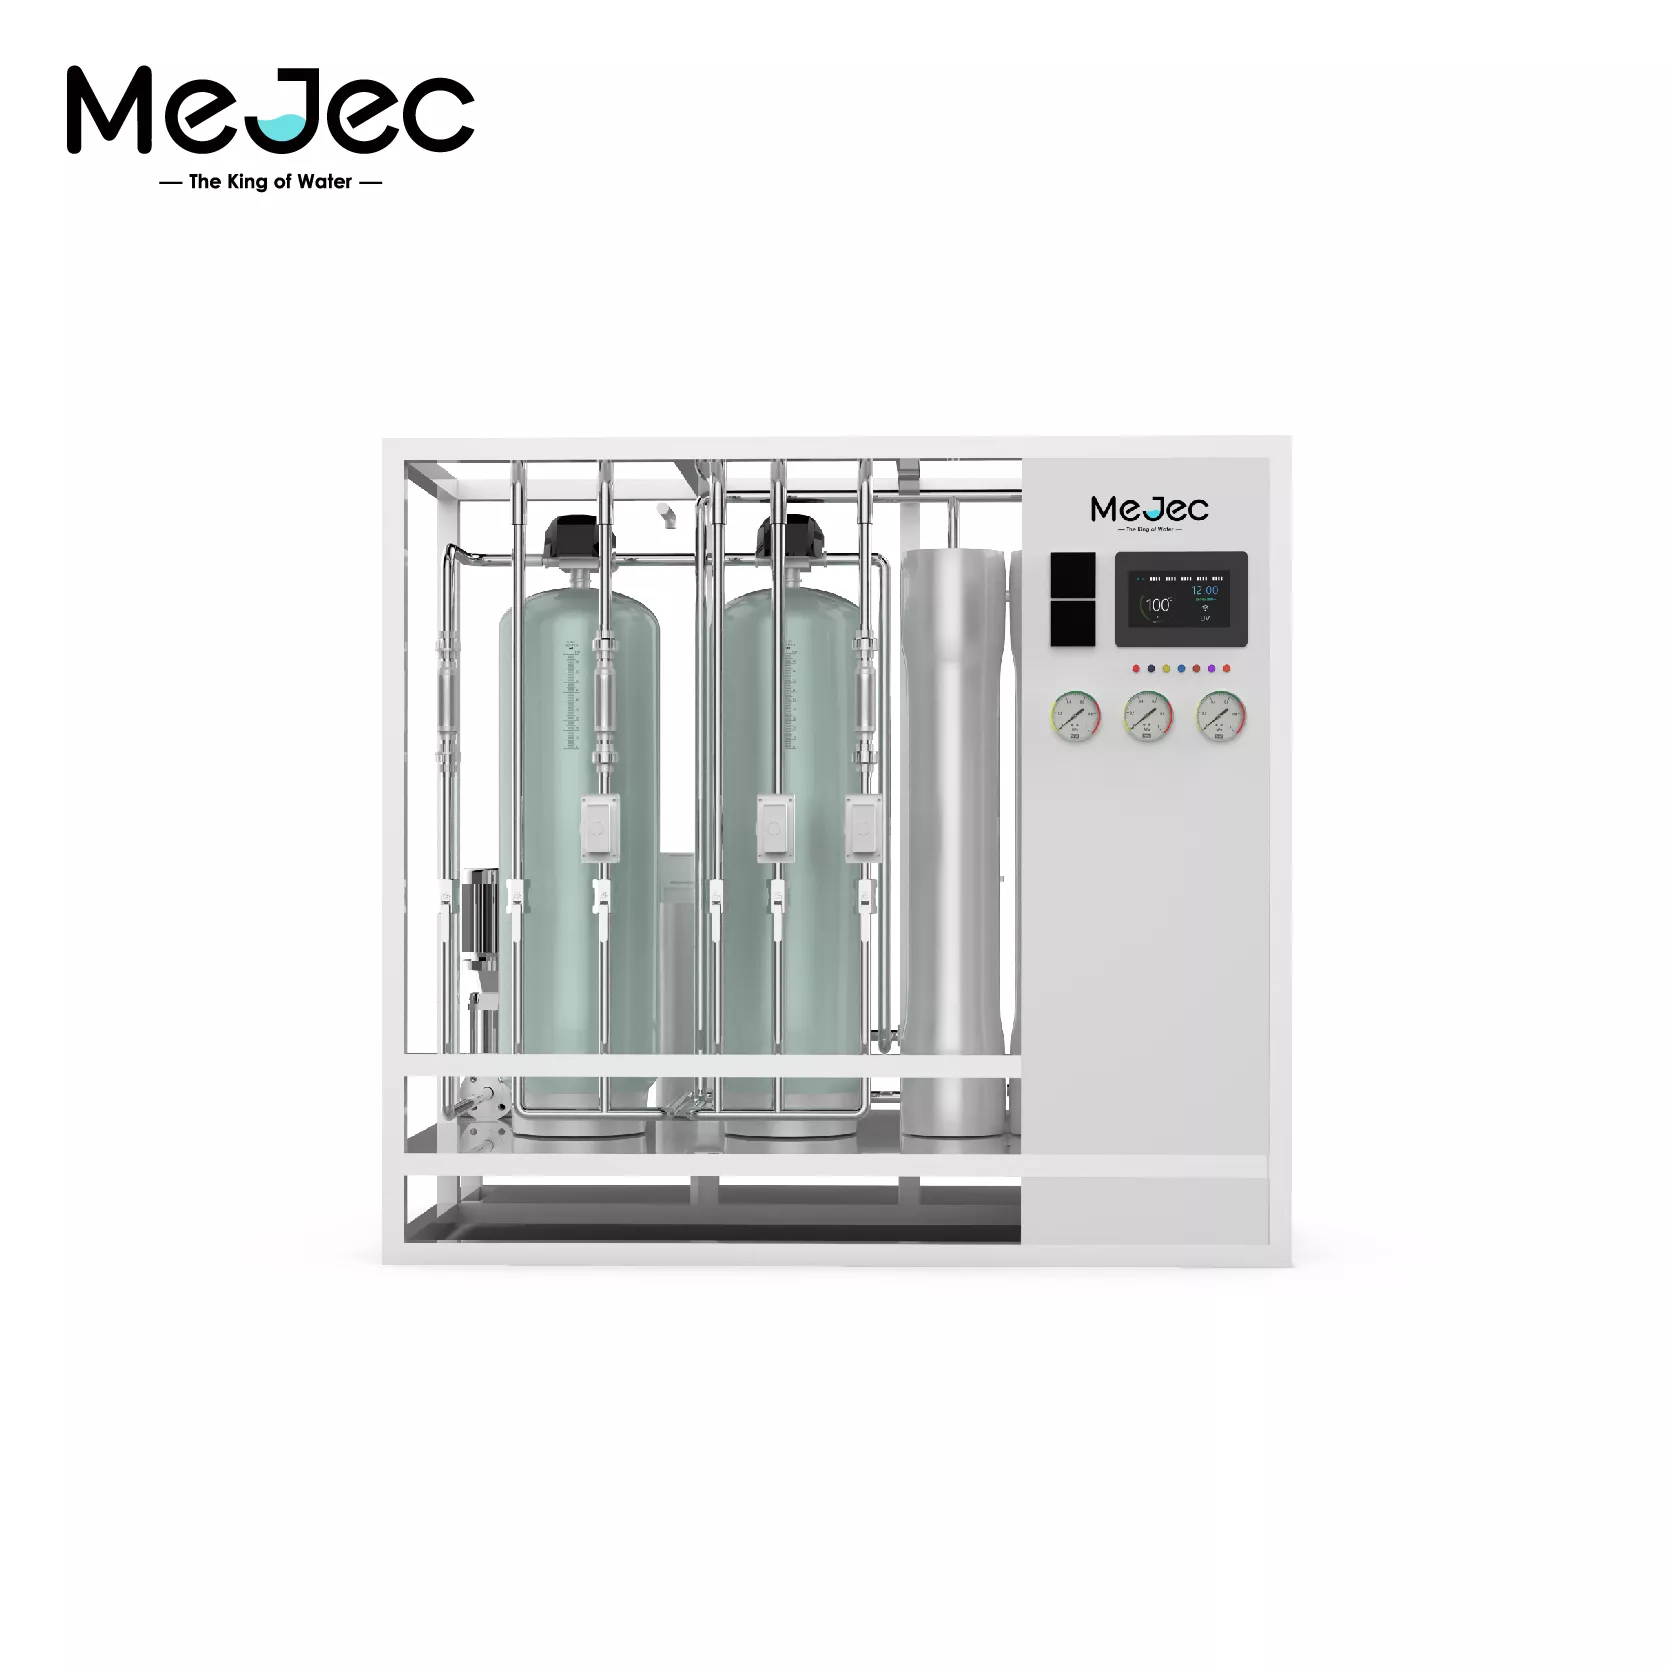
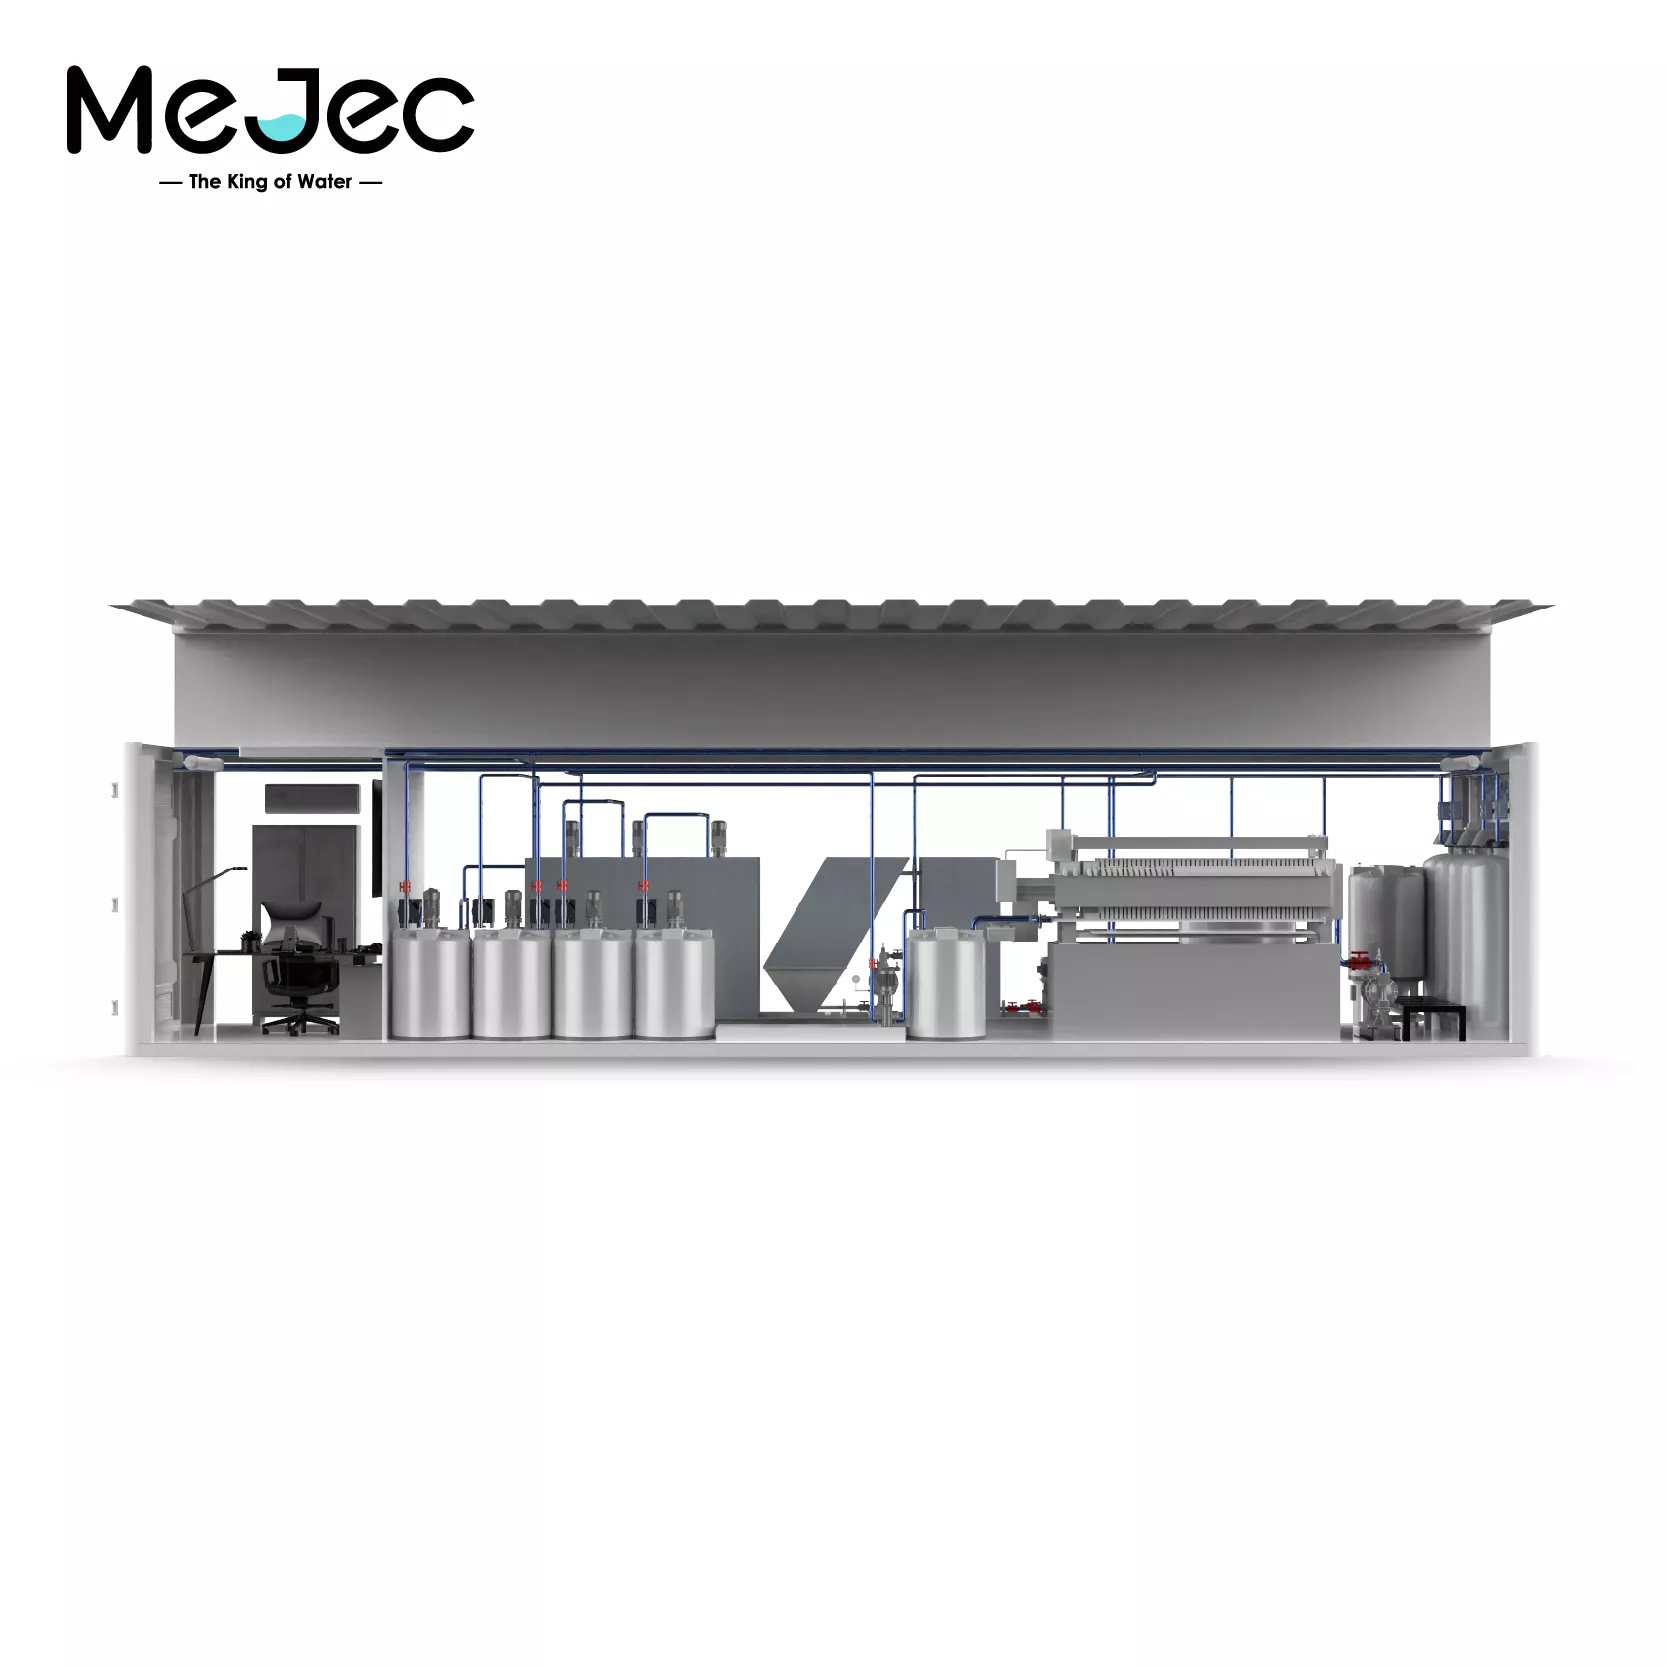
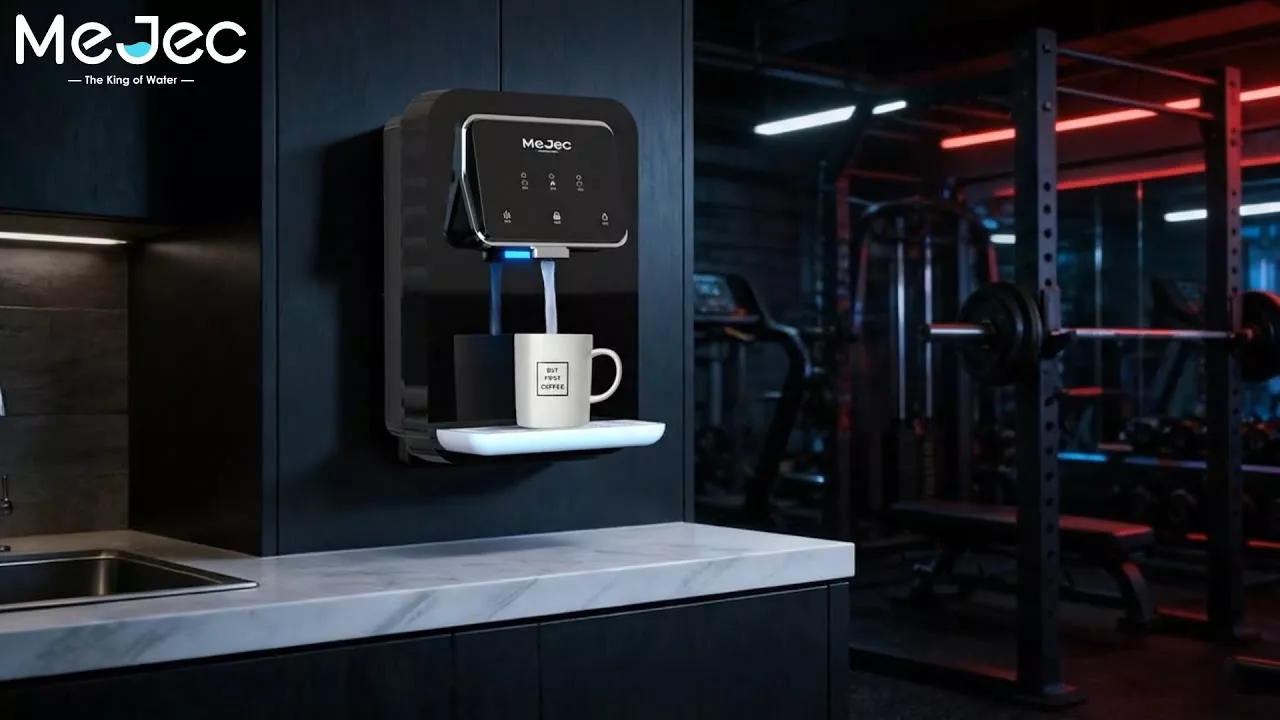
Our RO system combines cutting-edge convenience wi...

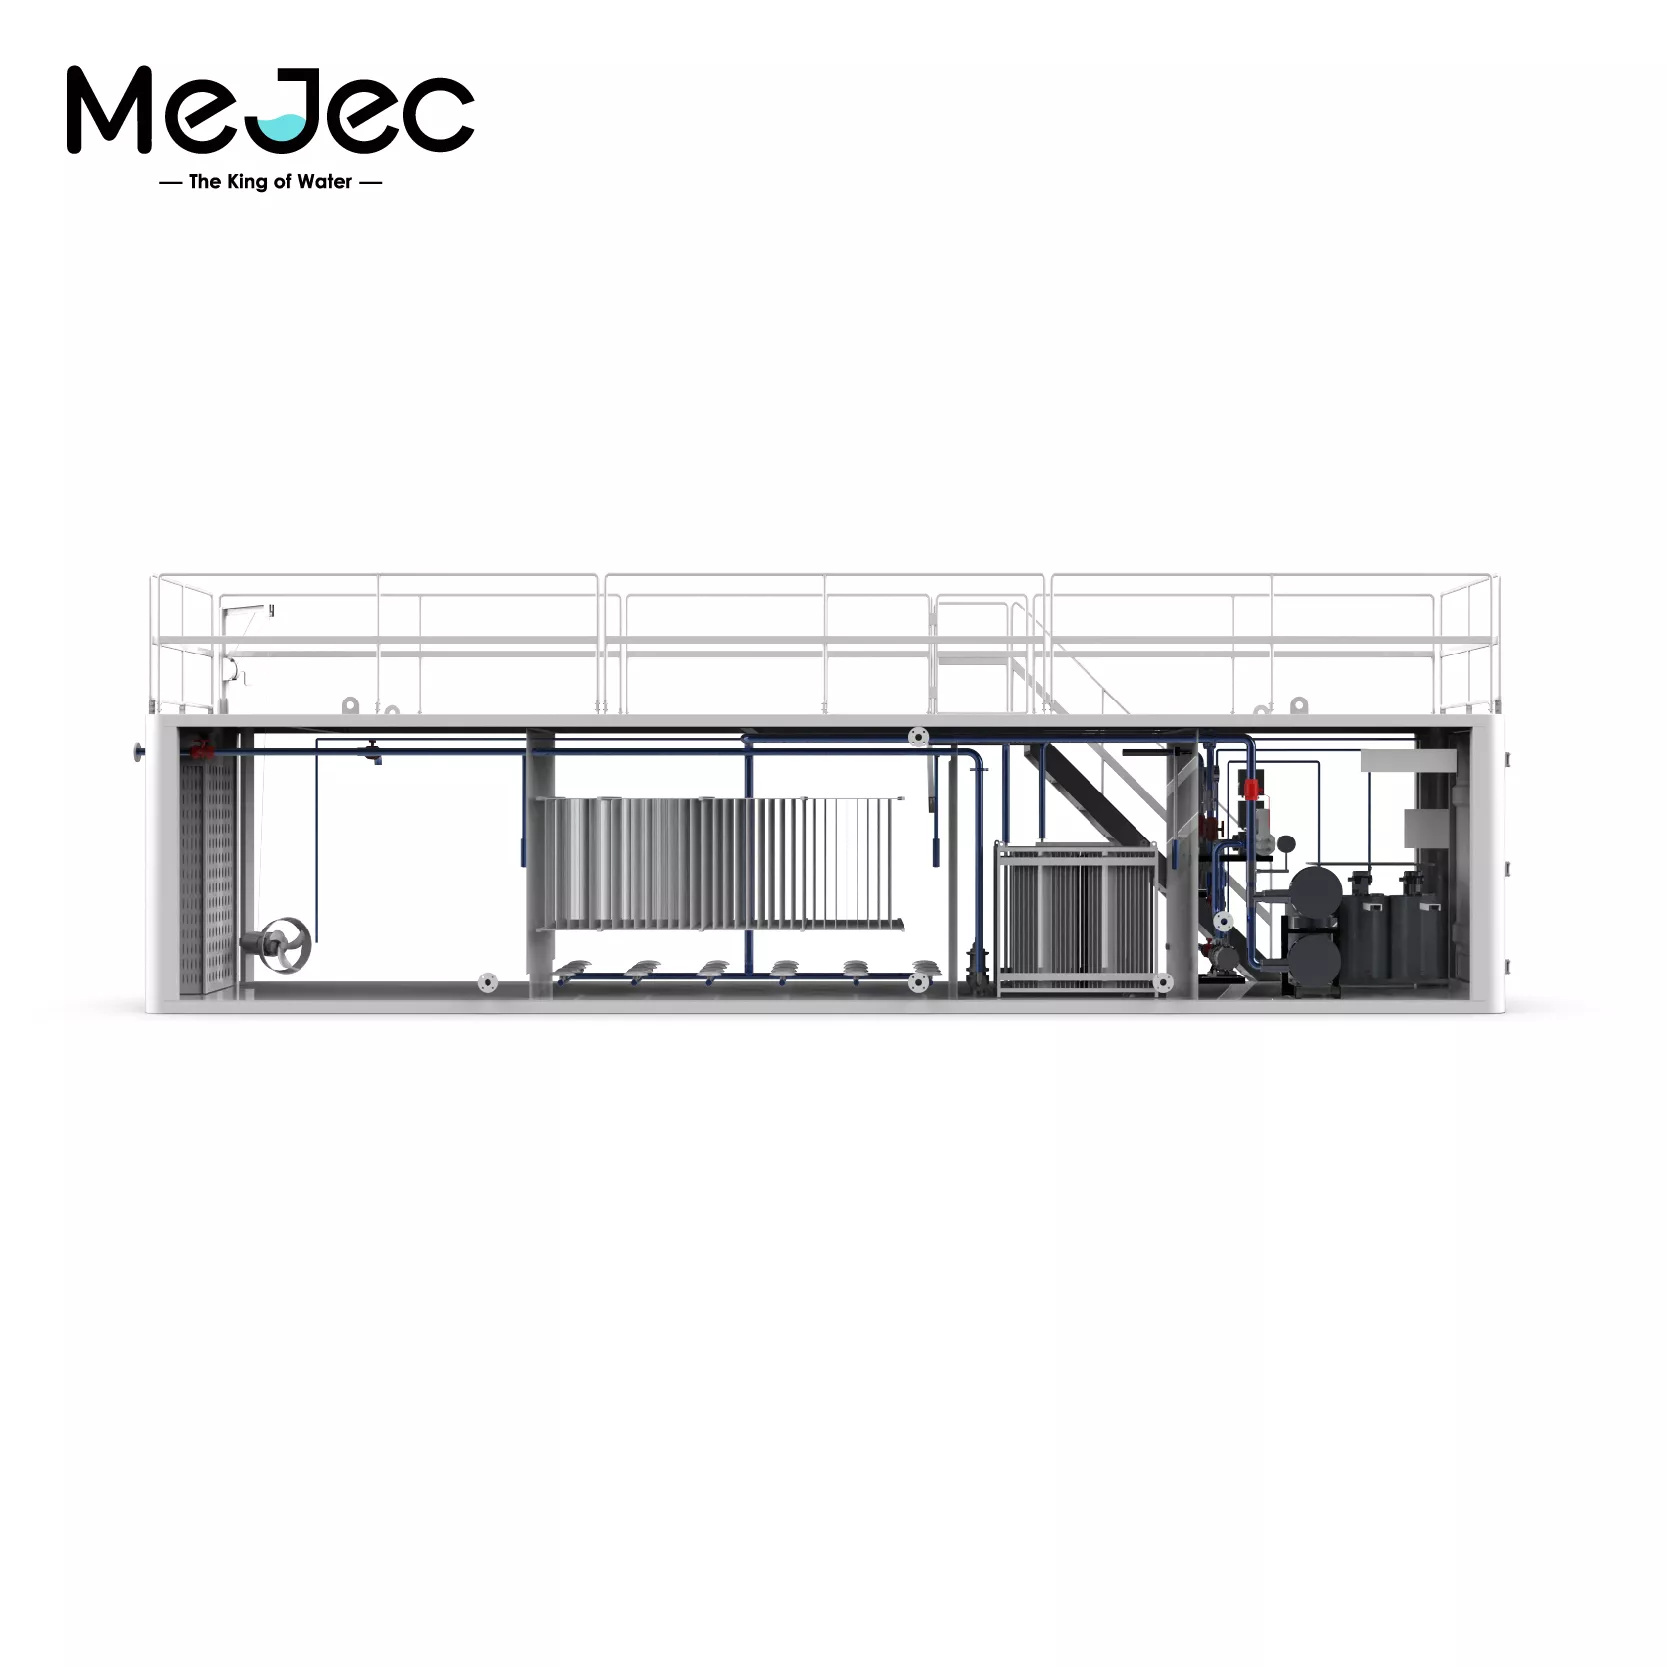
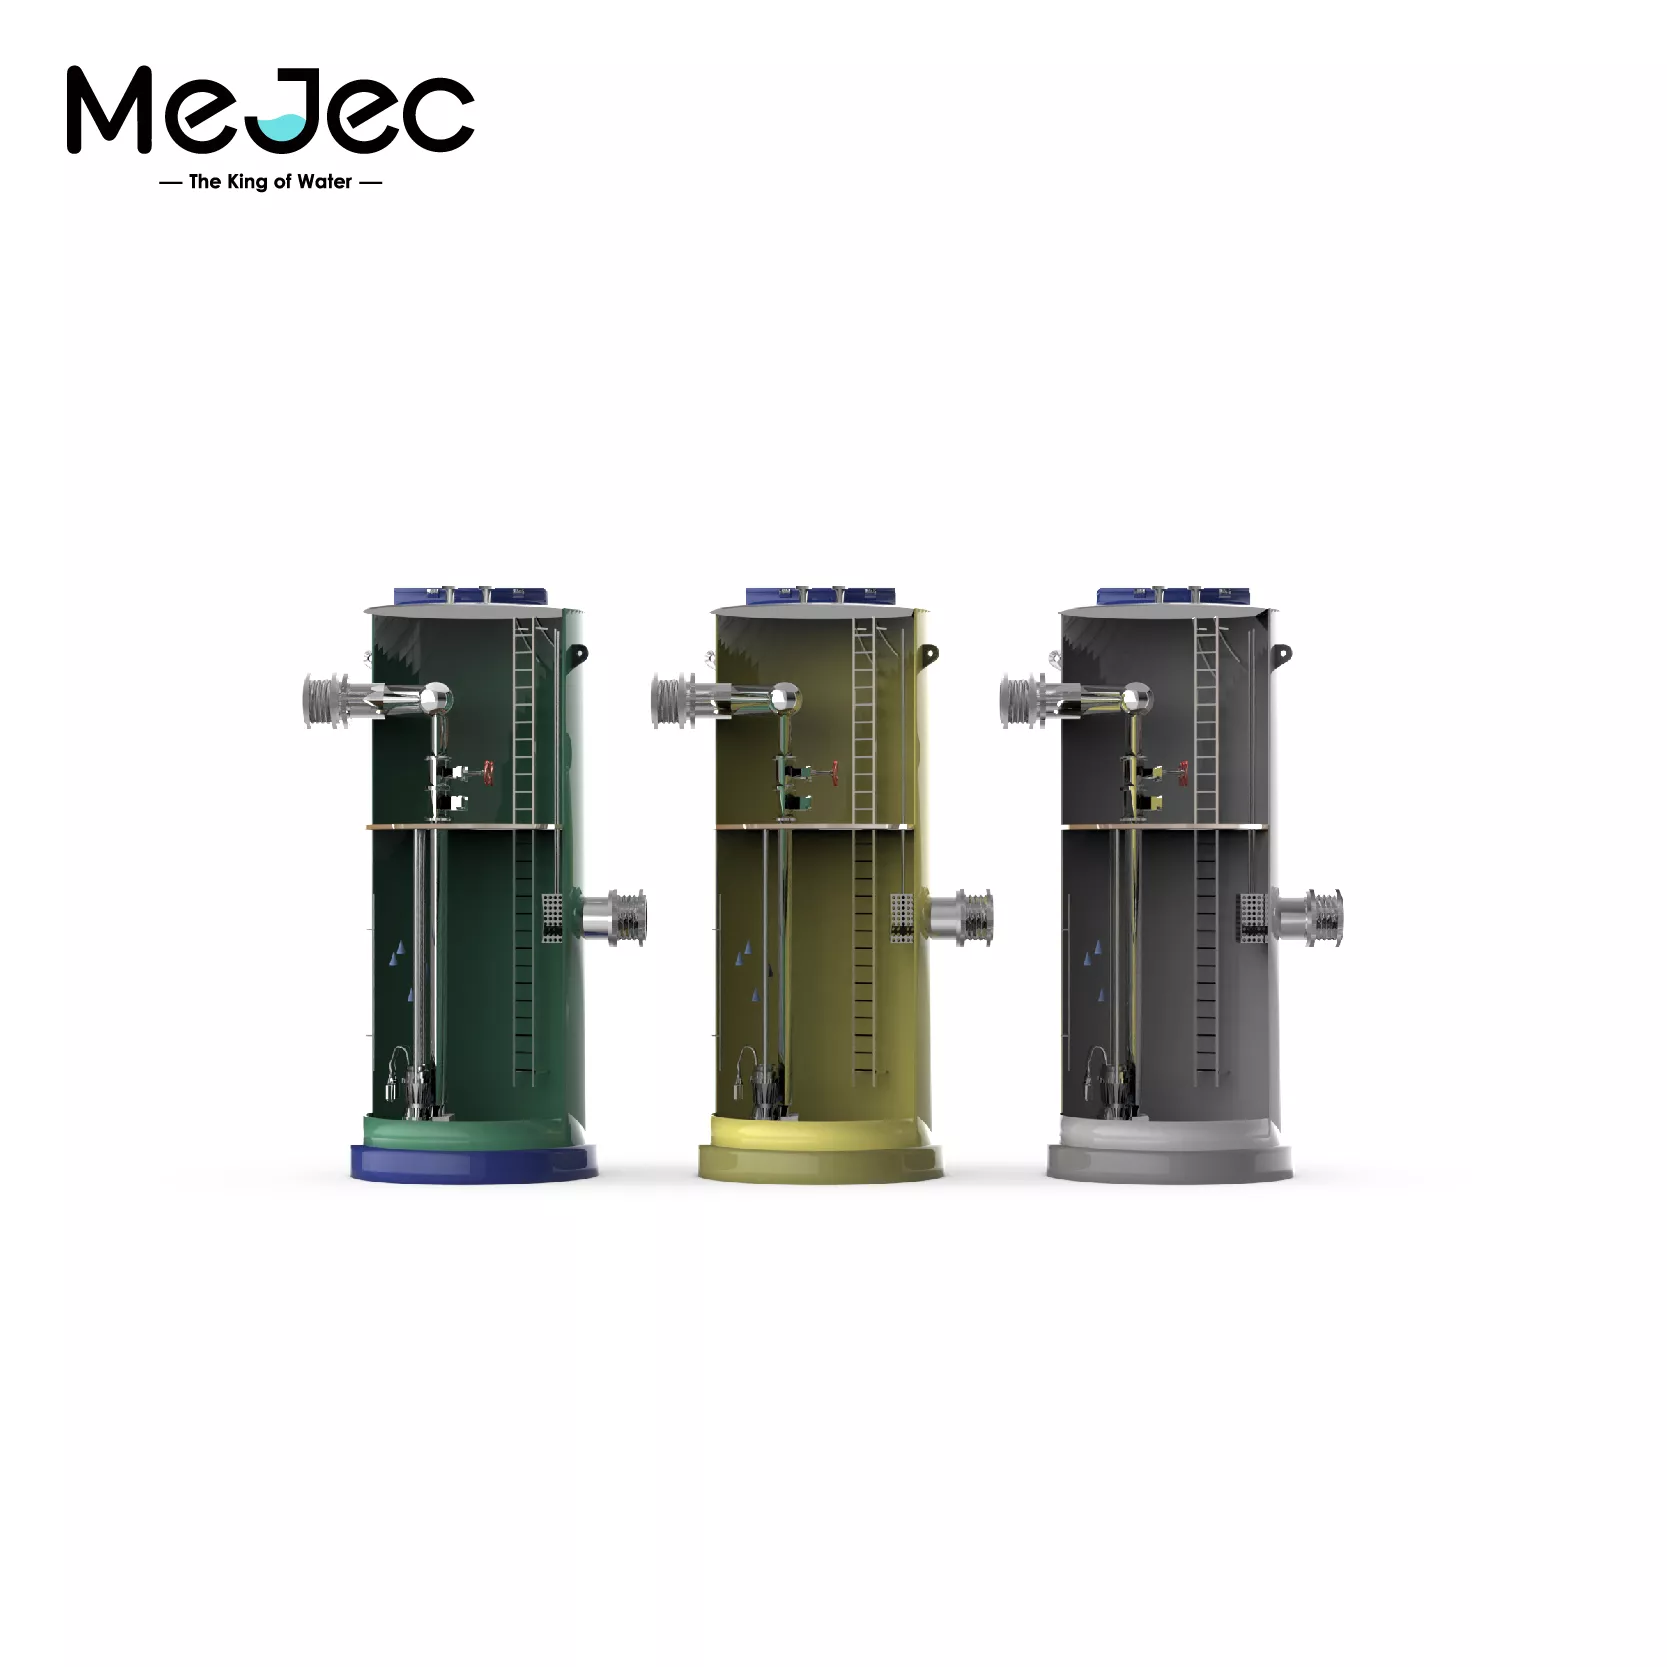
Mejec-Johkasou-SA is a small buried sewage treatme...
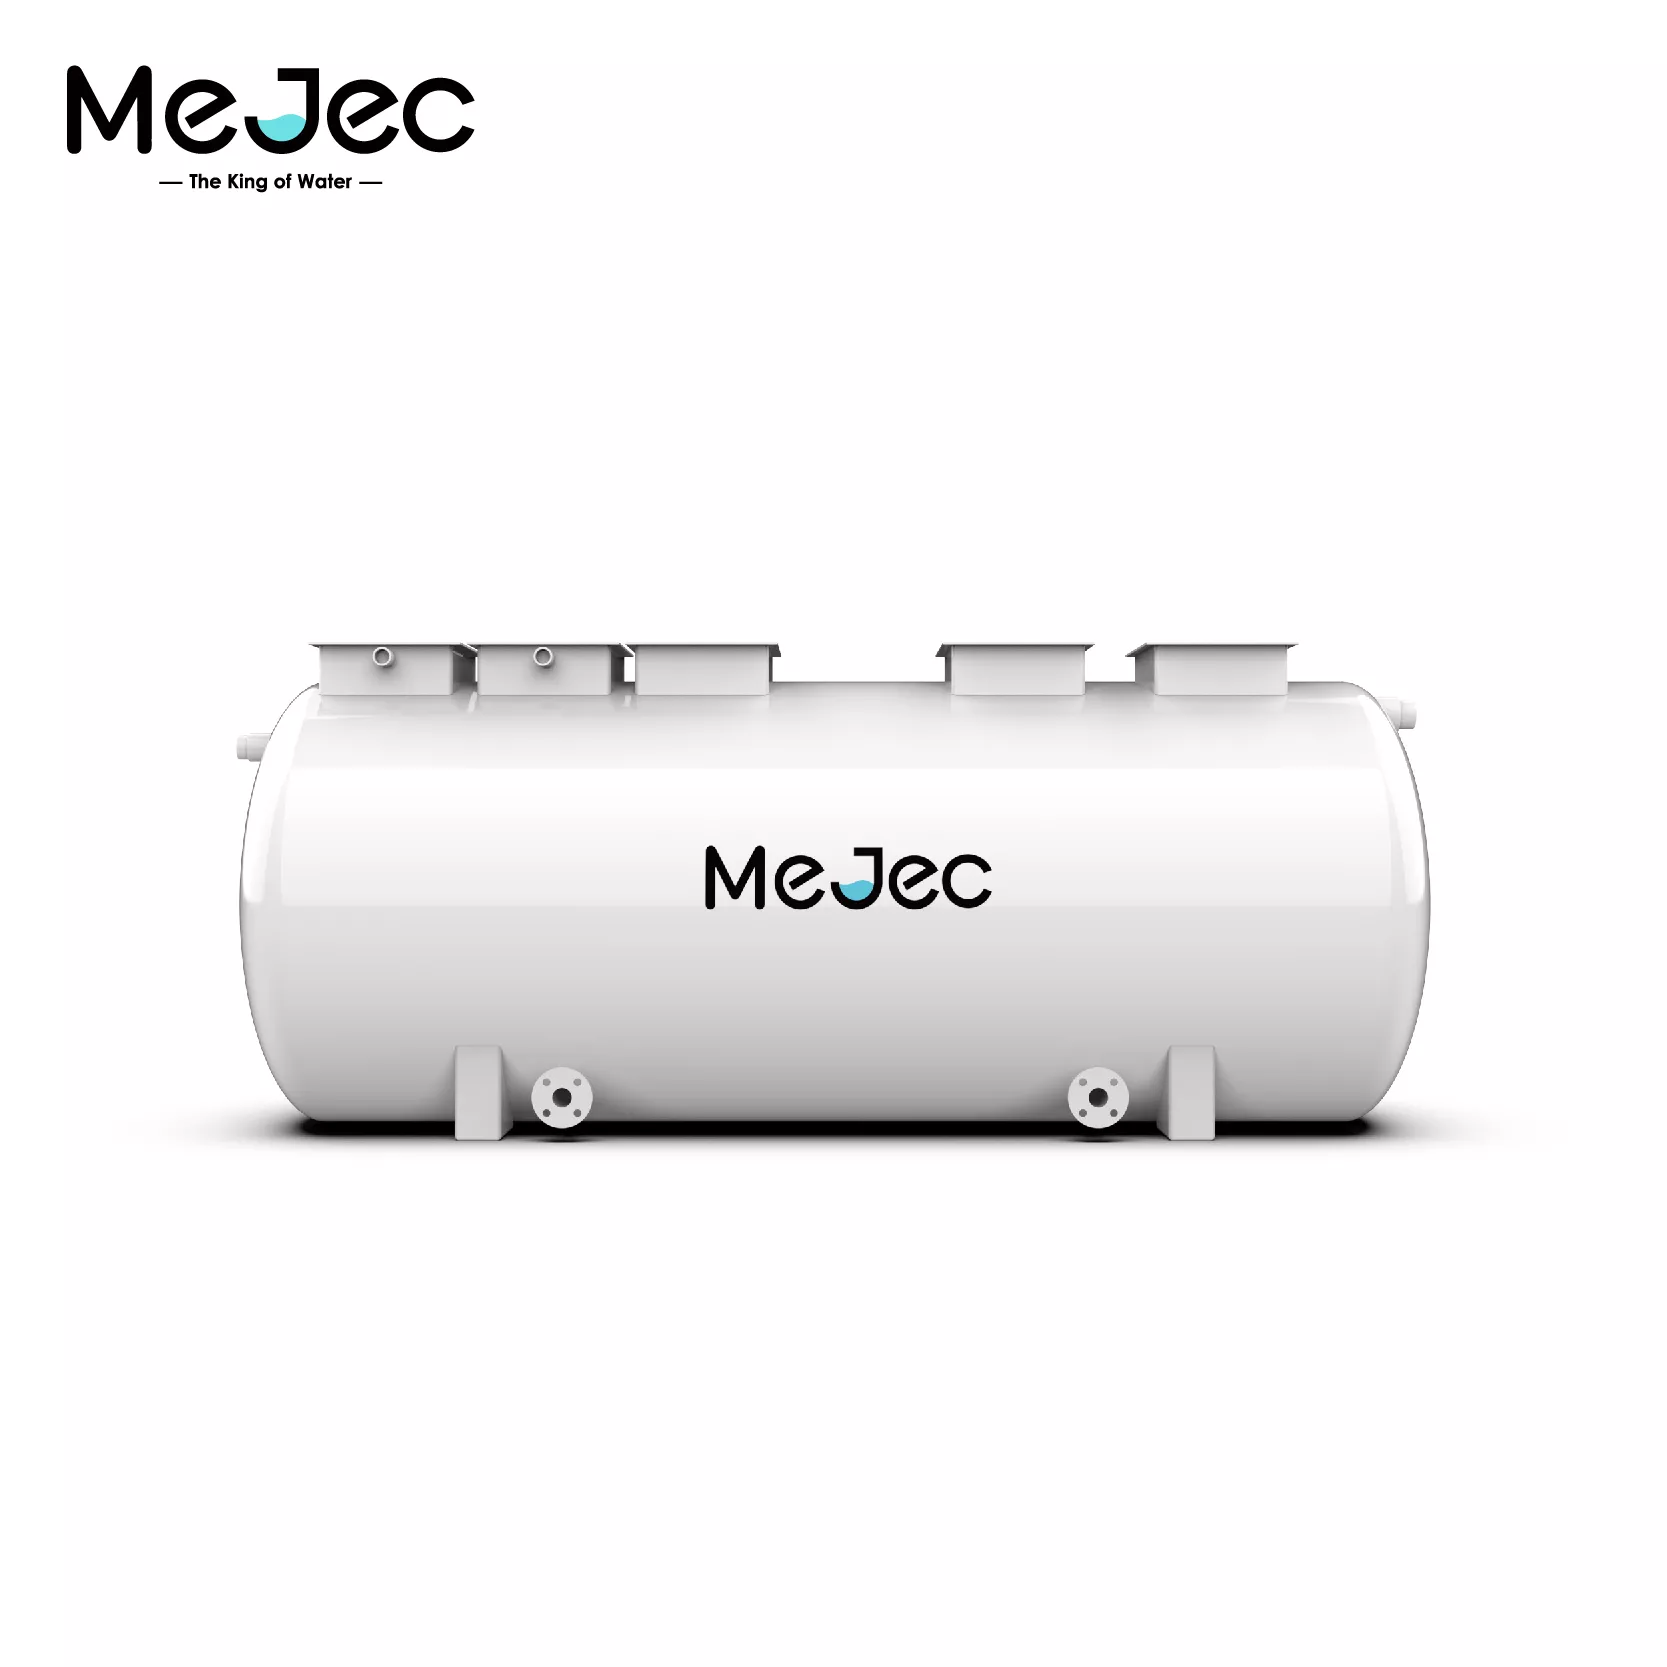
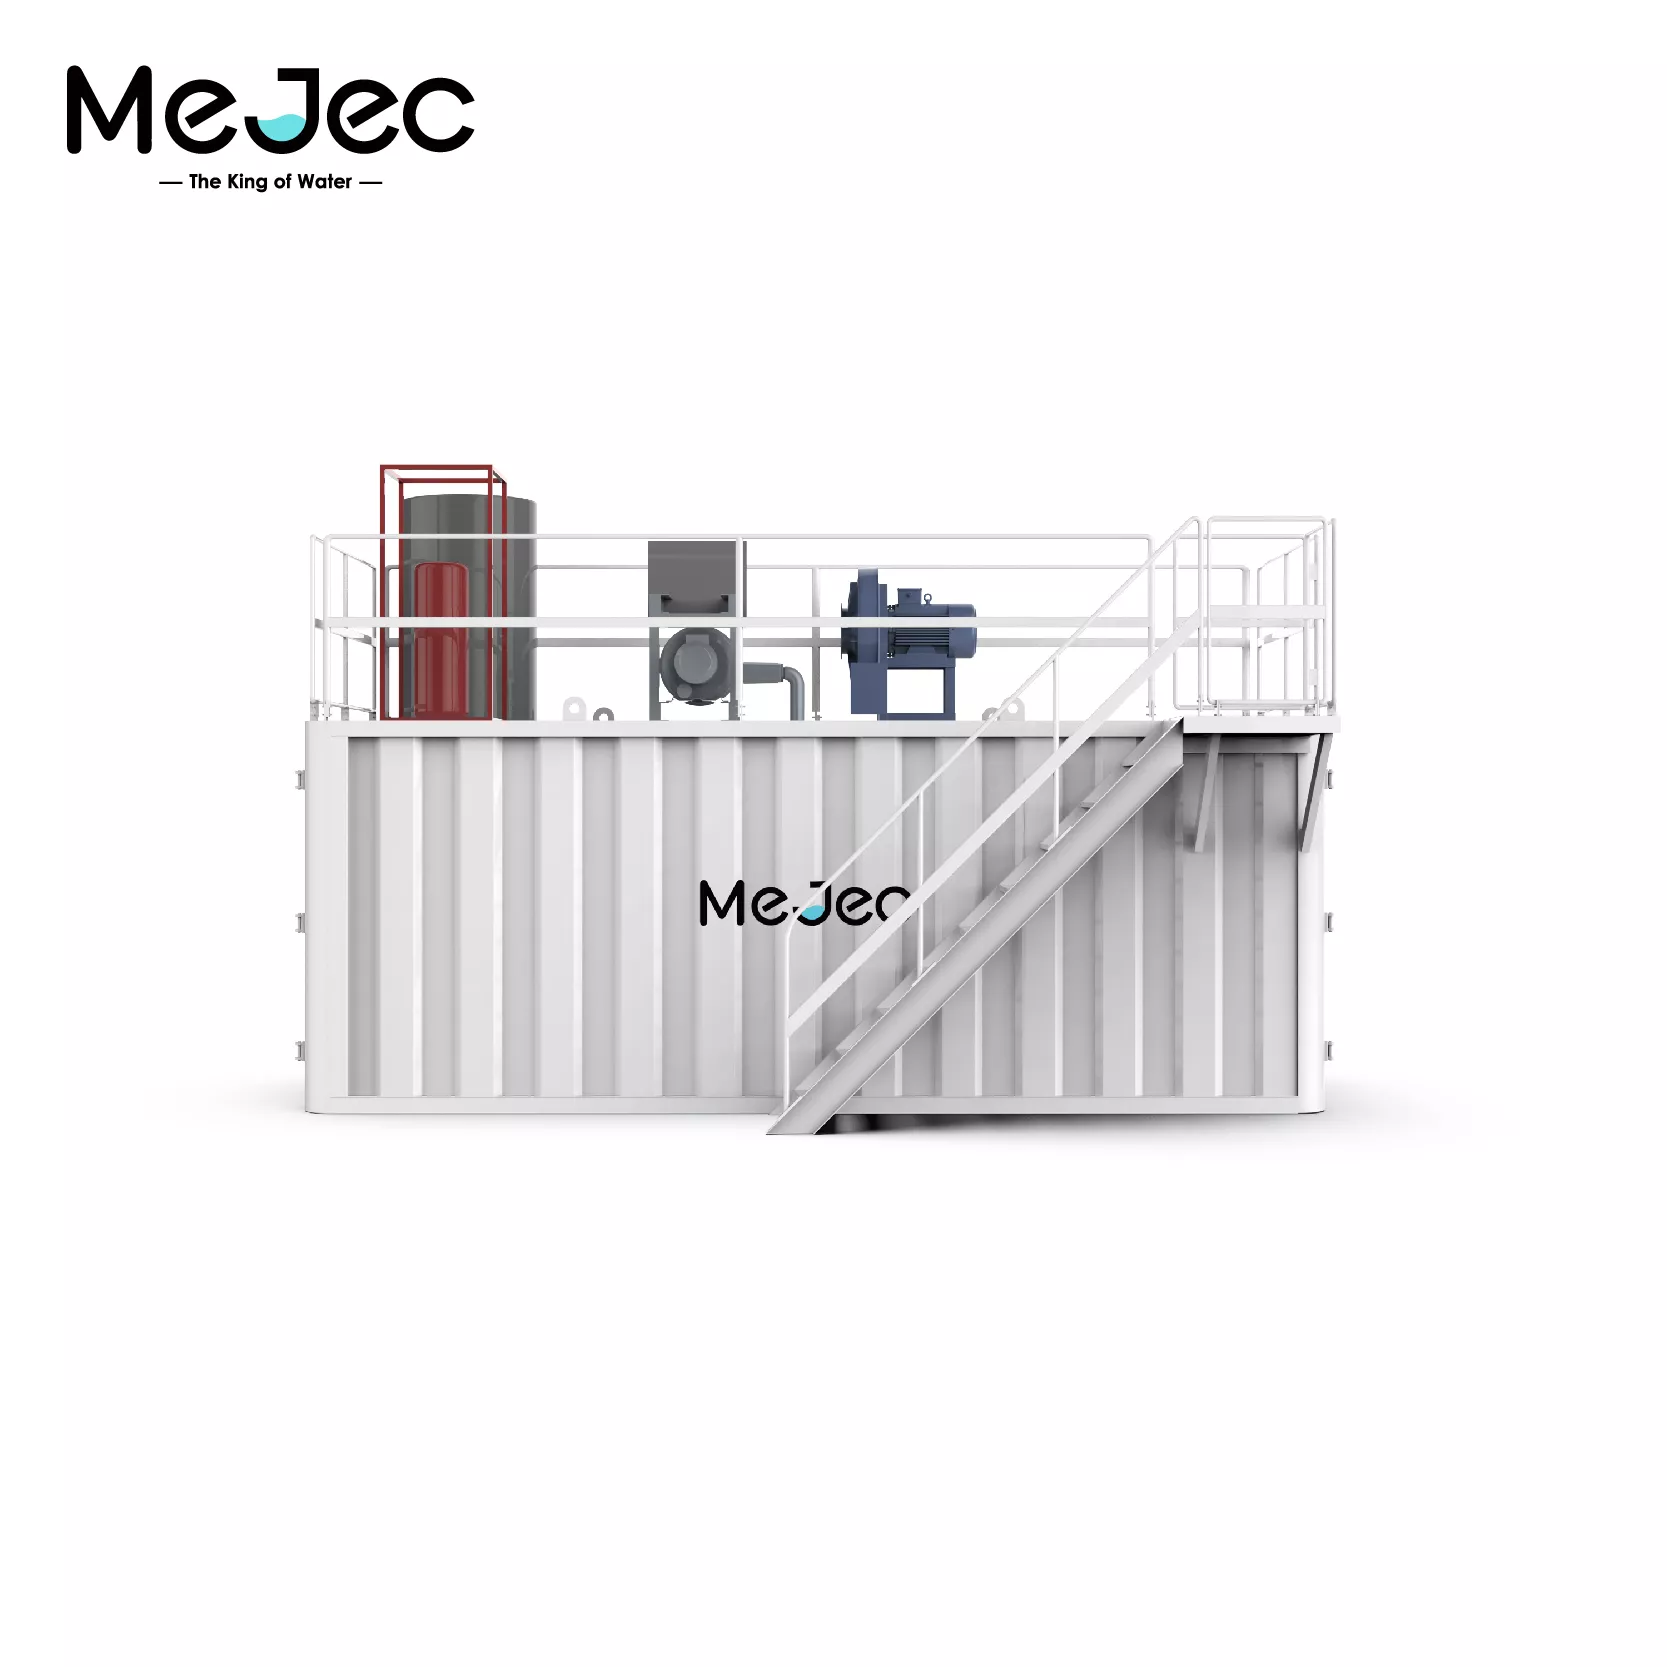
Mejec-Johkasou-SB adopts an AAO + MBBR combined bi...
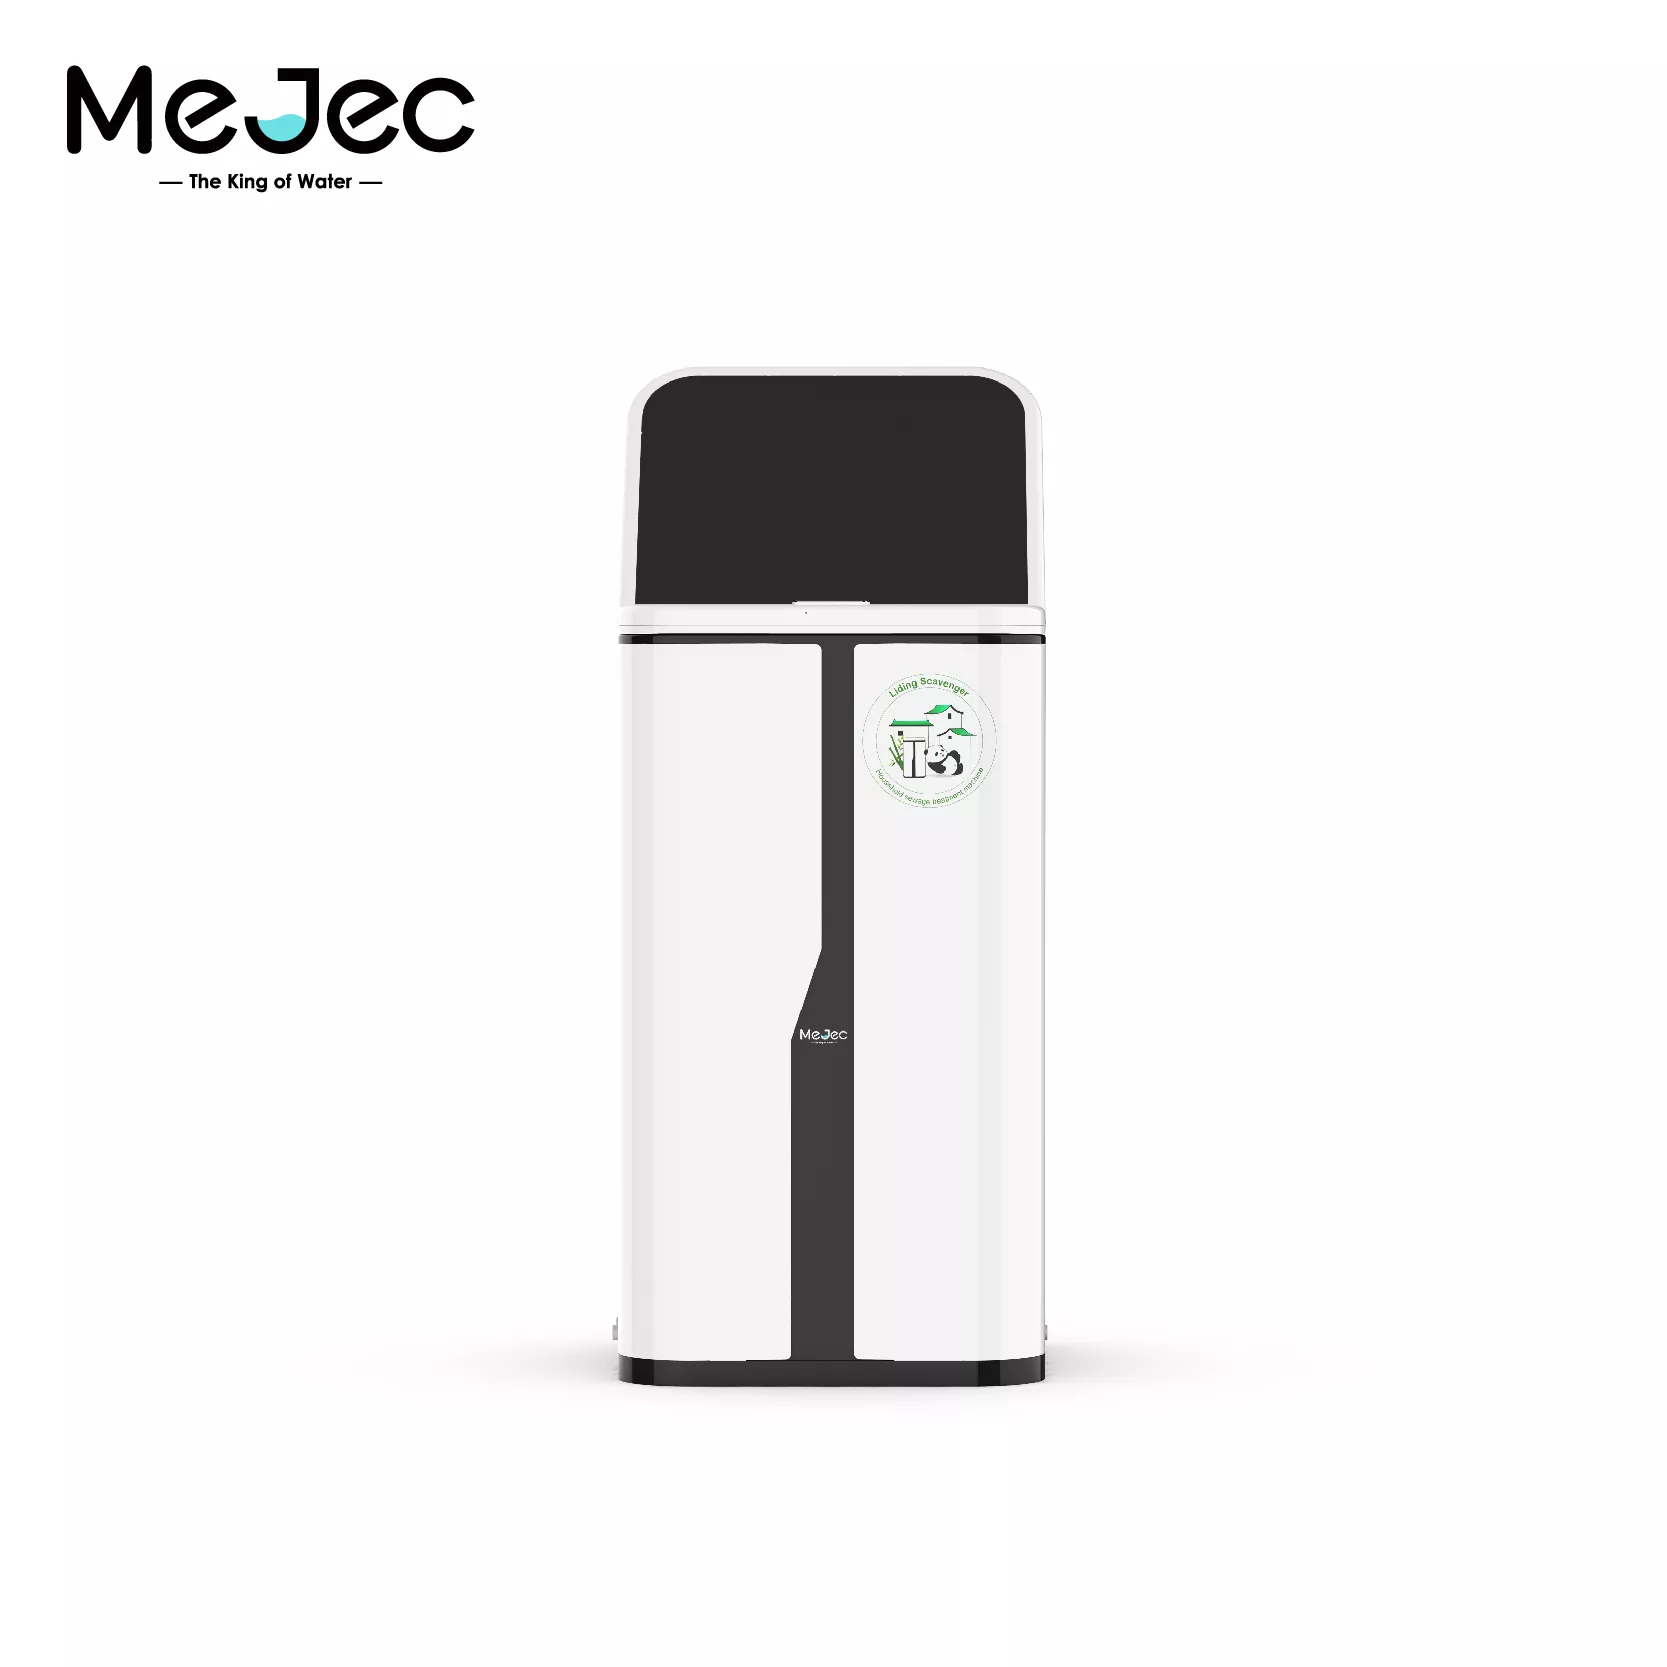
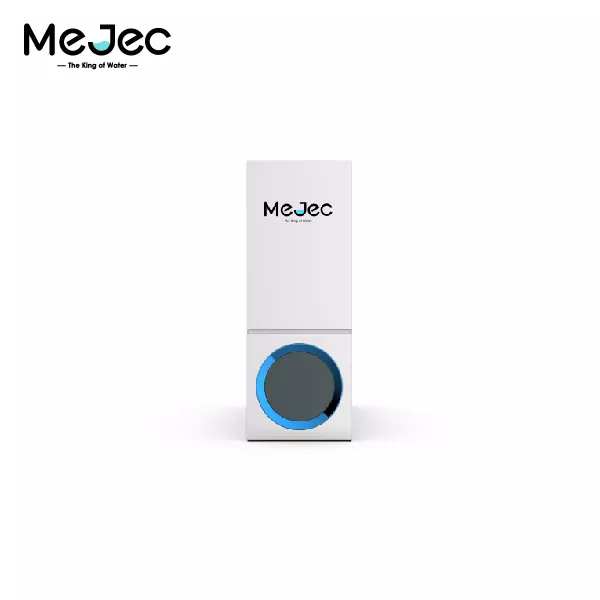
Experience effortless purity with our advanced RO ...
Select the most popular foreign trade service products to meet your diverse needs
Select the most popular foreign trade service products to meet your diverse needs


User Comments
Service Experience Sharing from Real Customers
Michael Chen
Office ManagerOur office water dispenser stopped dispensing water. Called customer service and they guided me through a simple filter reset over the phone. Problem solved in 10 minutes without a technician visit. Great support!
Sarah Johnson
Lab TechnicianFaced the 'water dispenser not dispensing water' issue. The troubleshooting guide in the manual pointed to a clogged nozzle. Cleaned it with vinegar as suggested, and it's working perfectly again. Reliable product and clear instructions.
David Rodriguez
School PrincipalOur classroom cooler wasn't dispensing water. The replacement filter was delivered next day after an online order. Easy self-installation fixed the issue completely. Appreciate the fast parts service.
Emily Watson
Cafe OwnerDespite an initial problem with the dispenser not giving water, the warranty service was exceptional. A technician arrived within 24 hours, replaced a small valve under warranty, and now it works better than new. Fantastic after-sales service.